
Make a platter
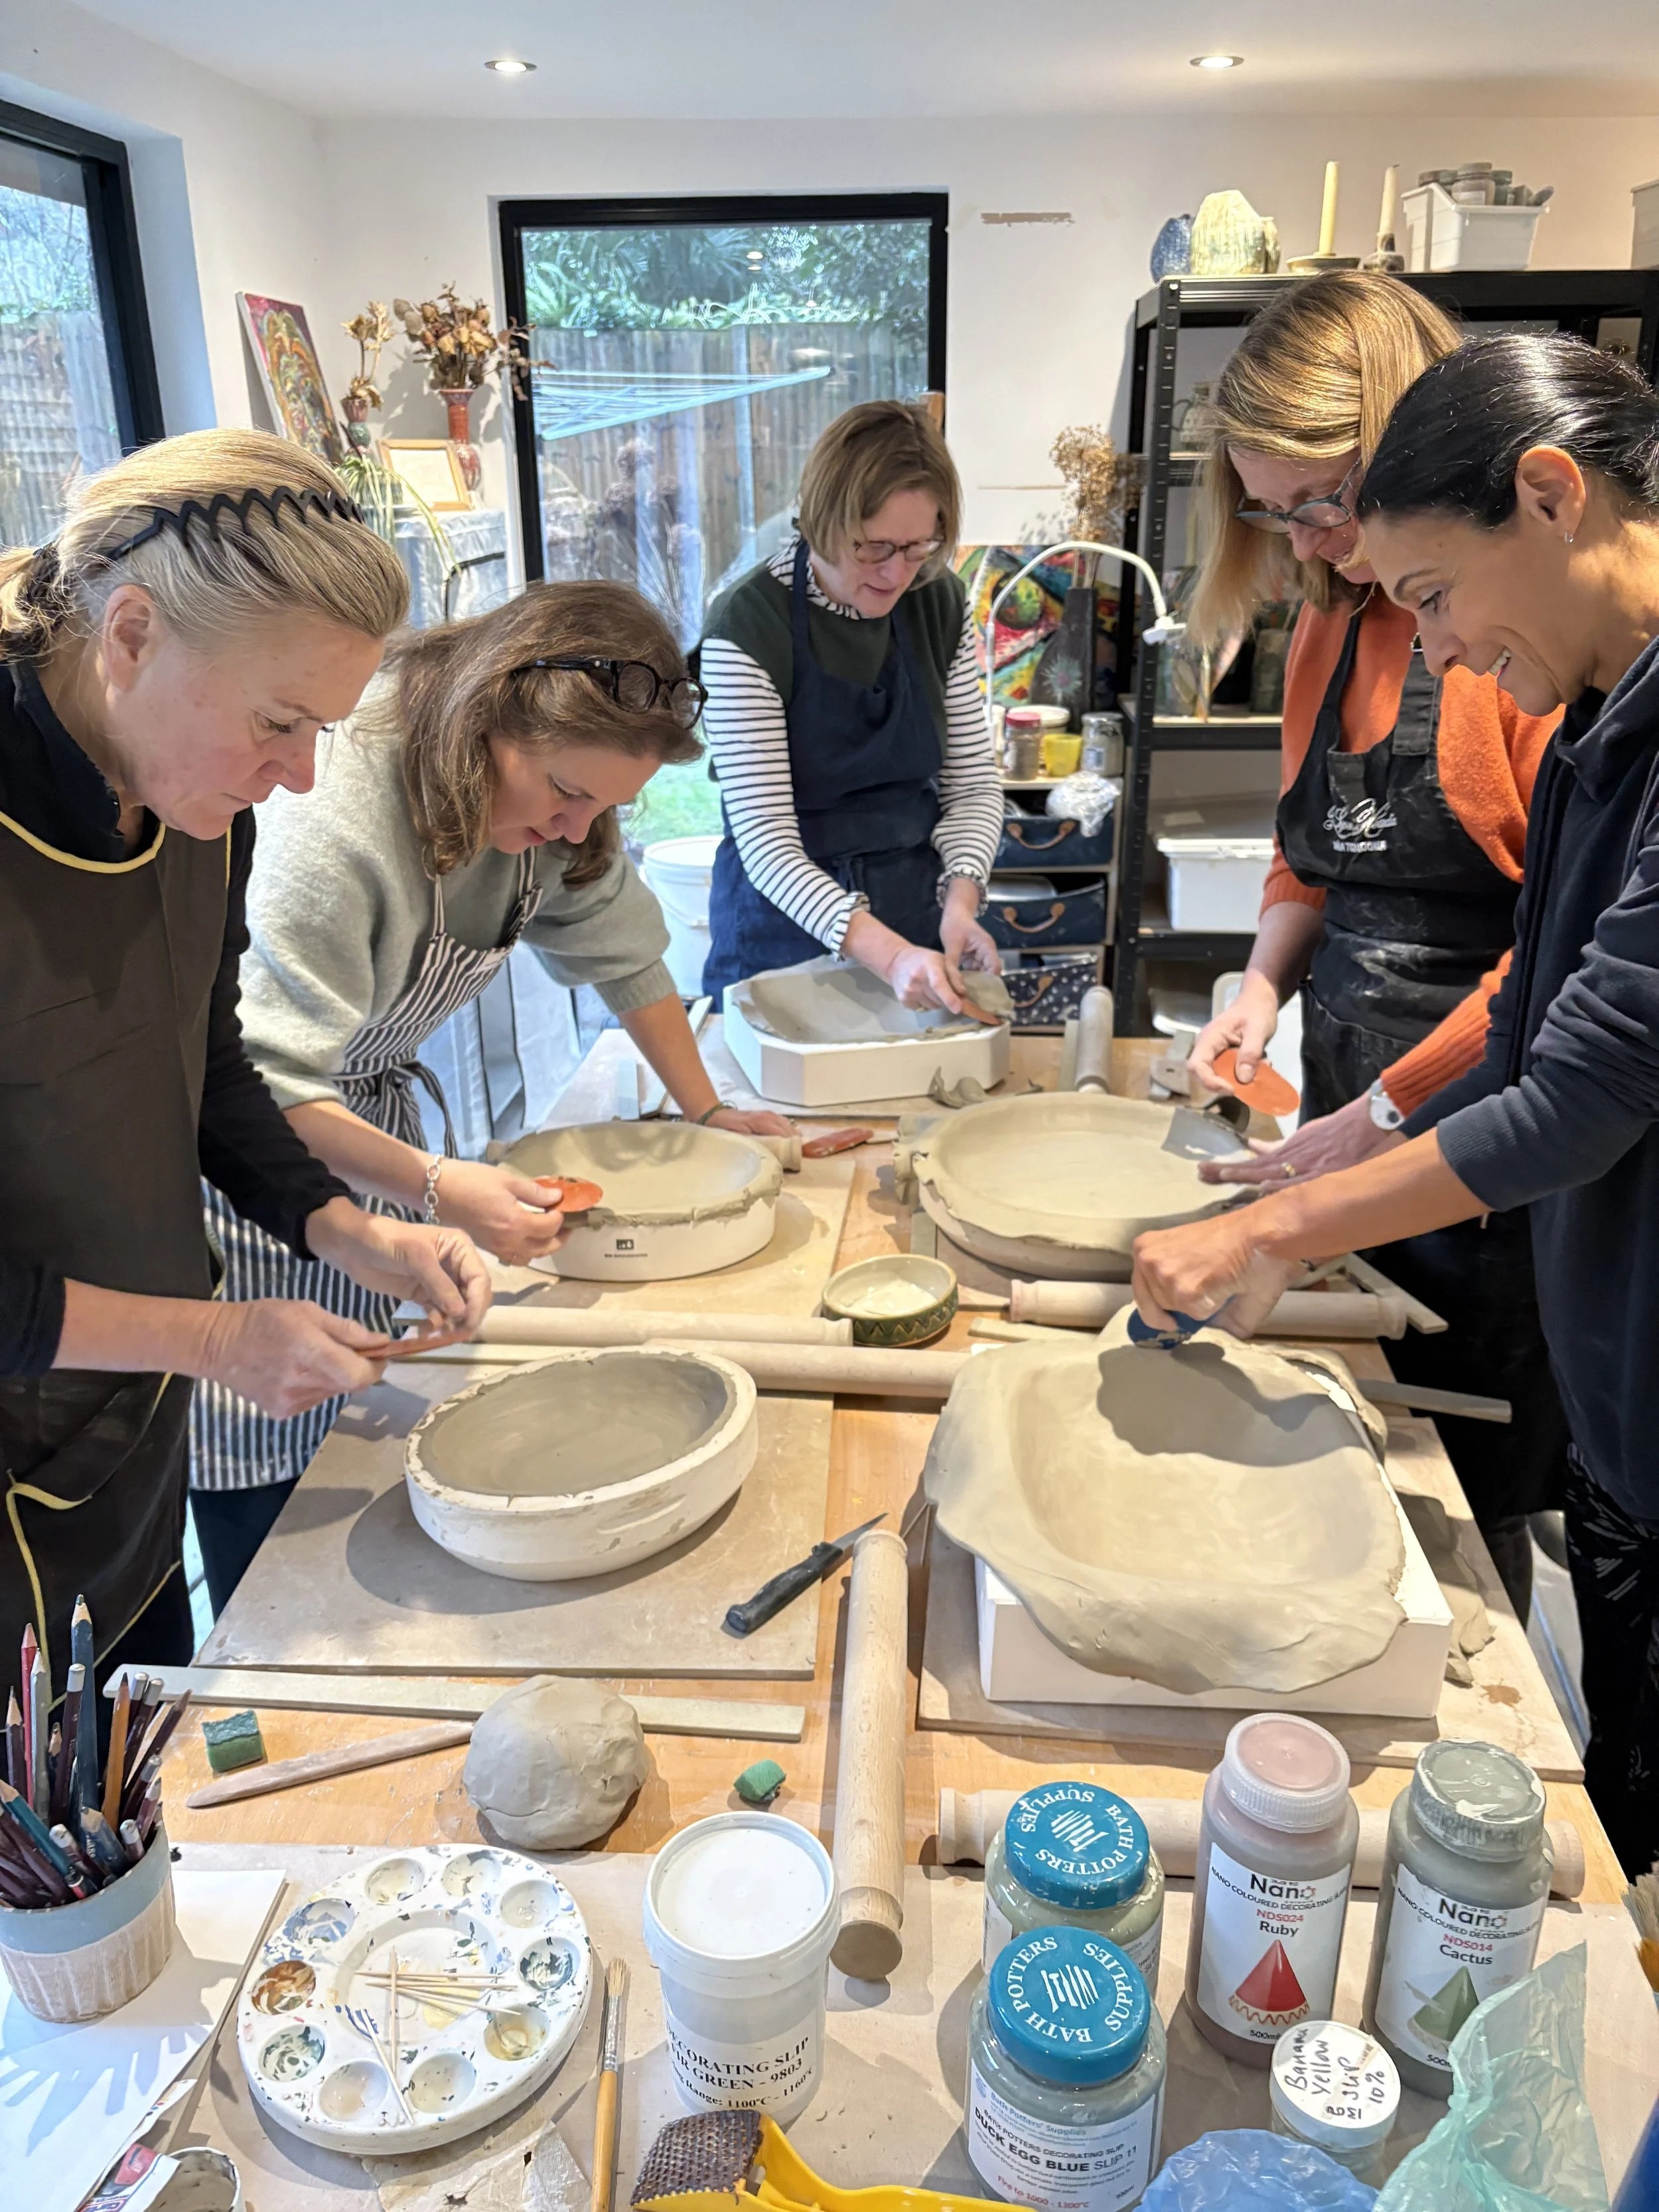
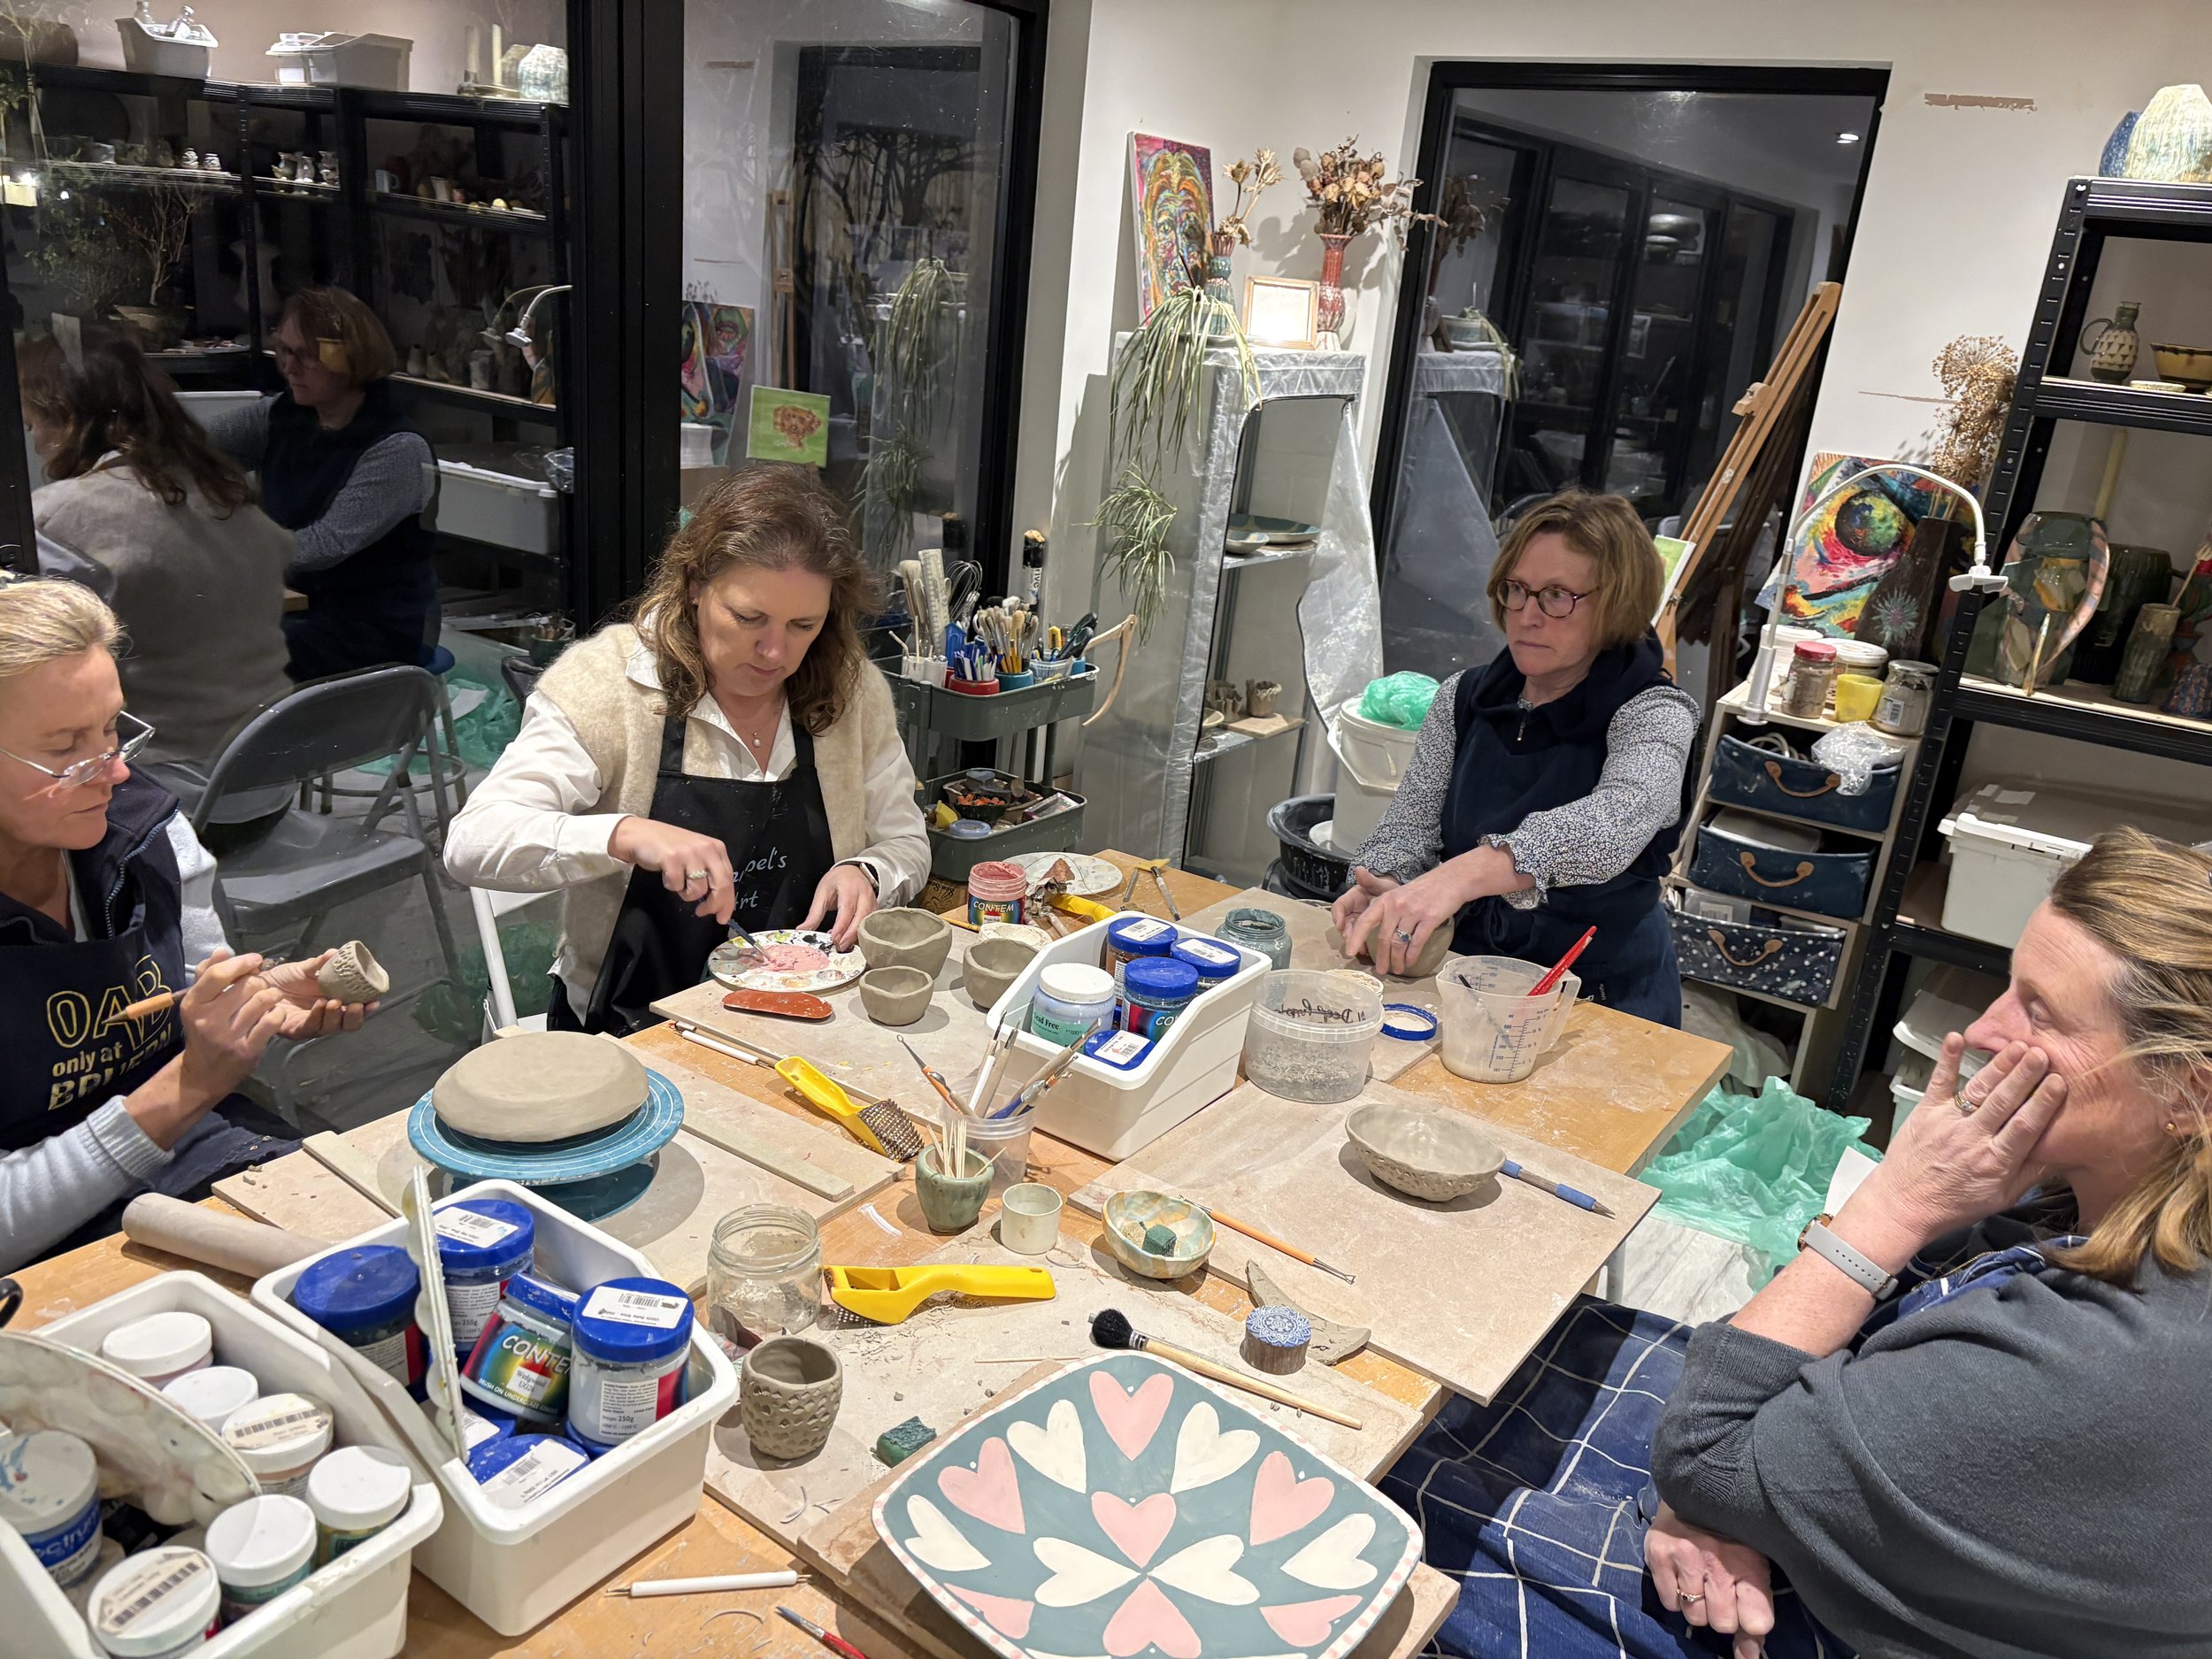
This article outlines what can be achieved in a three session workshop with me. Ideally with 4 participants - but can be extended to 5 if you don’t mind being snug!
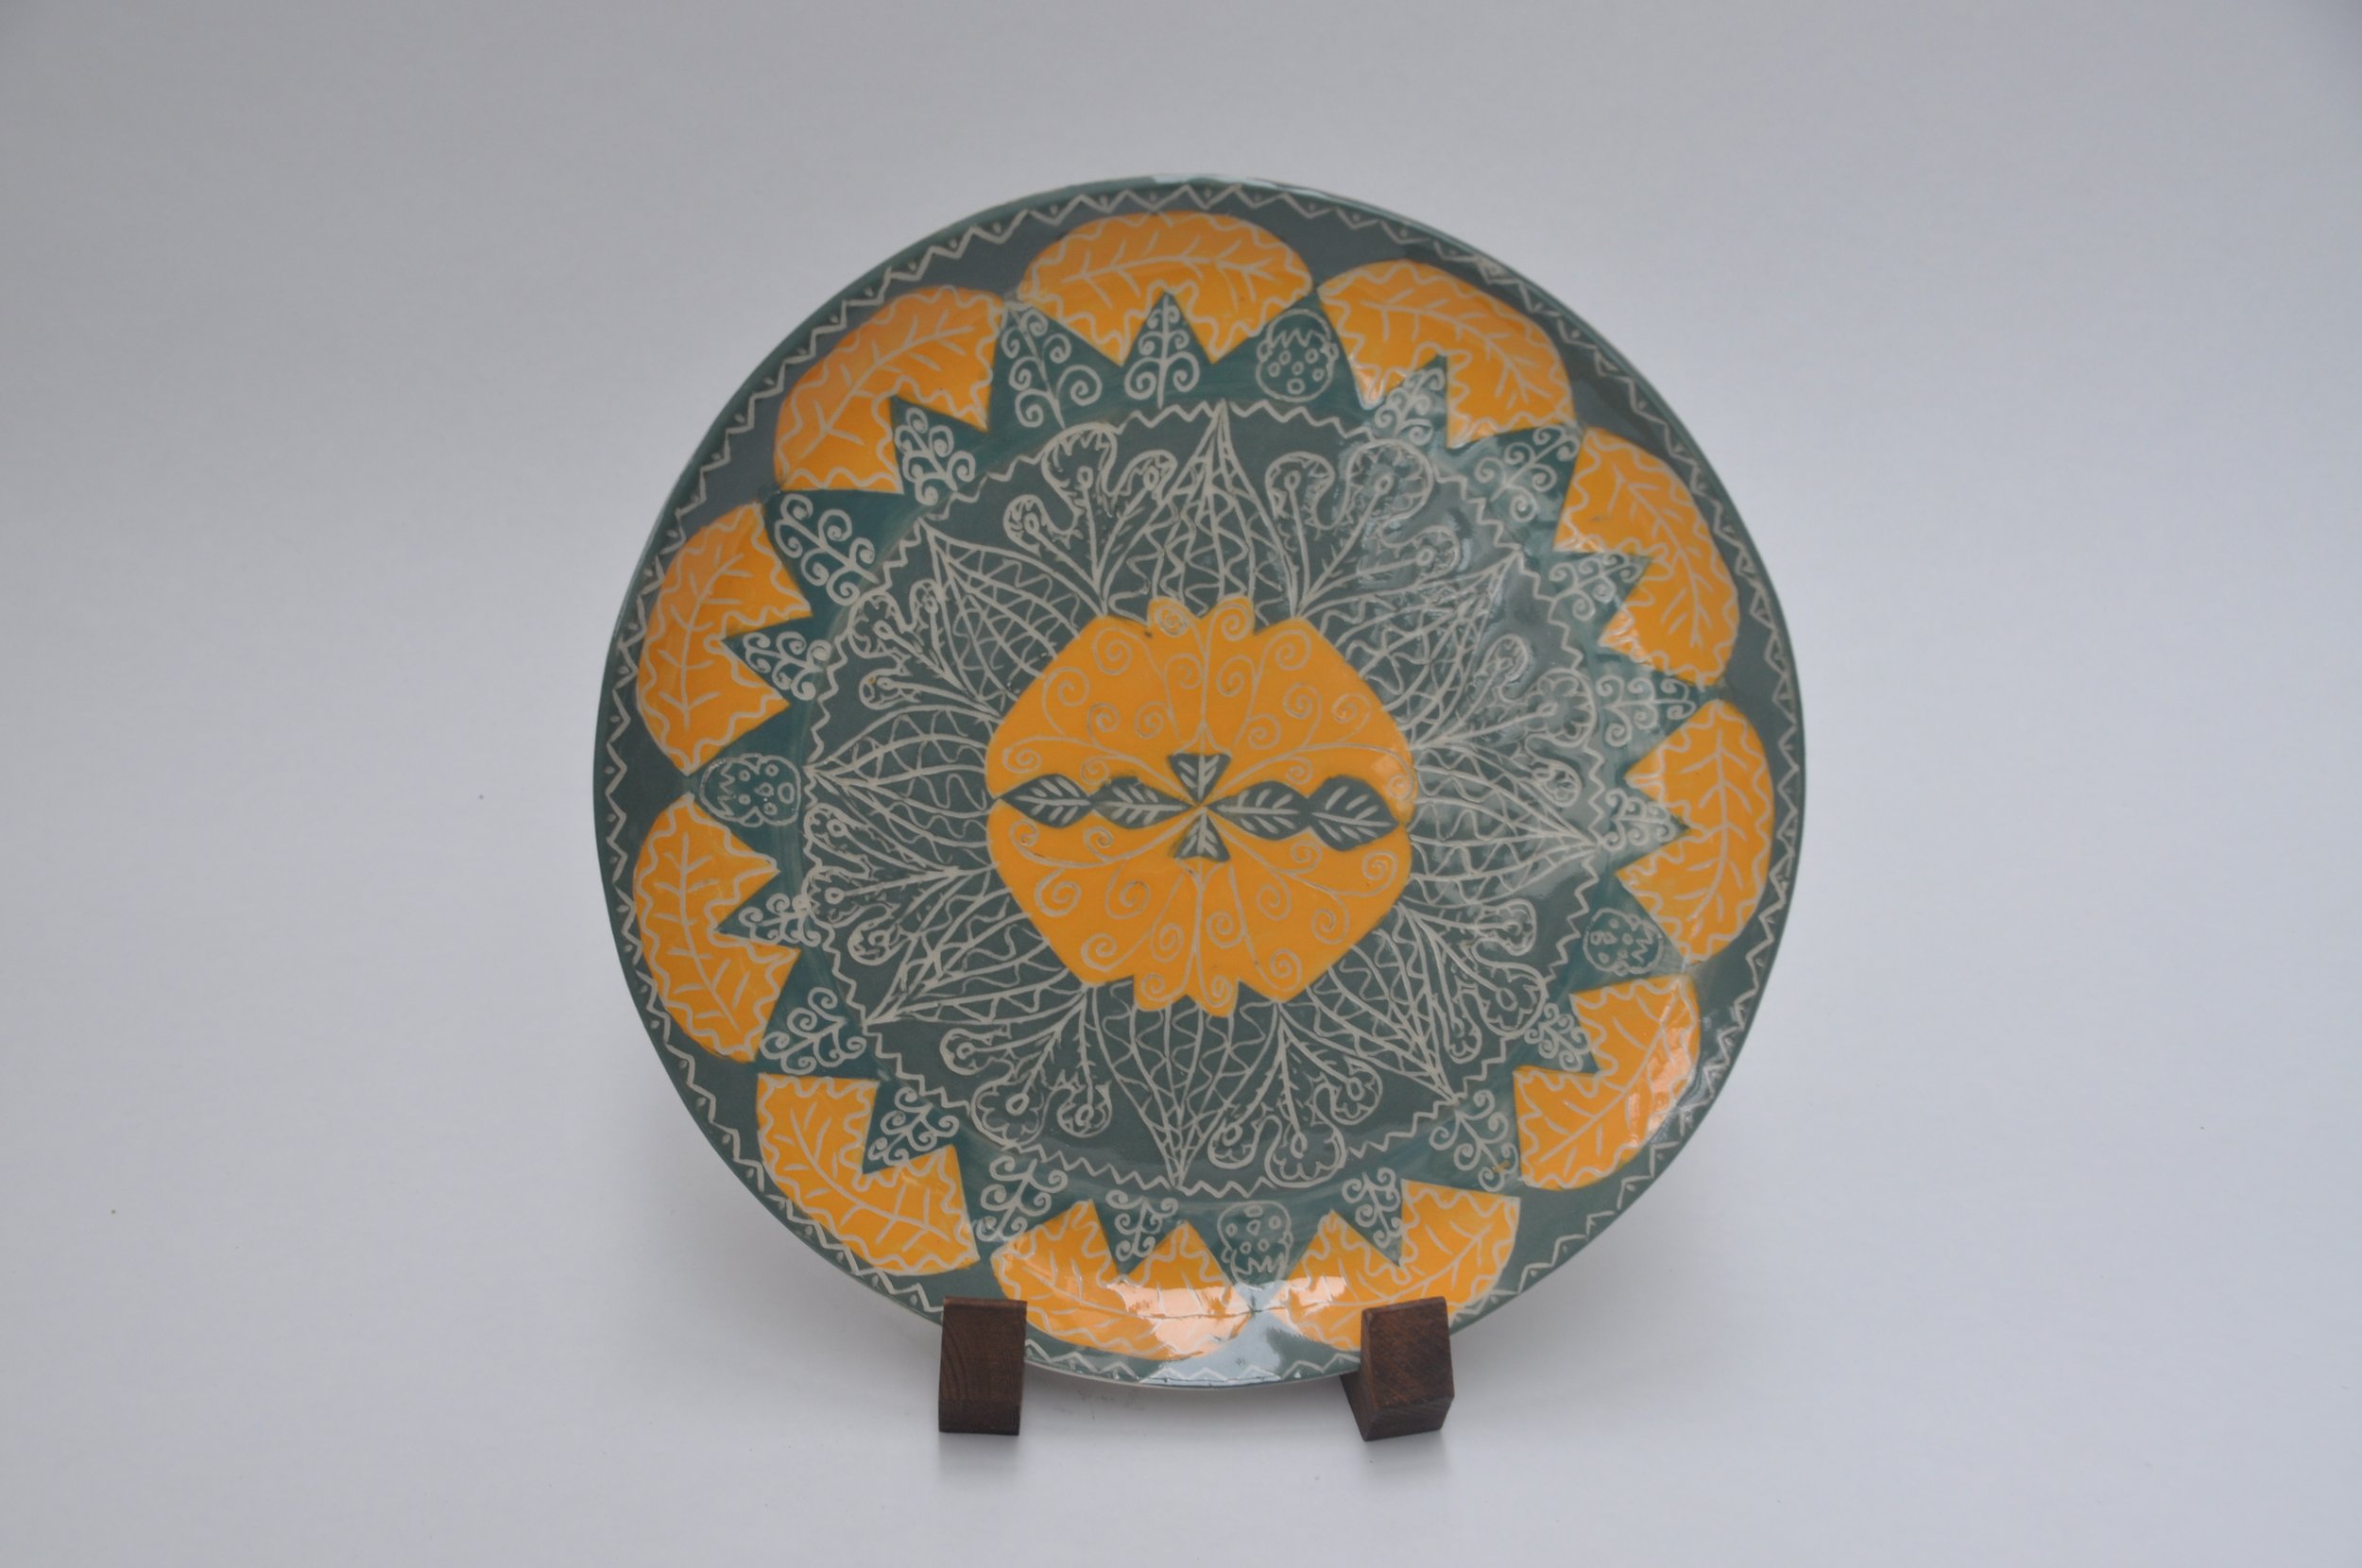
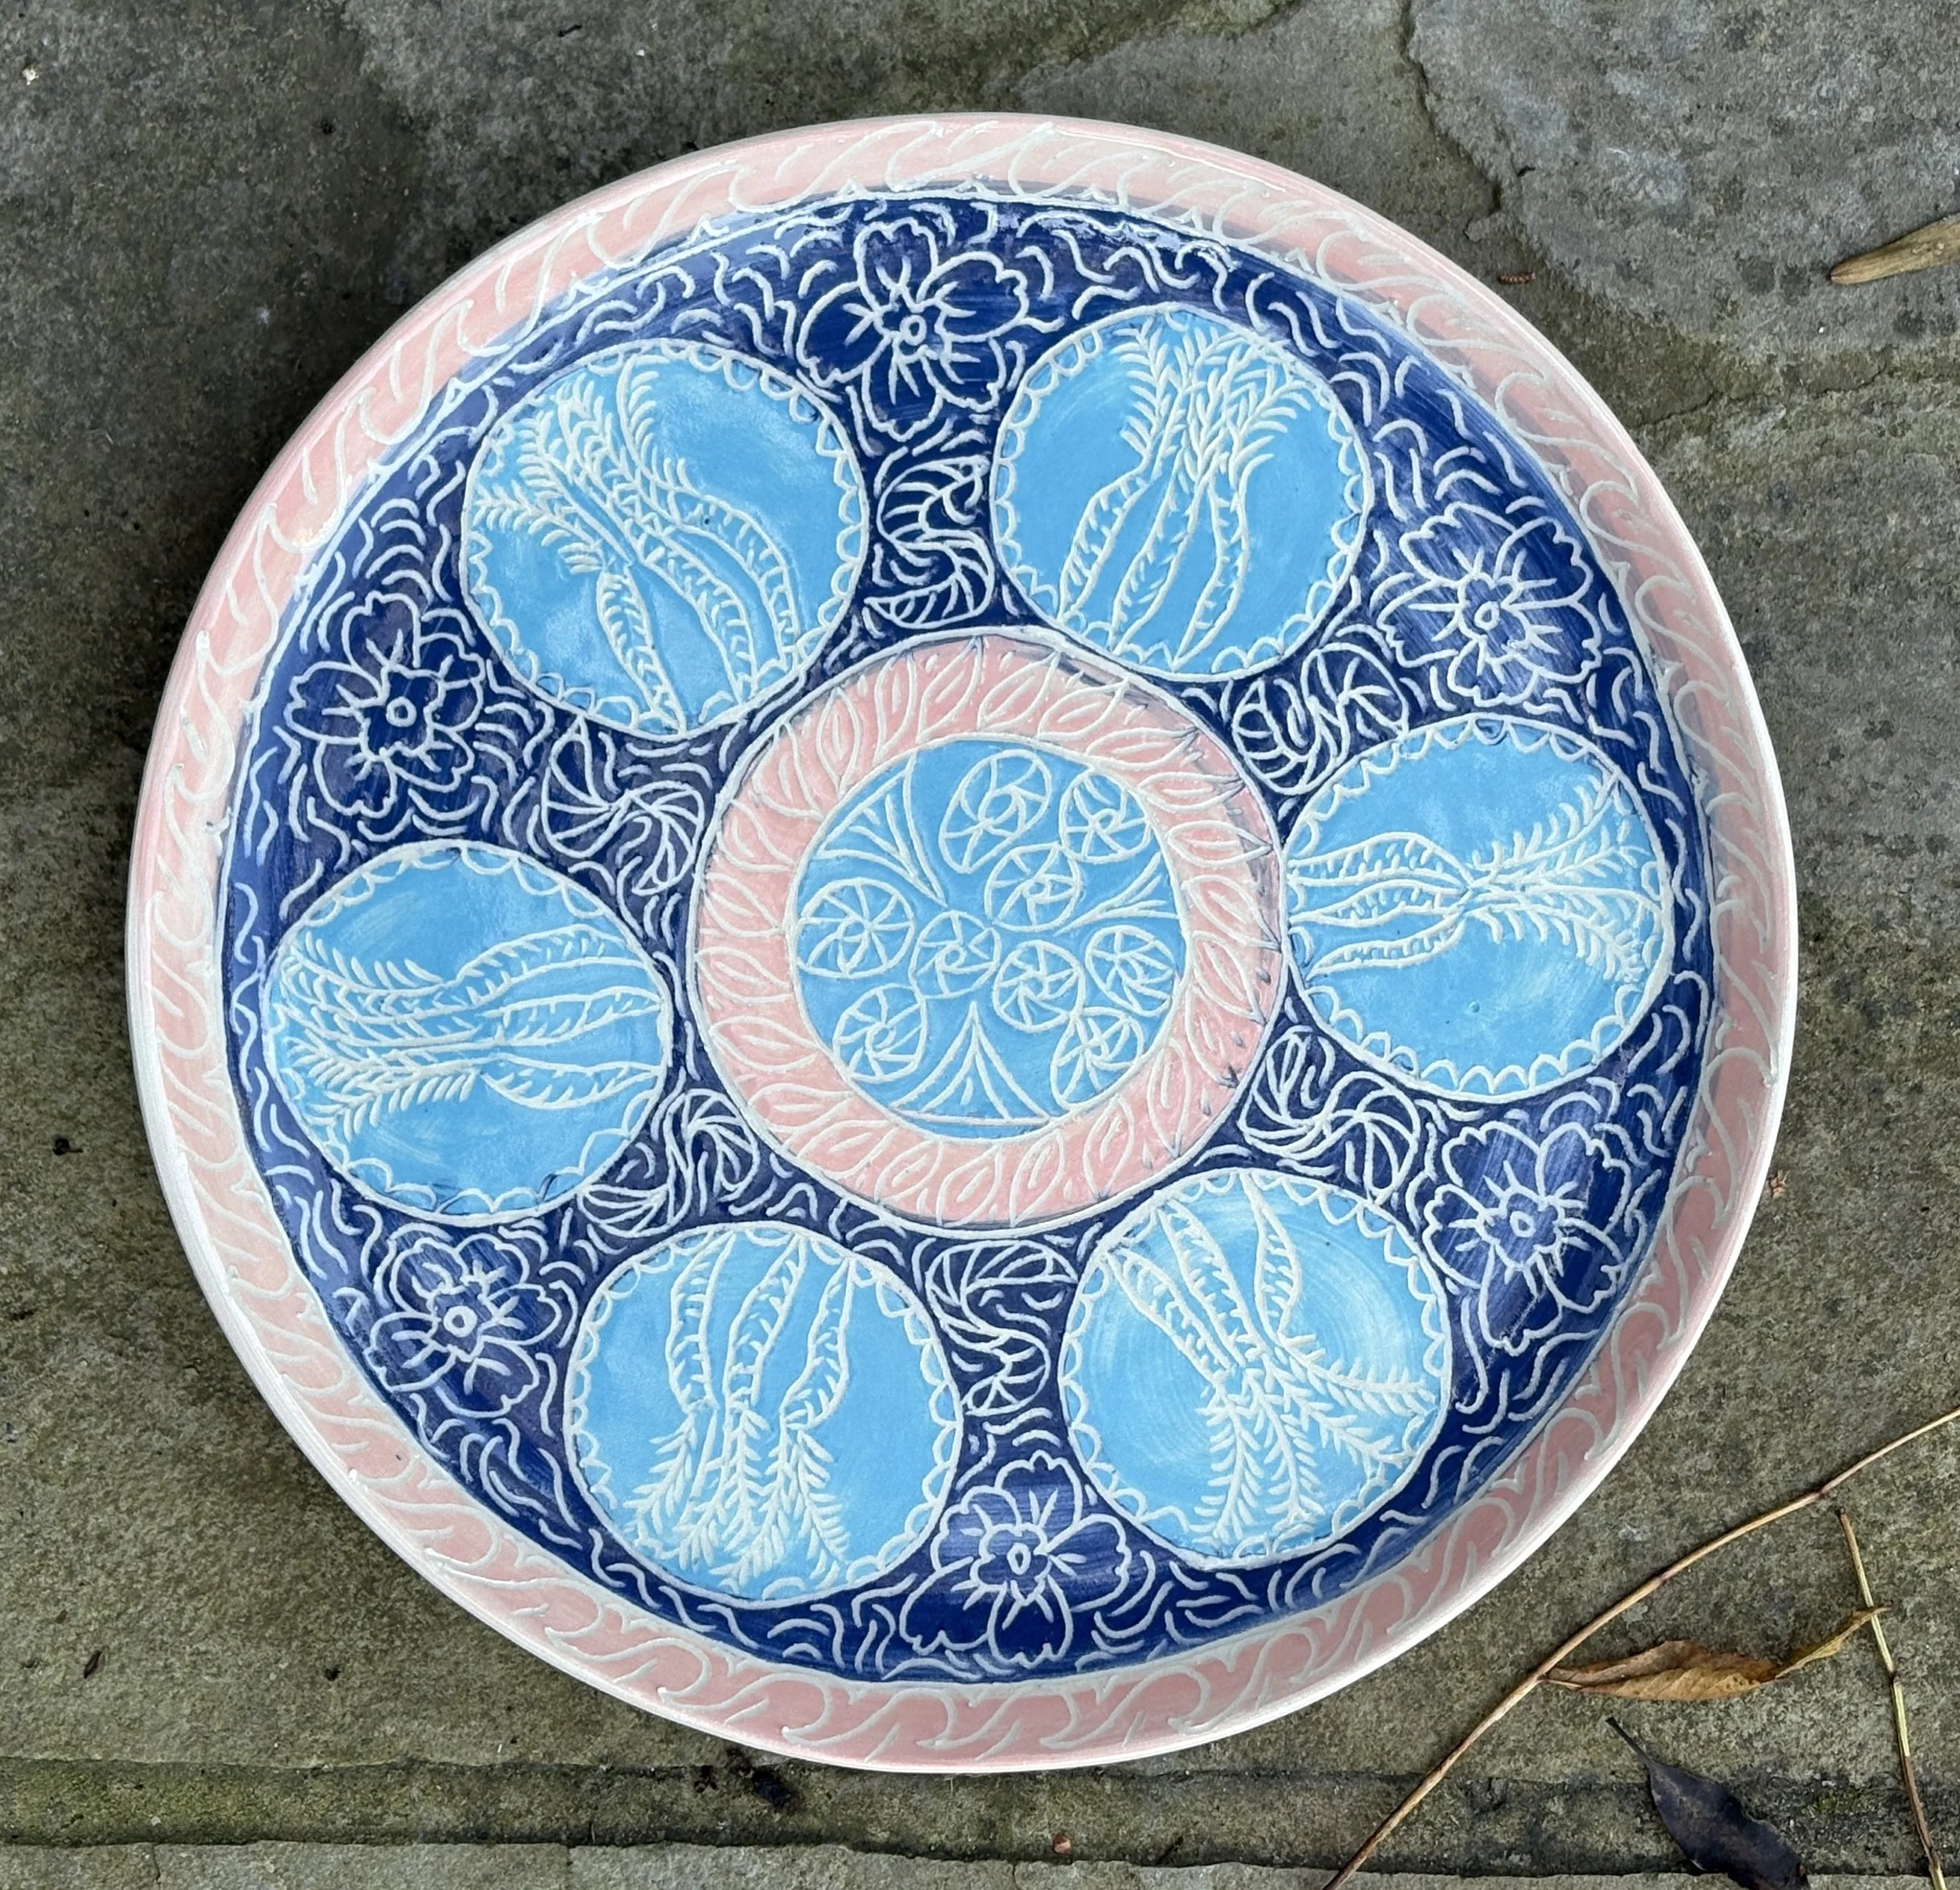
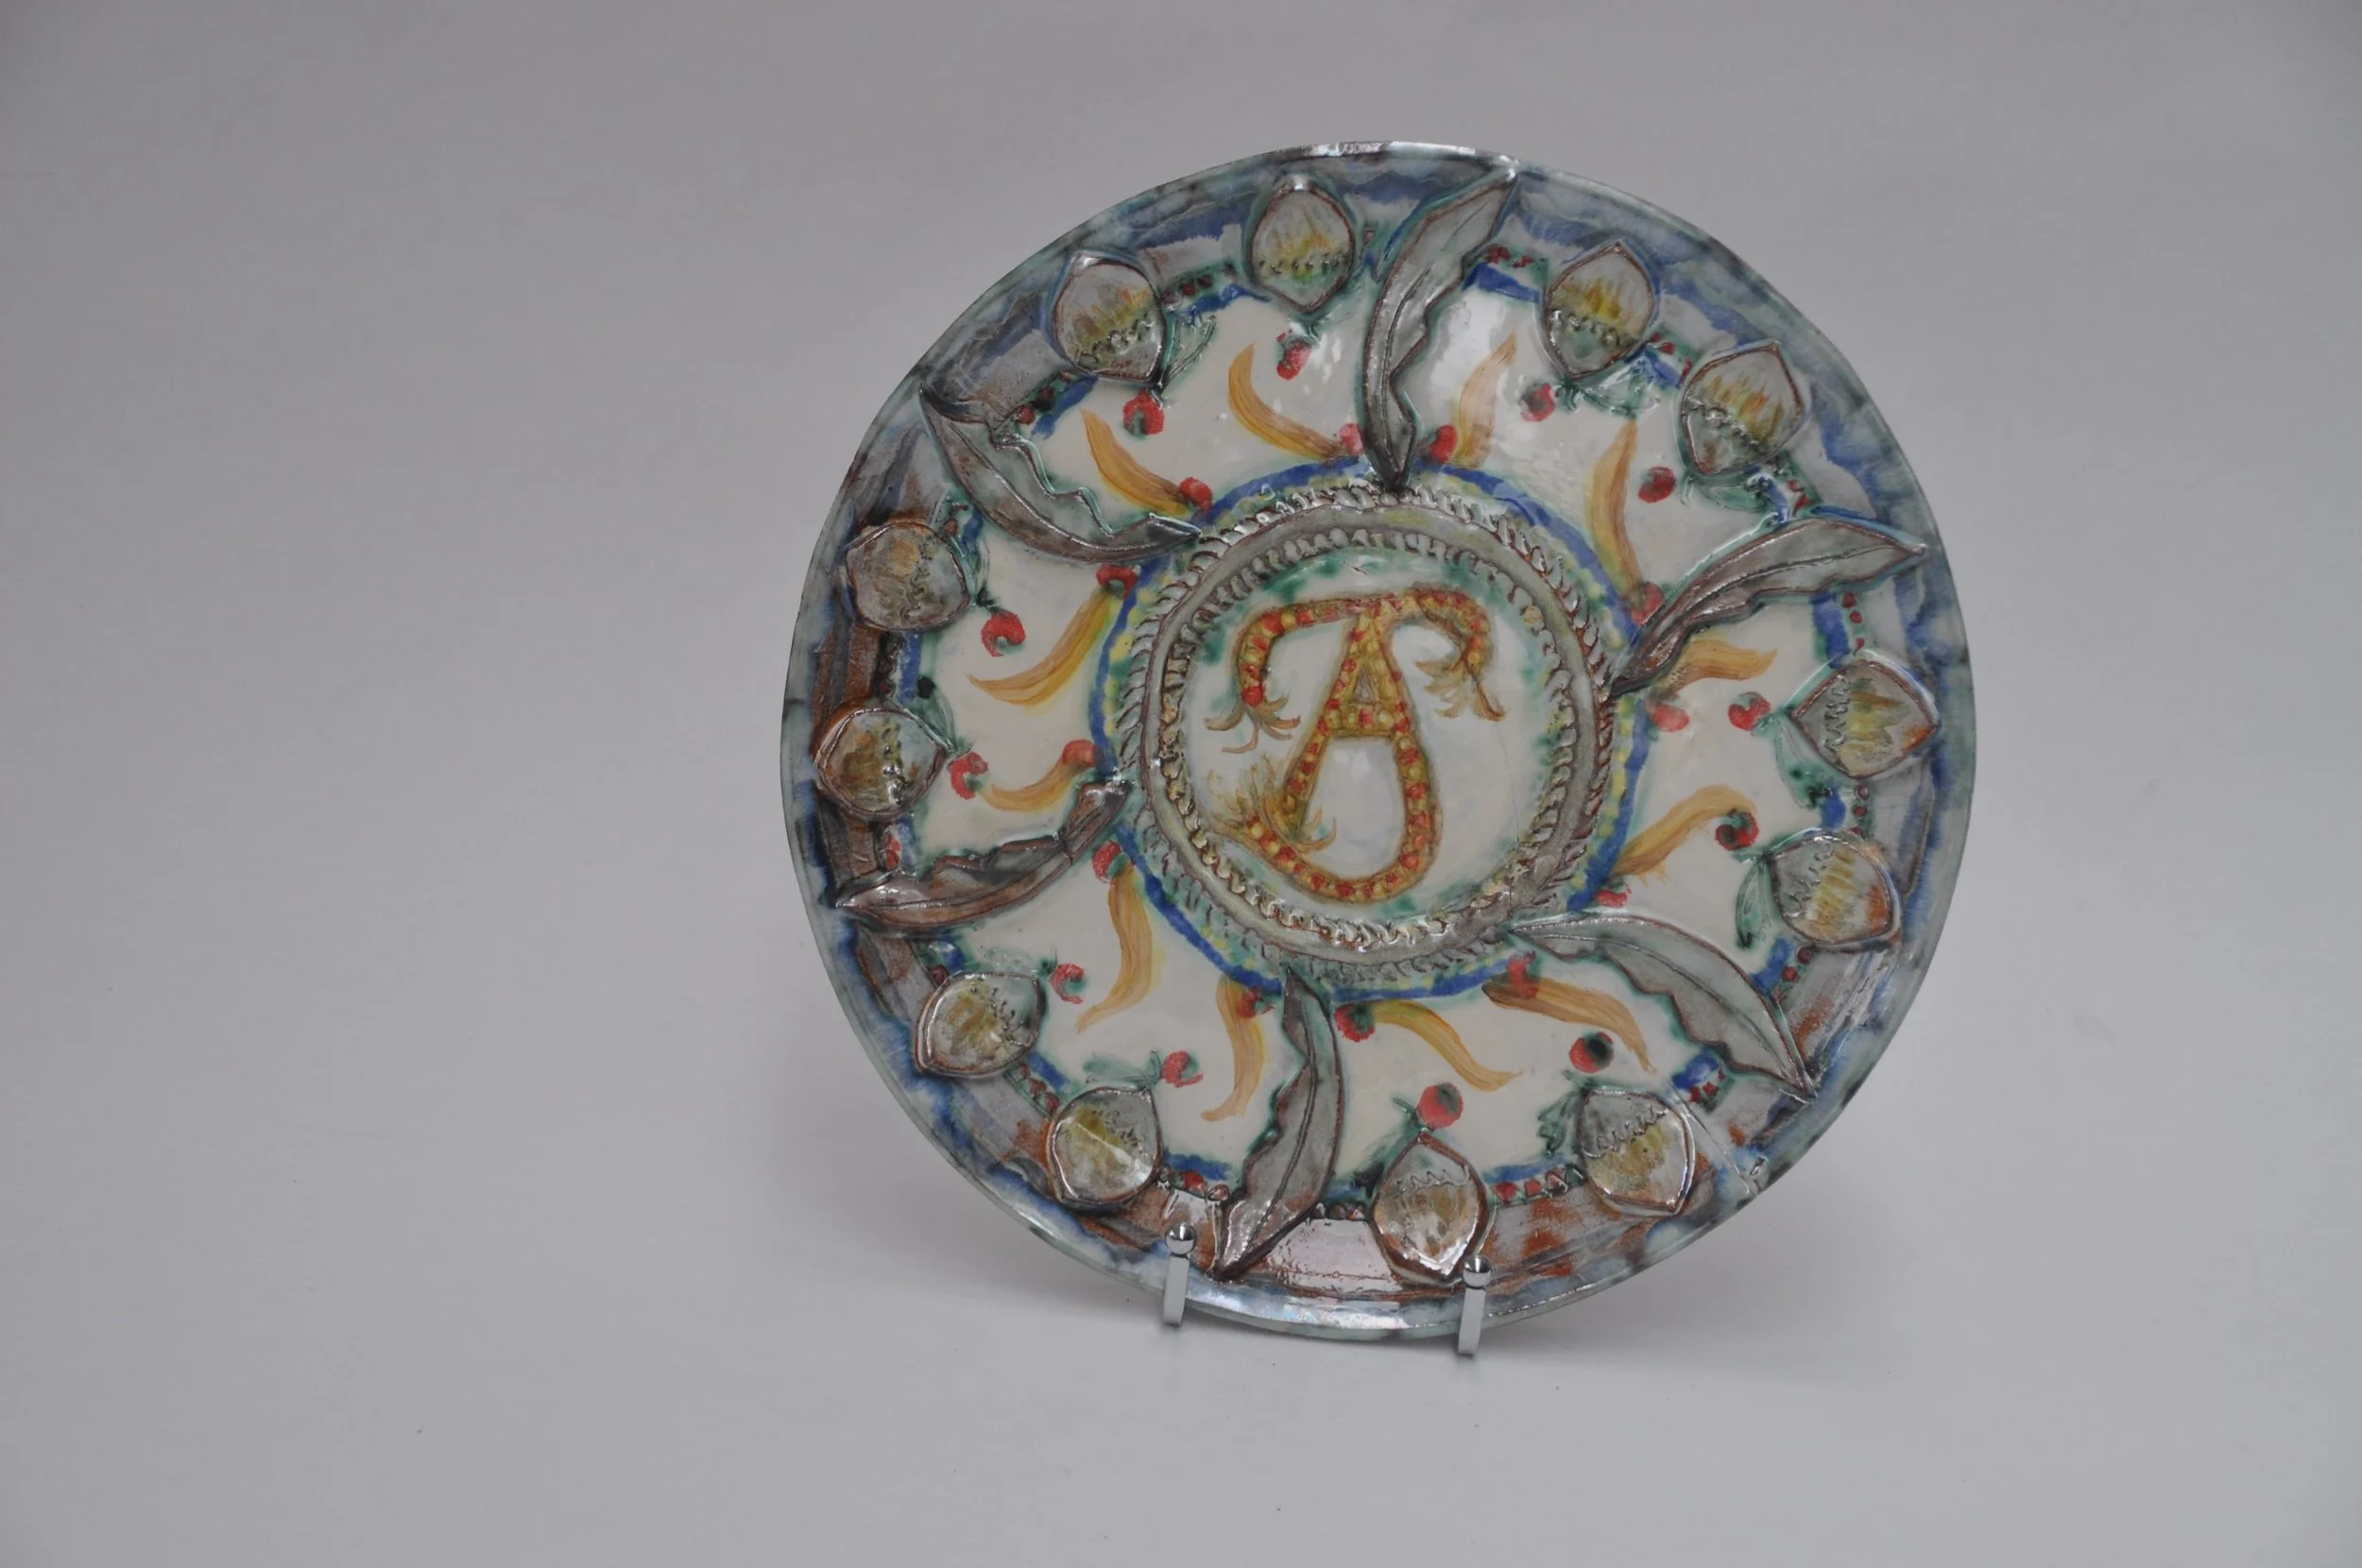
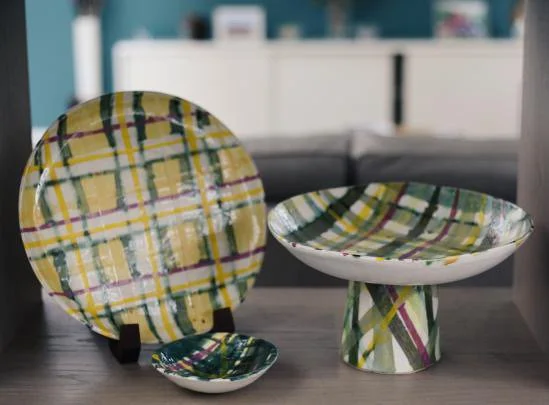
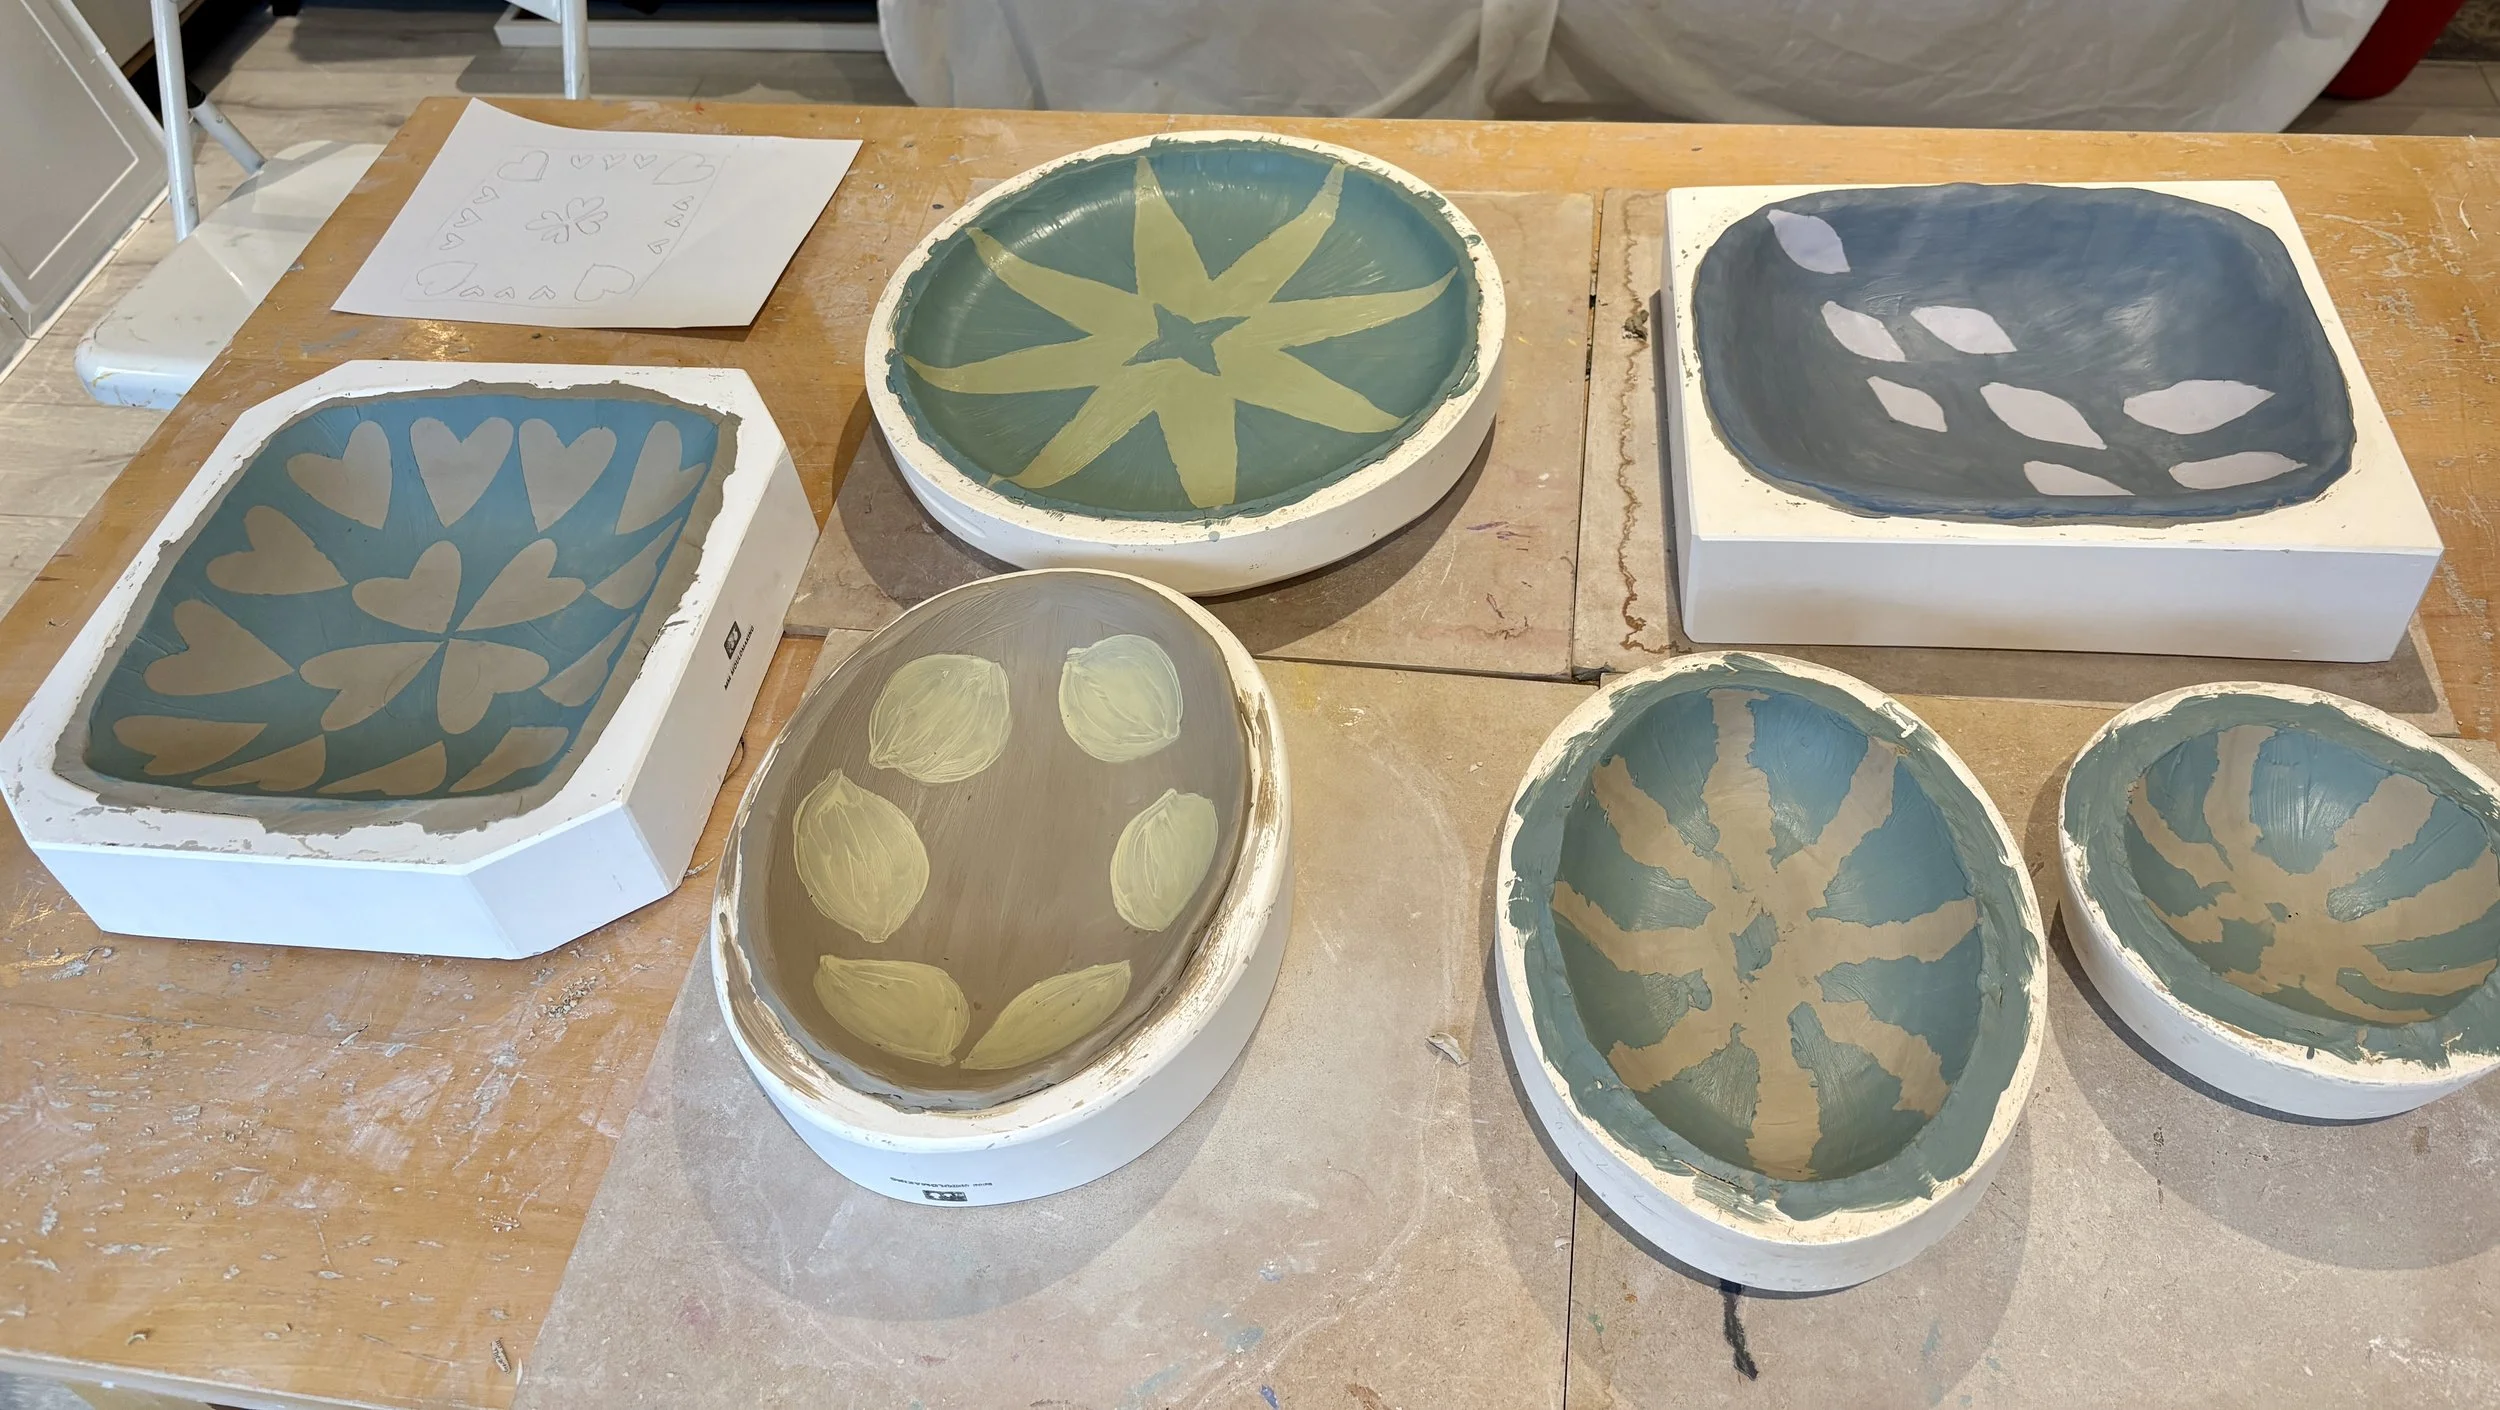
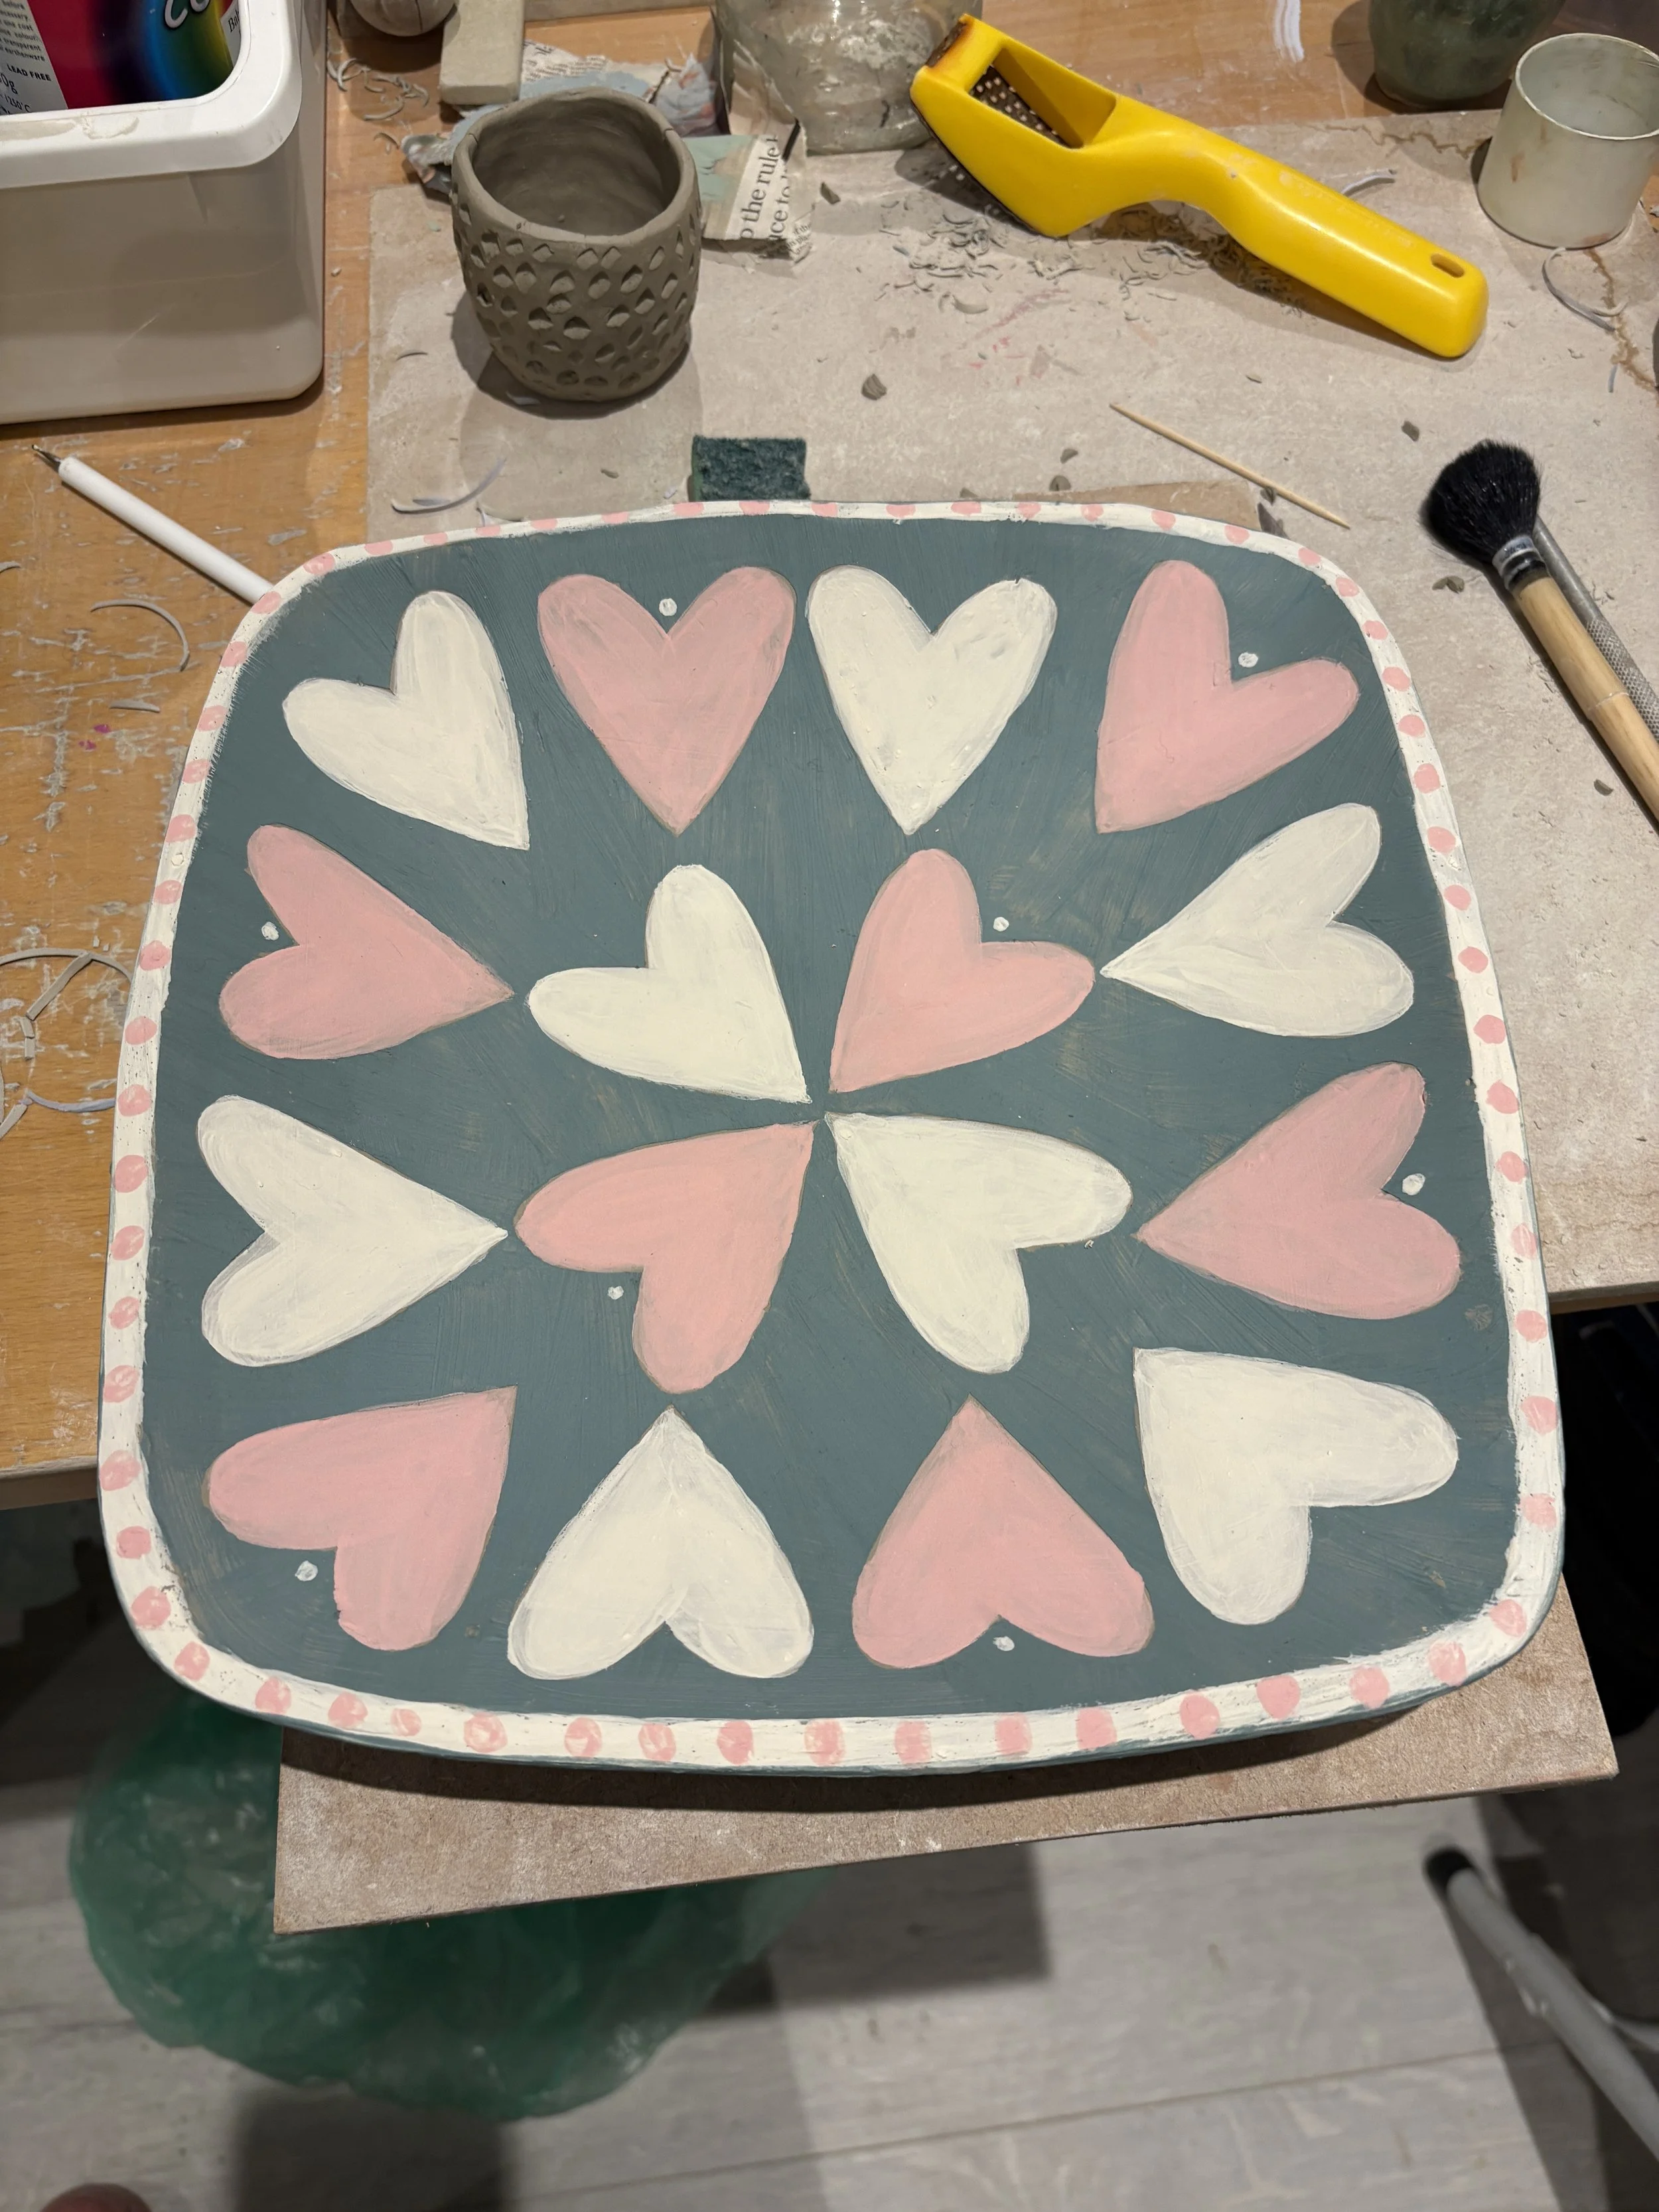
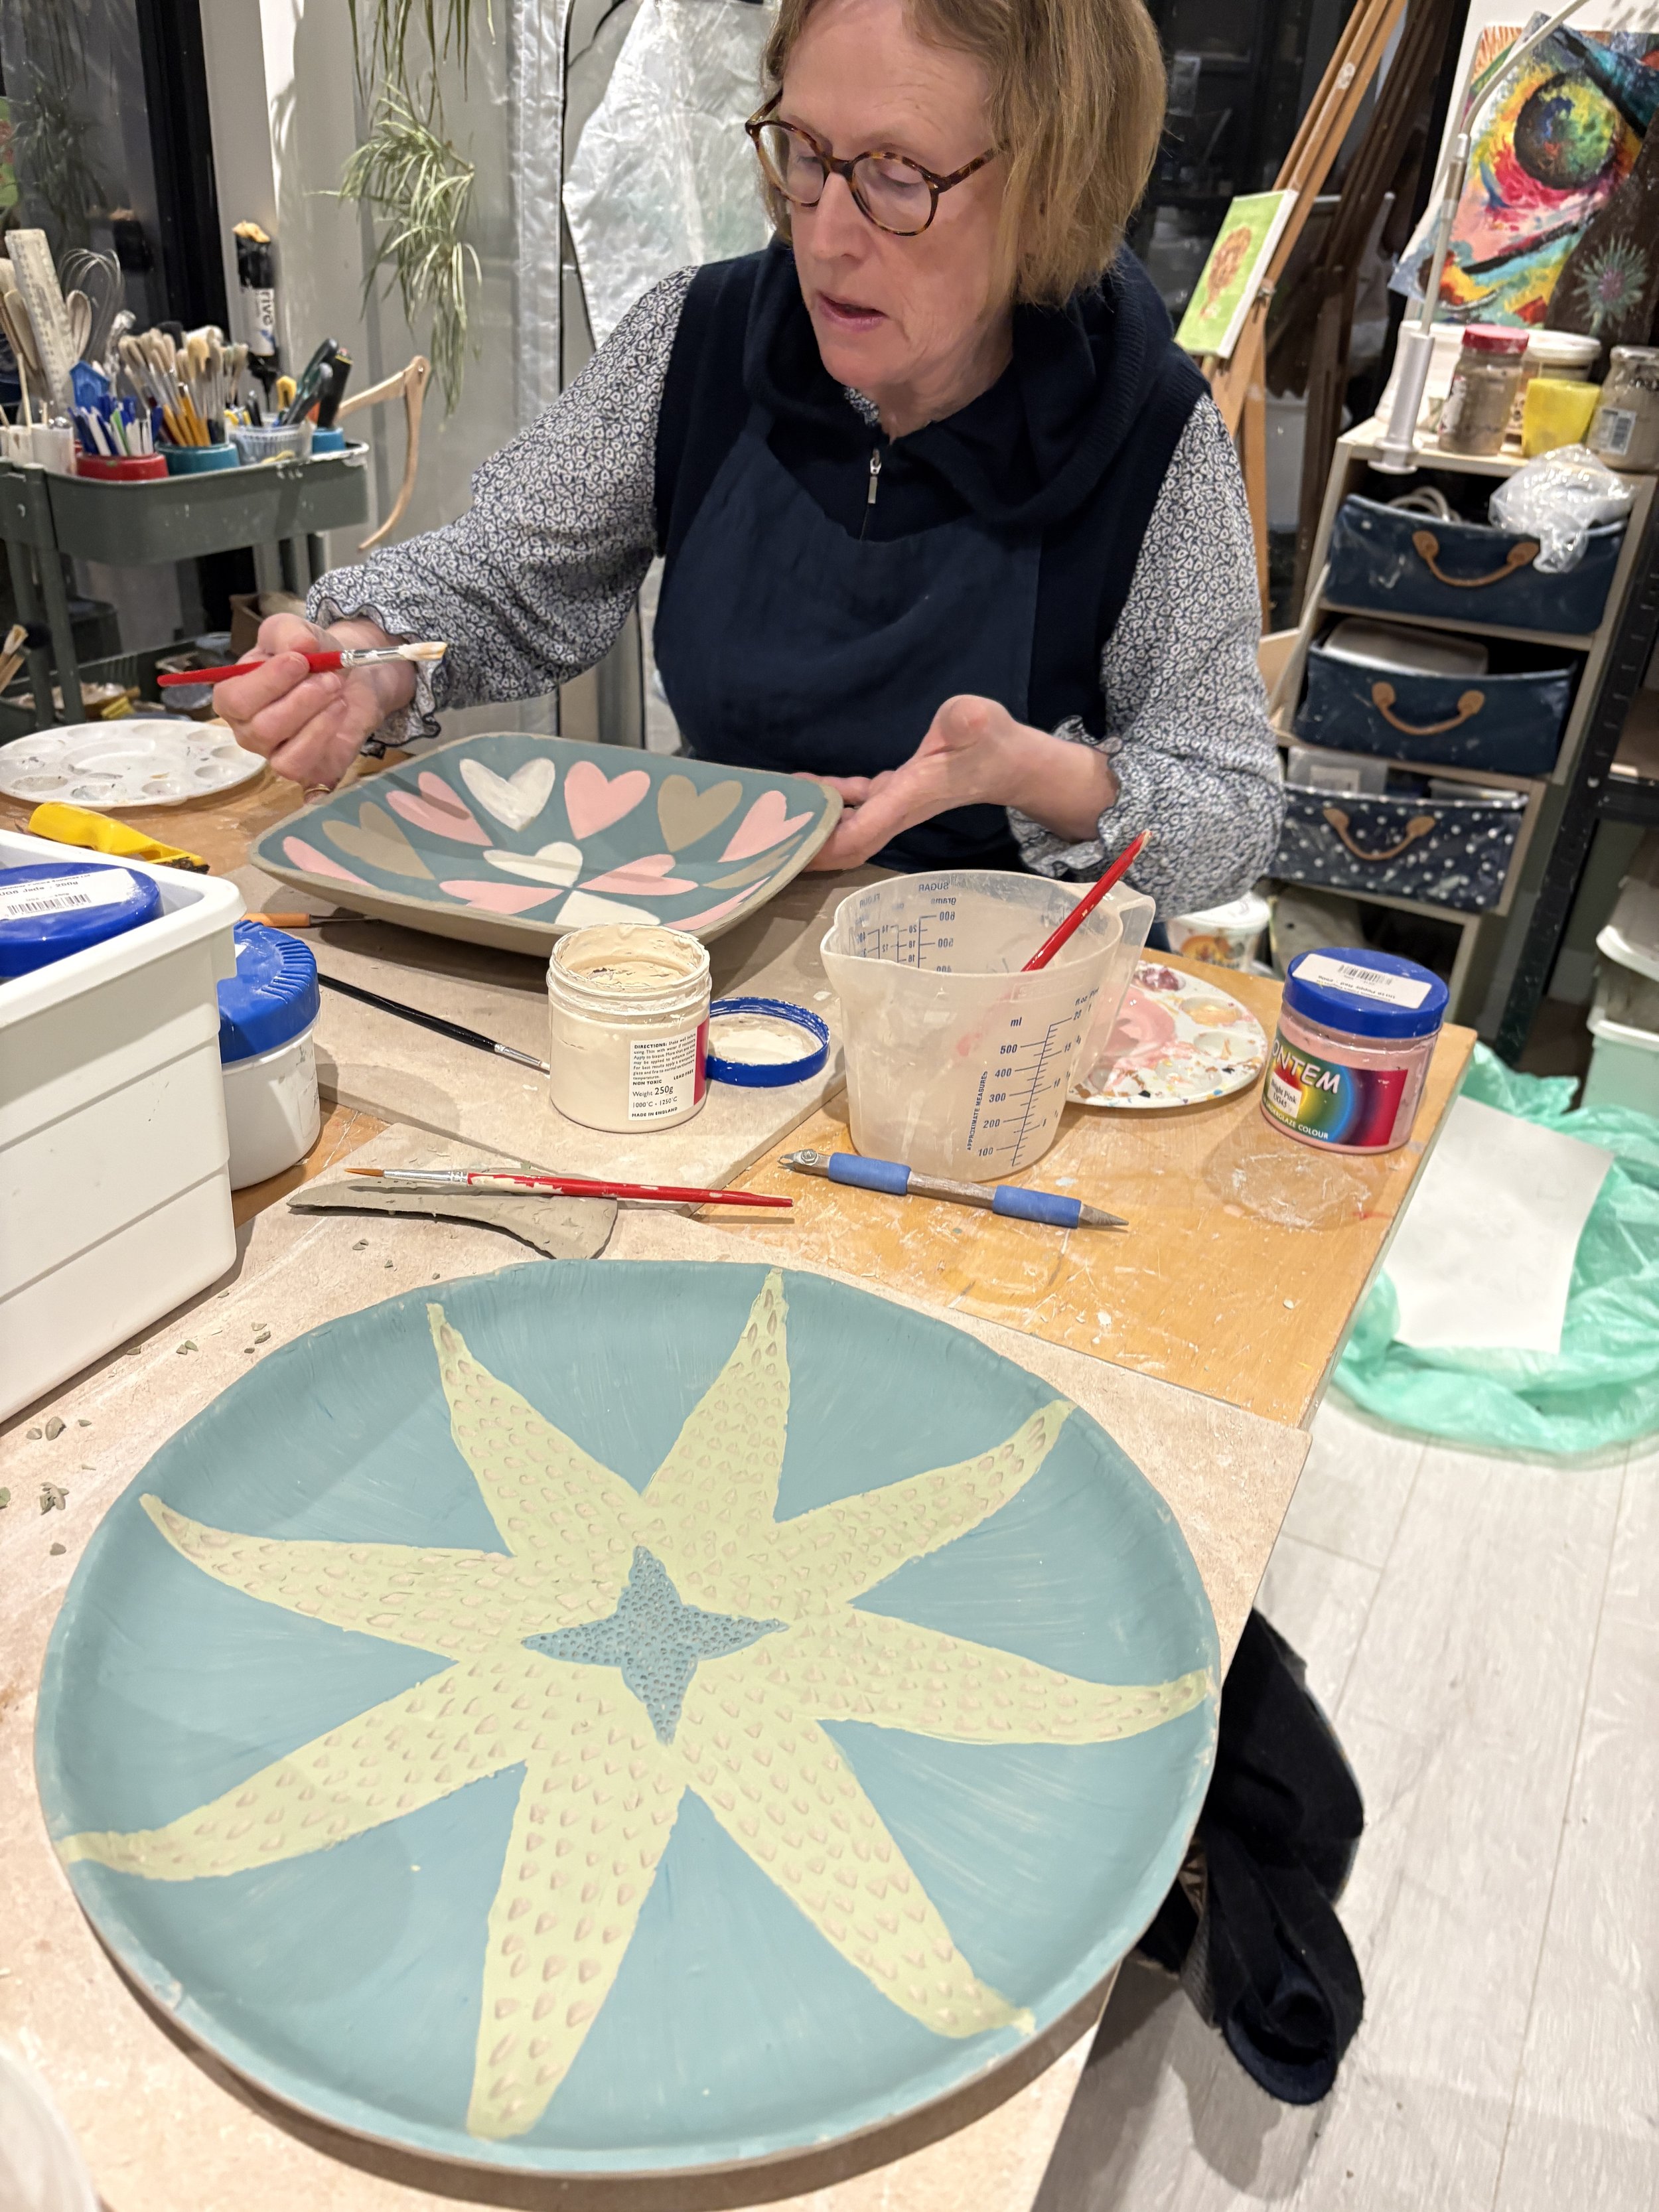
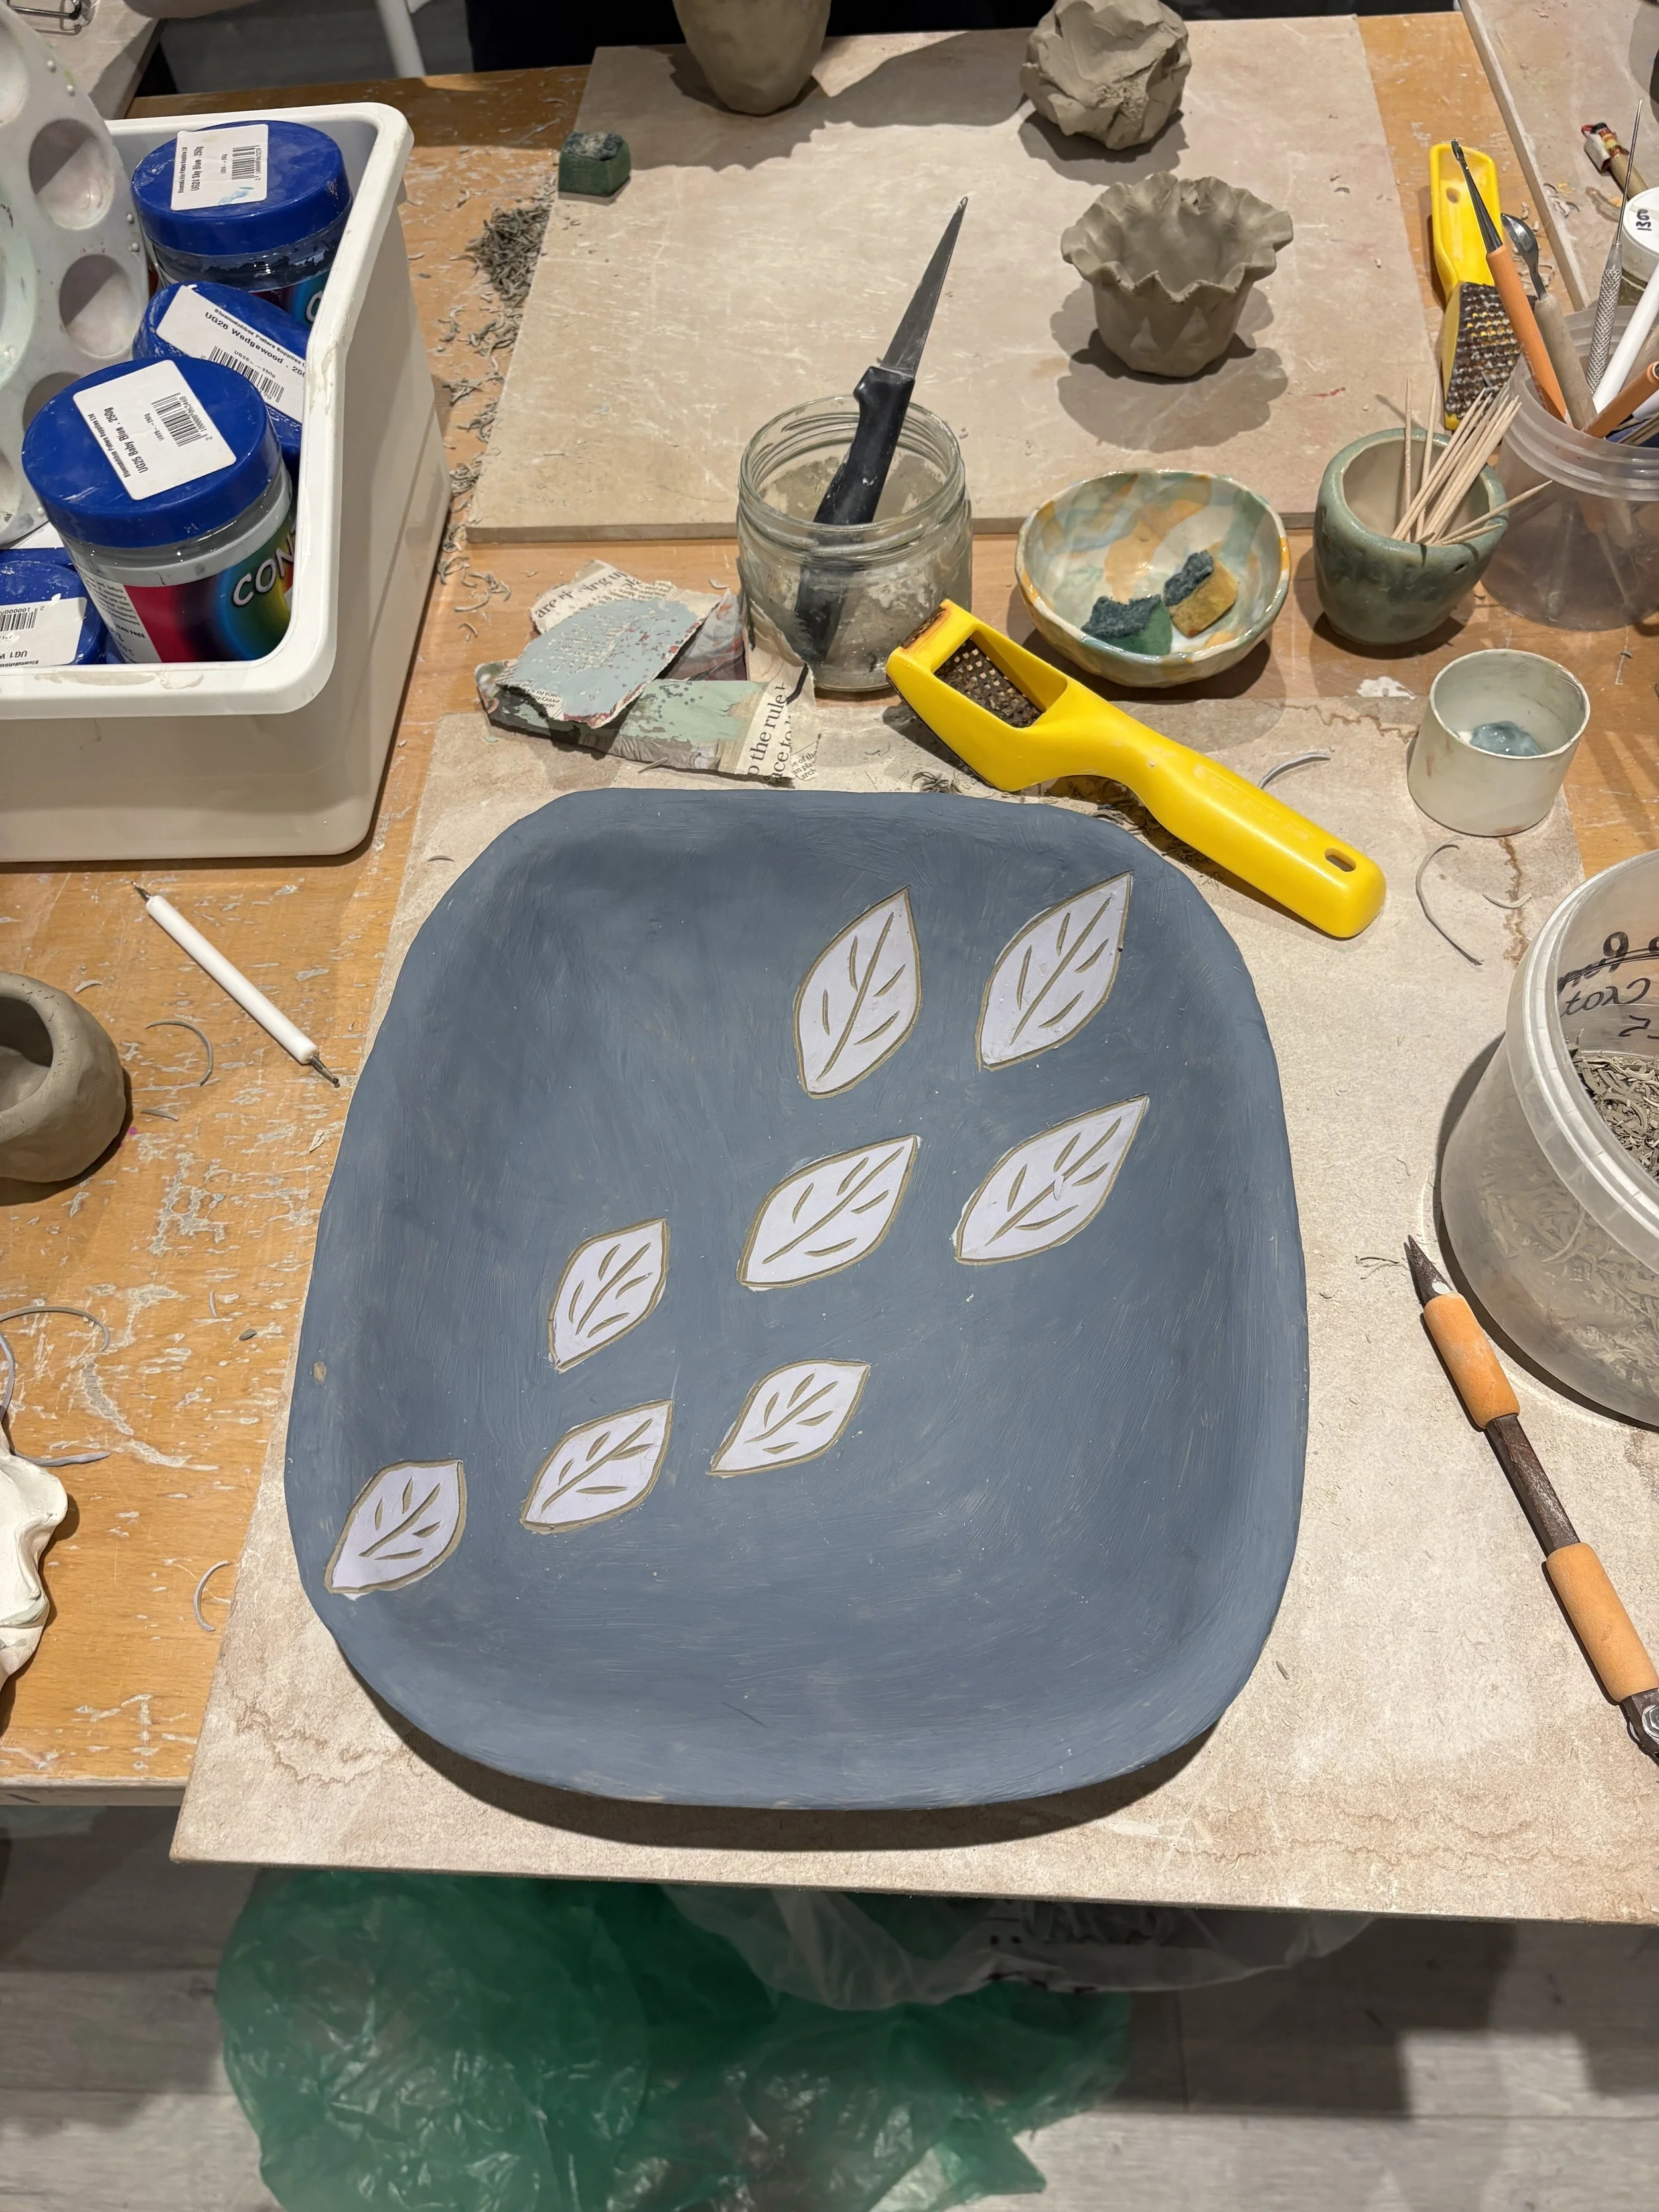
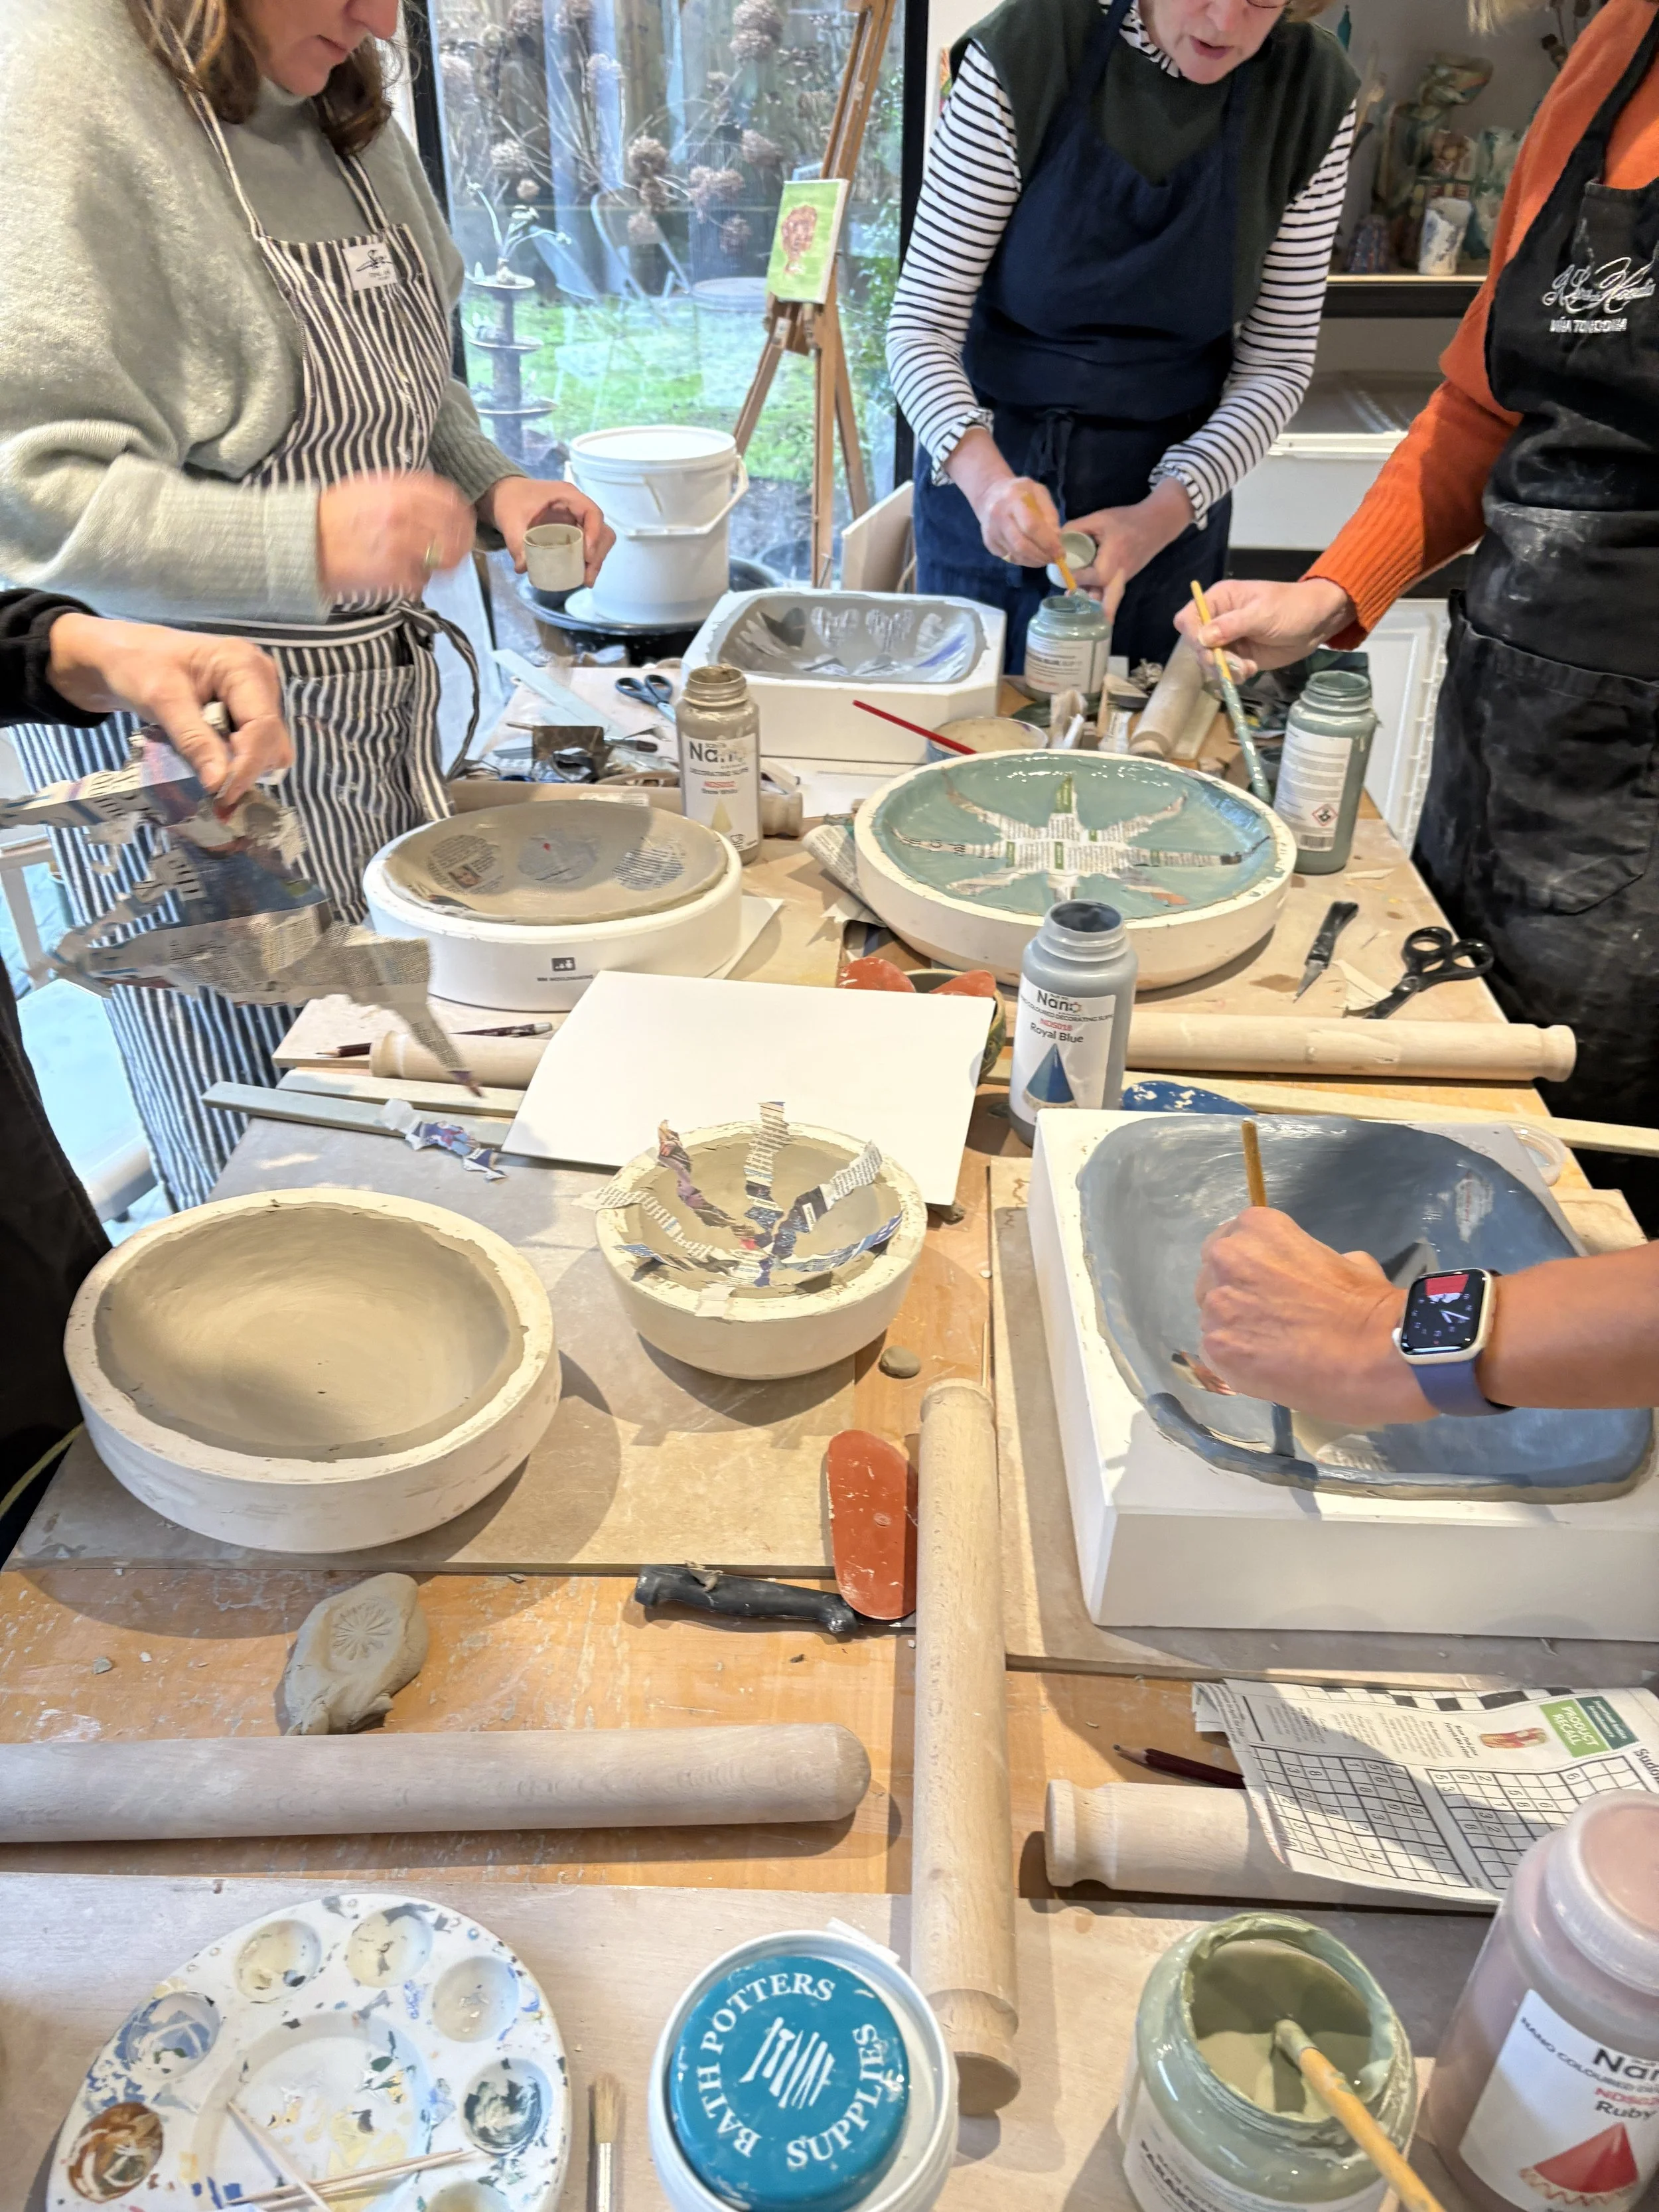
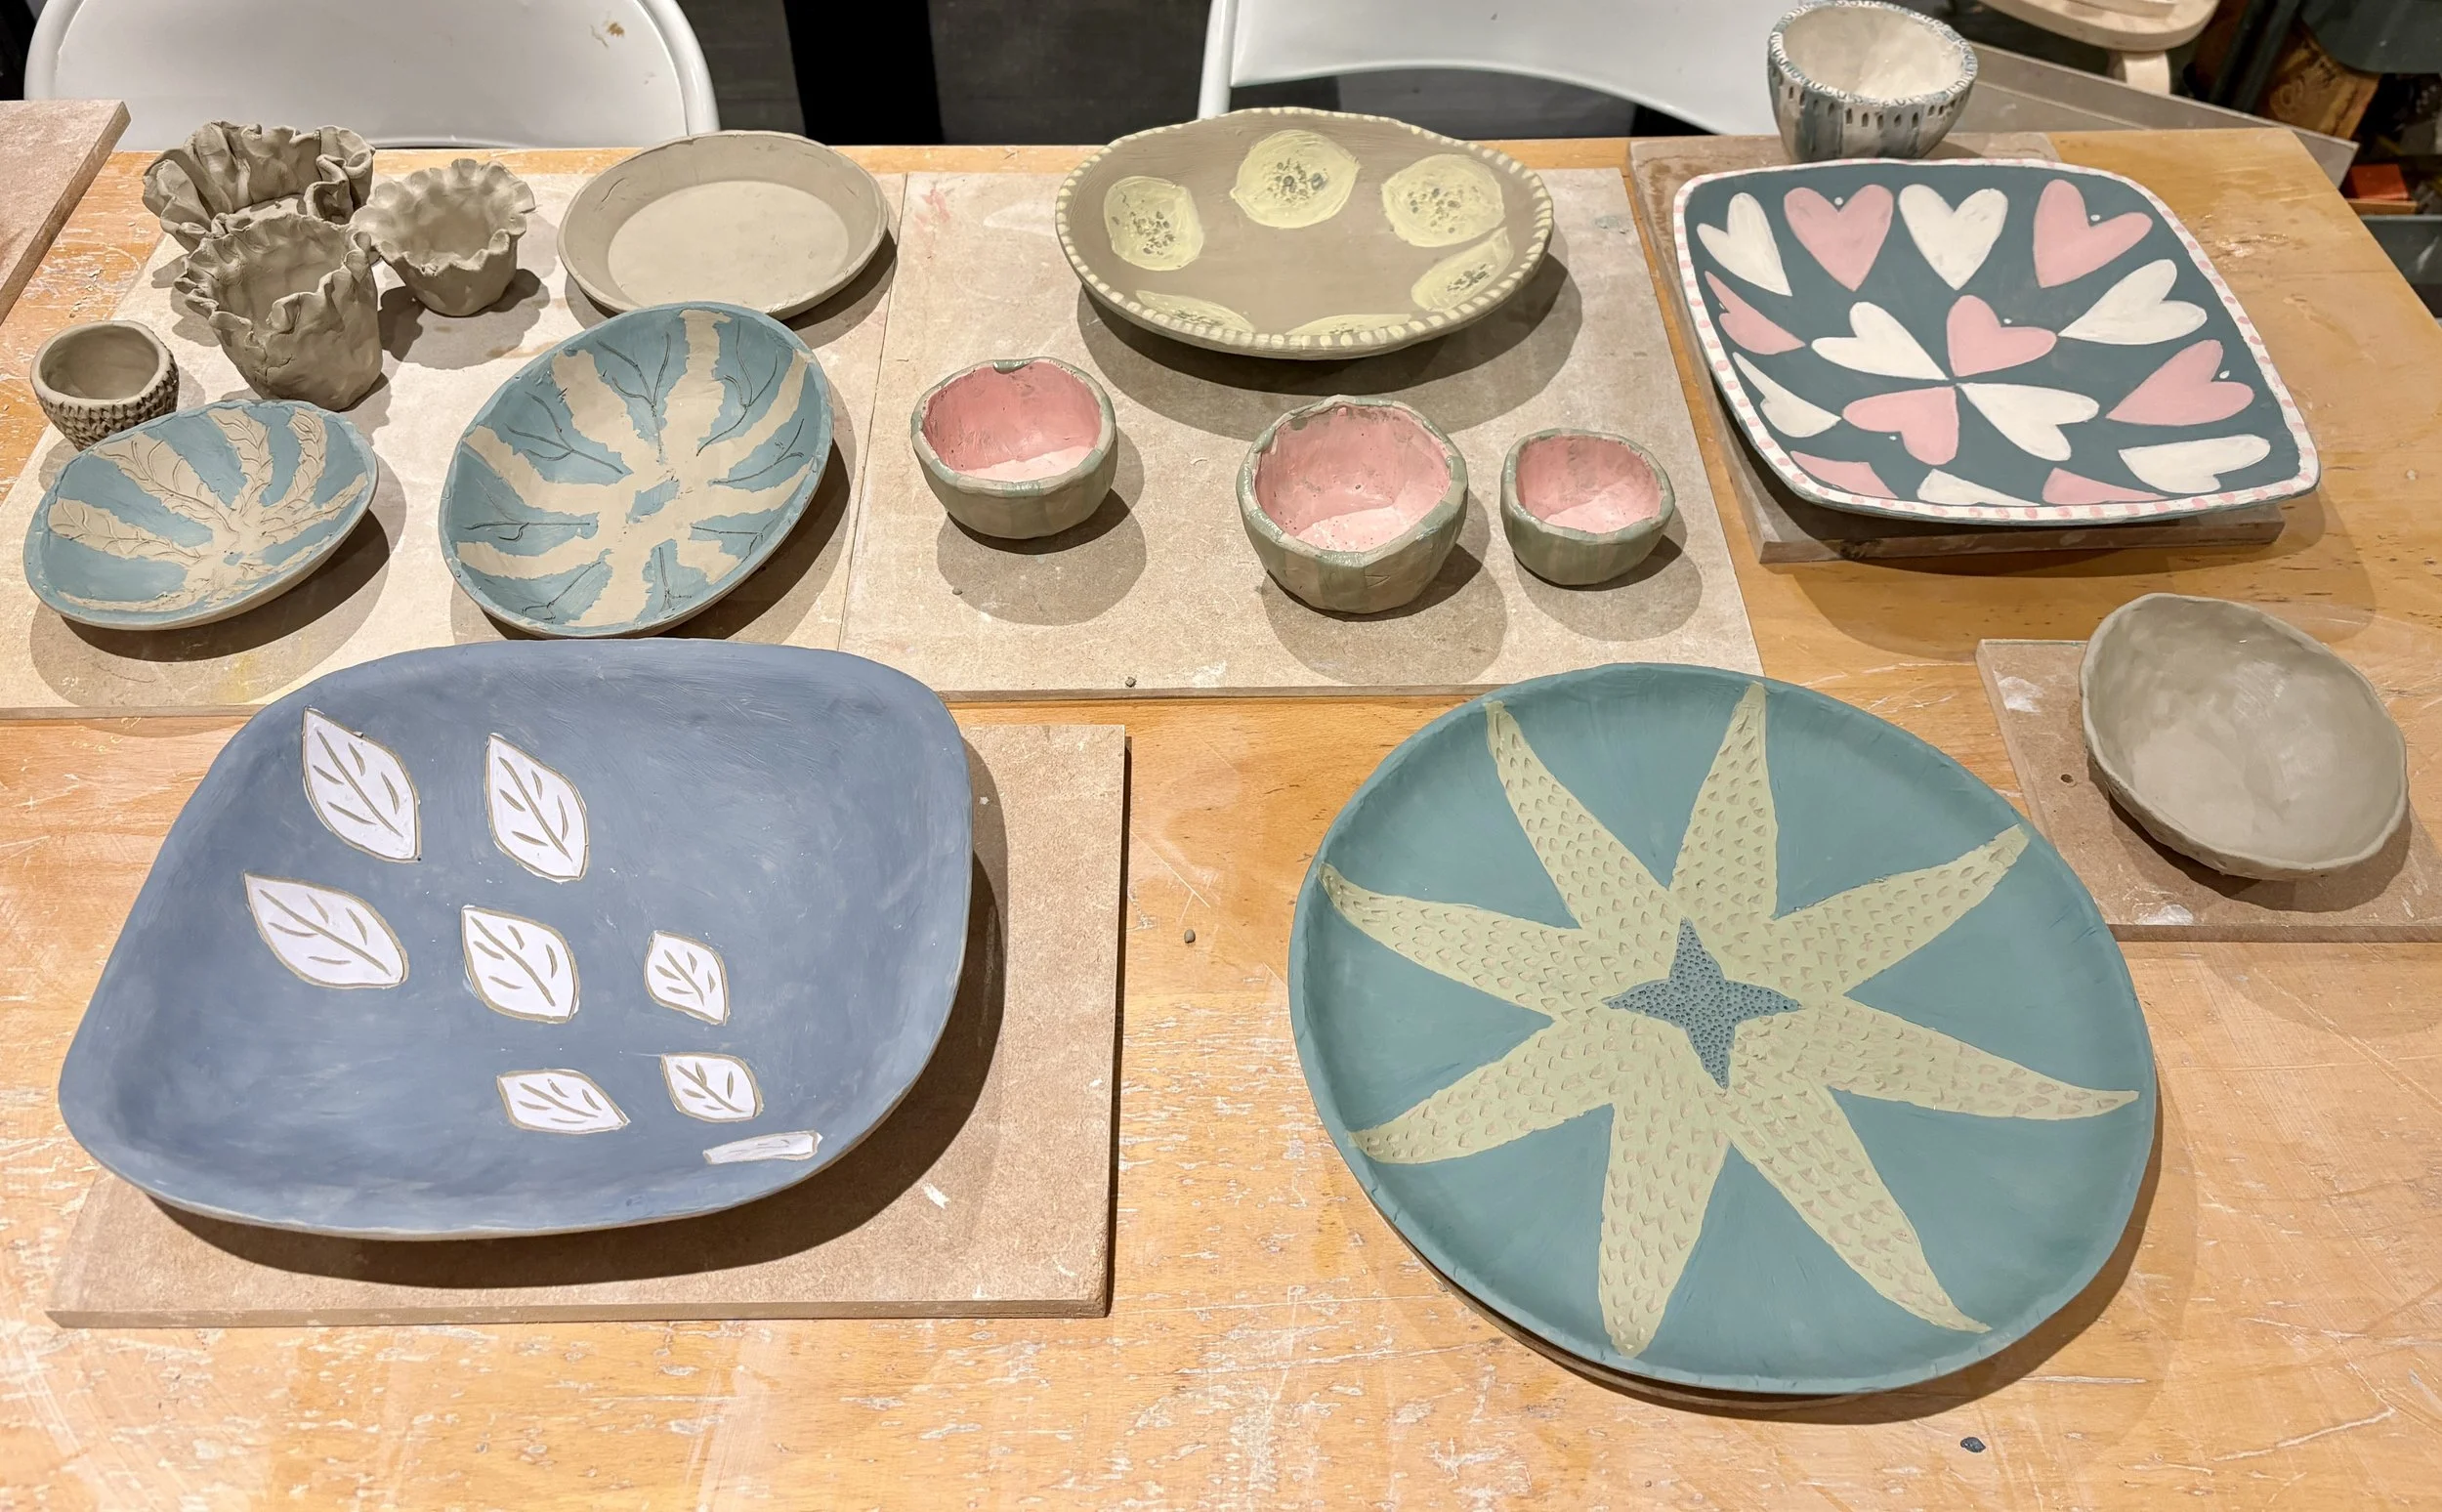
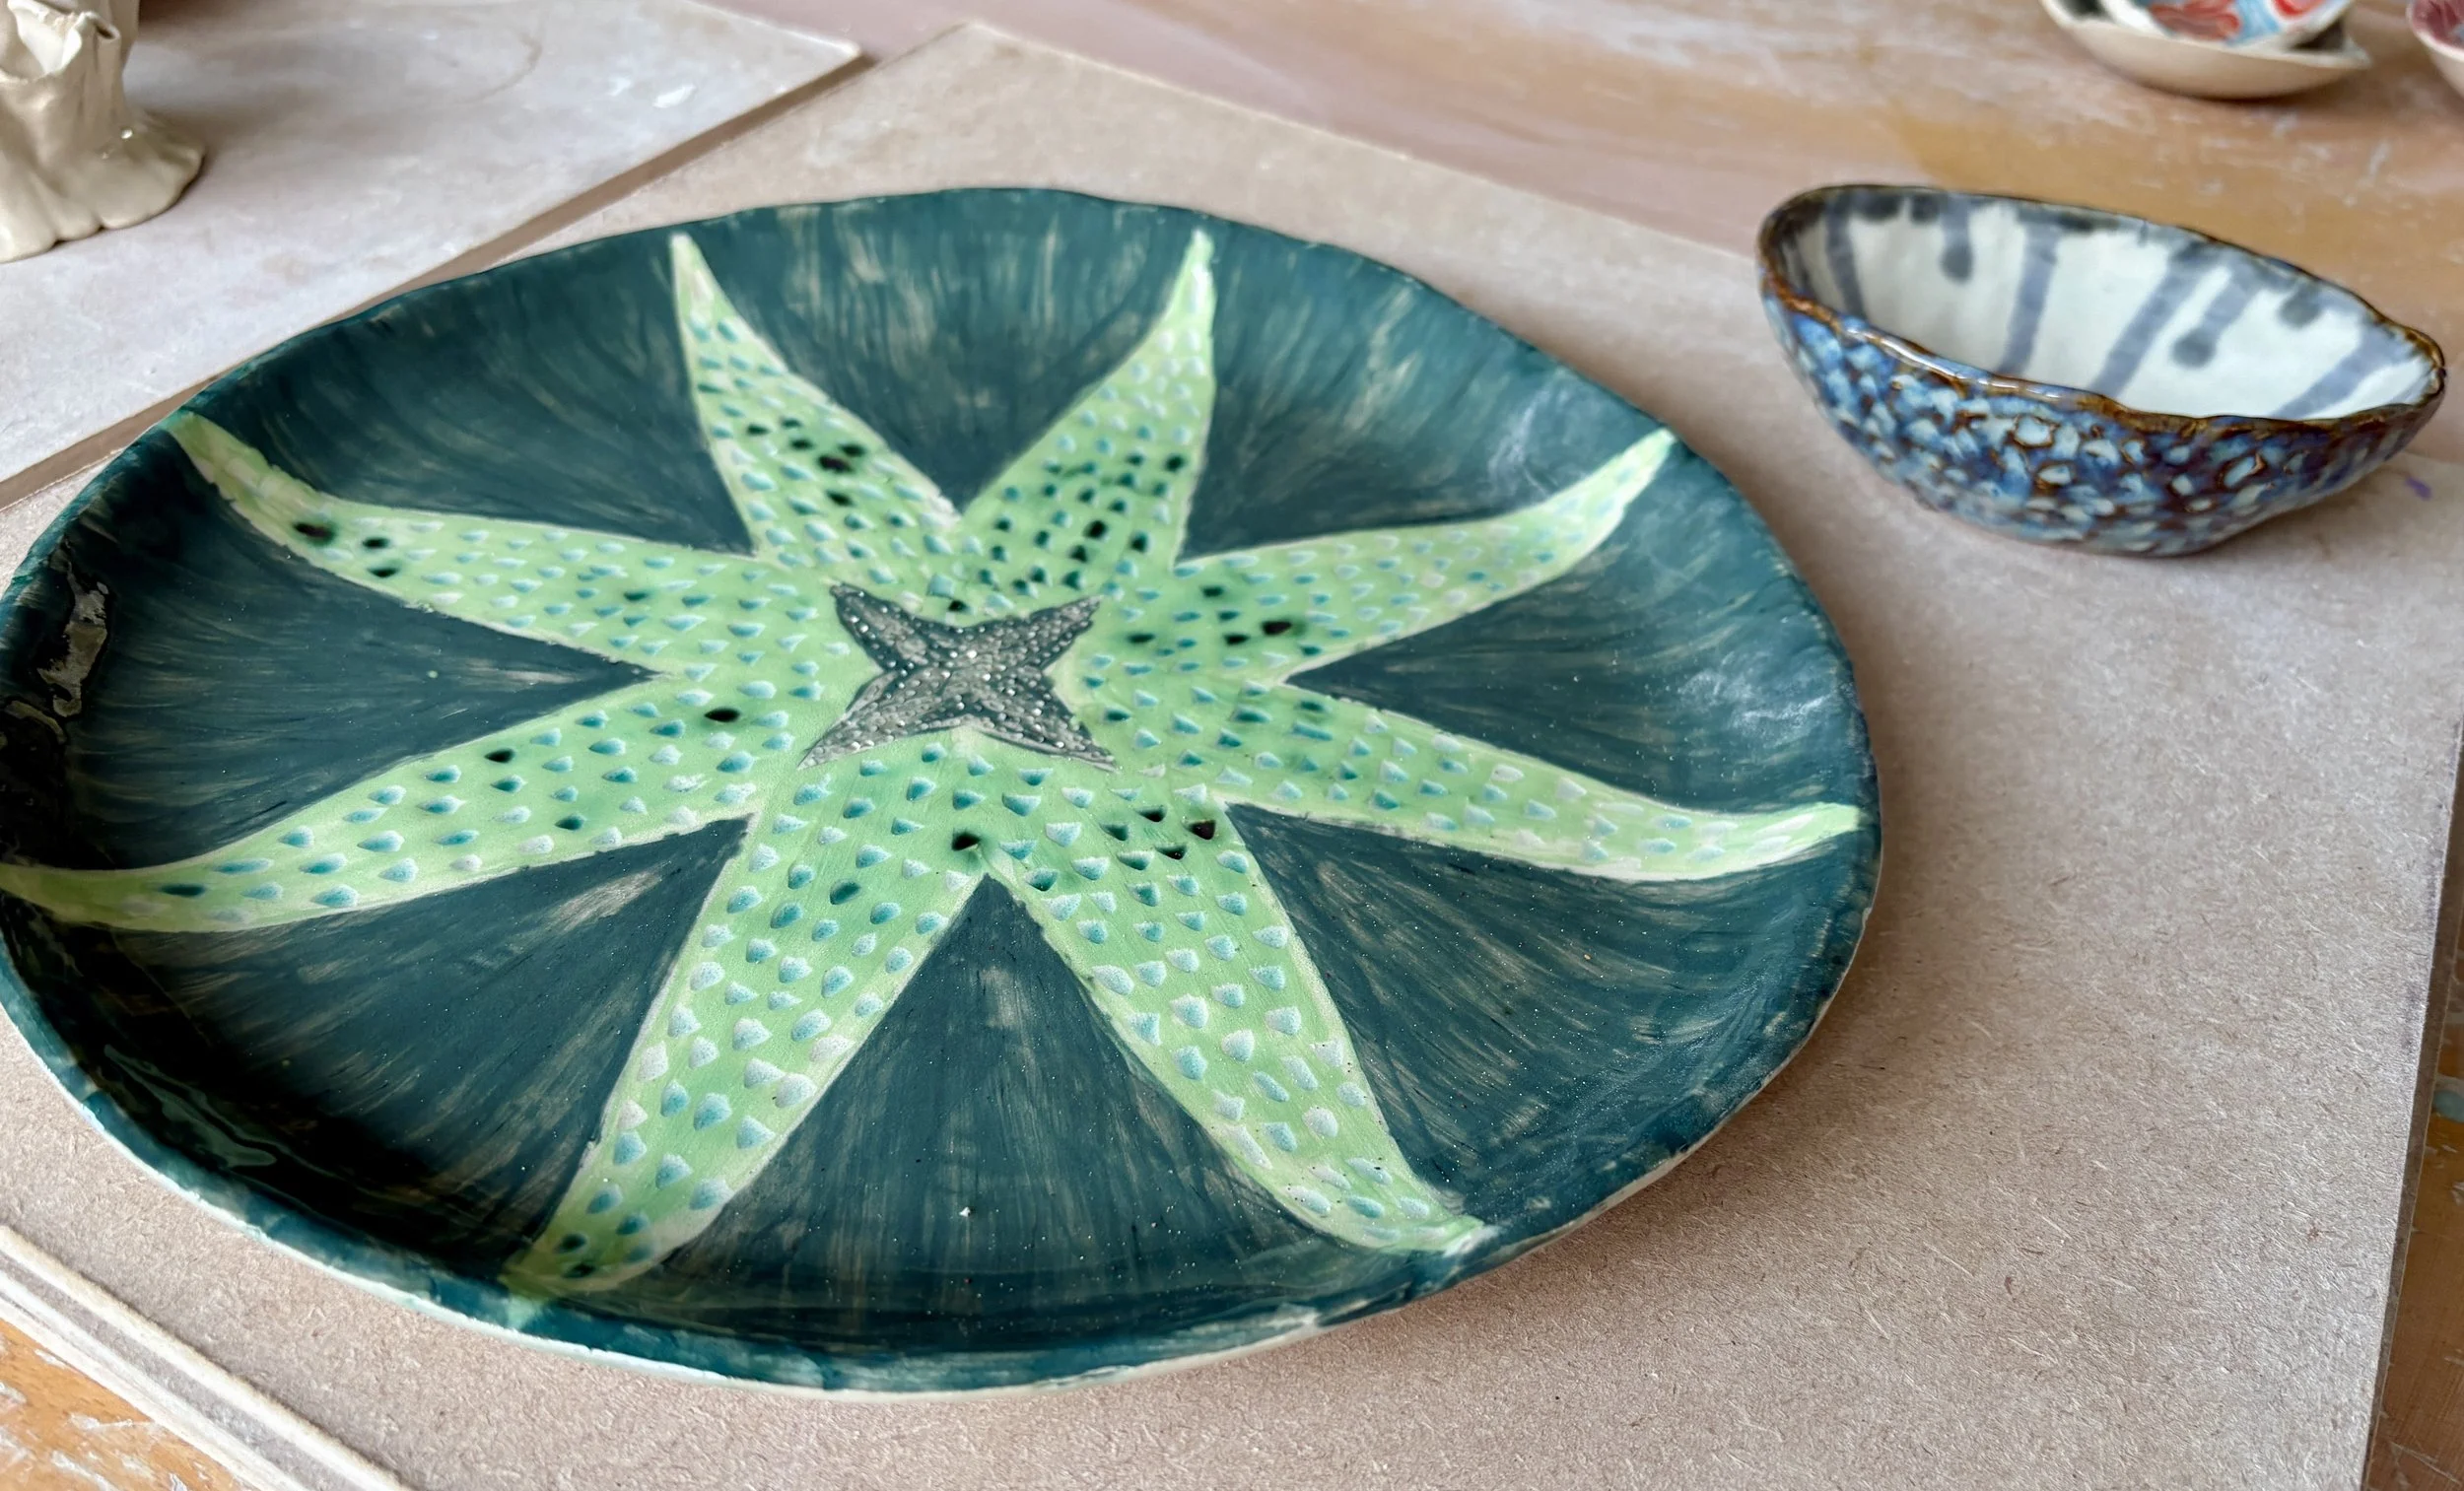
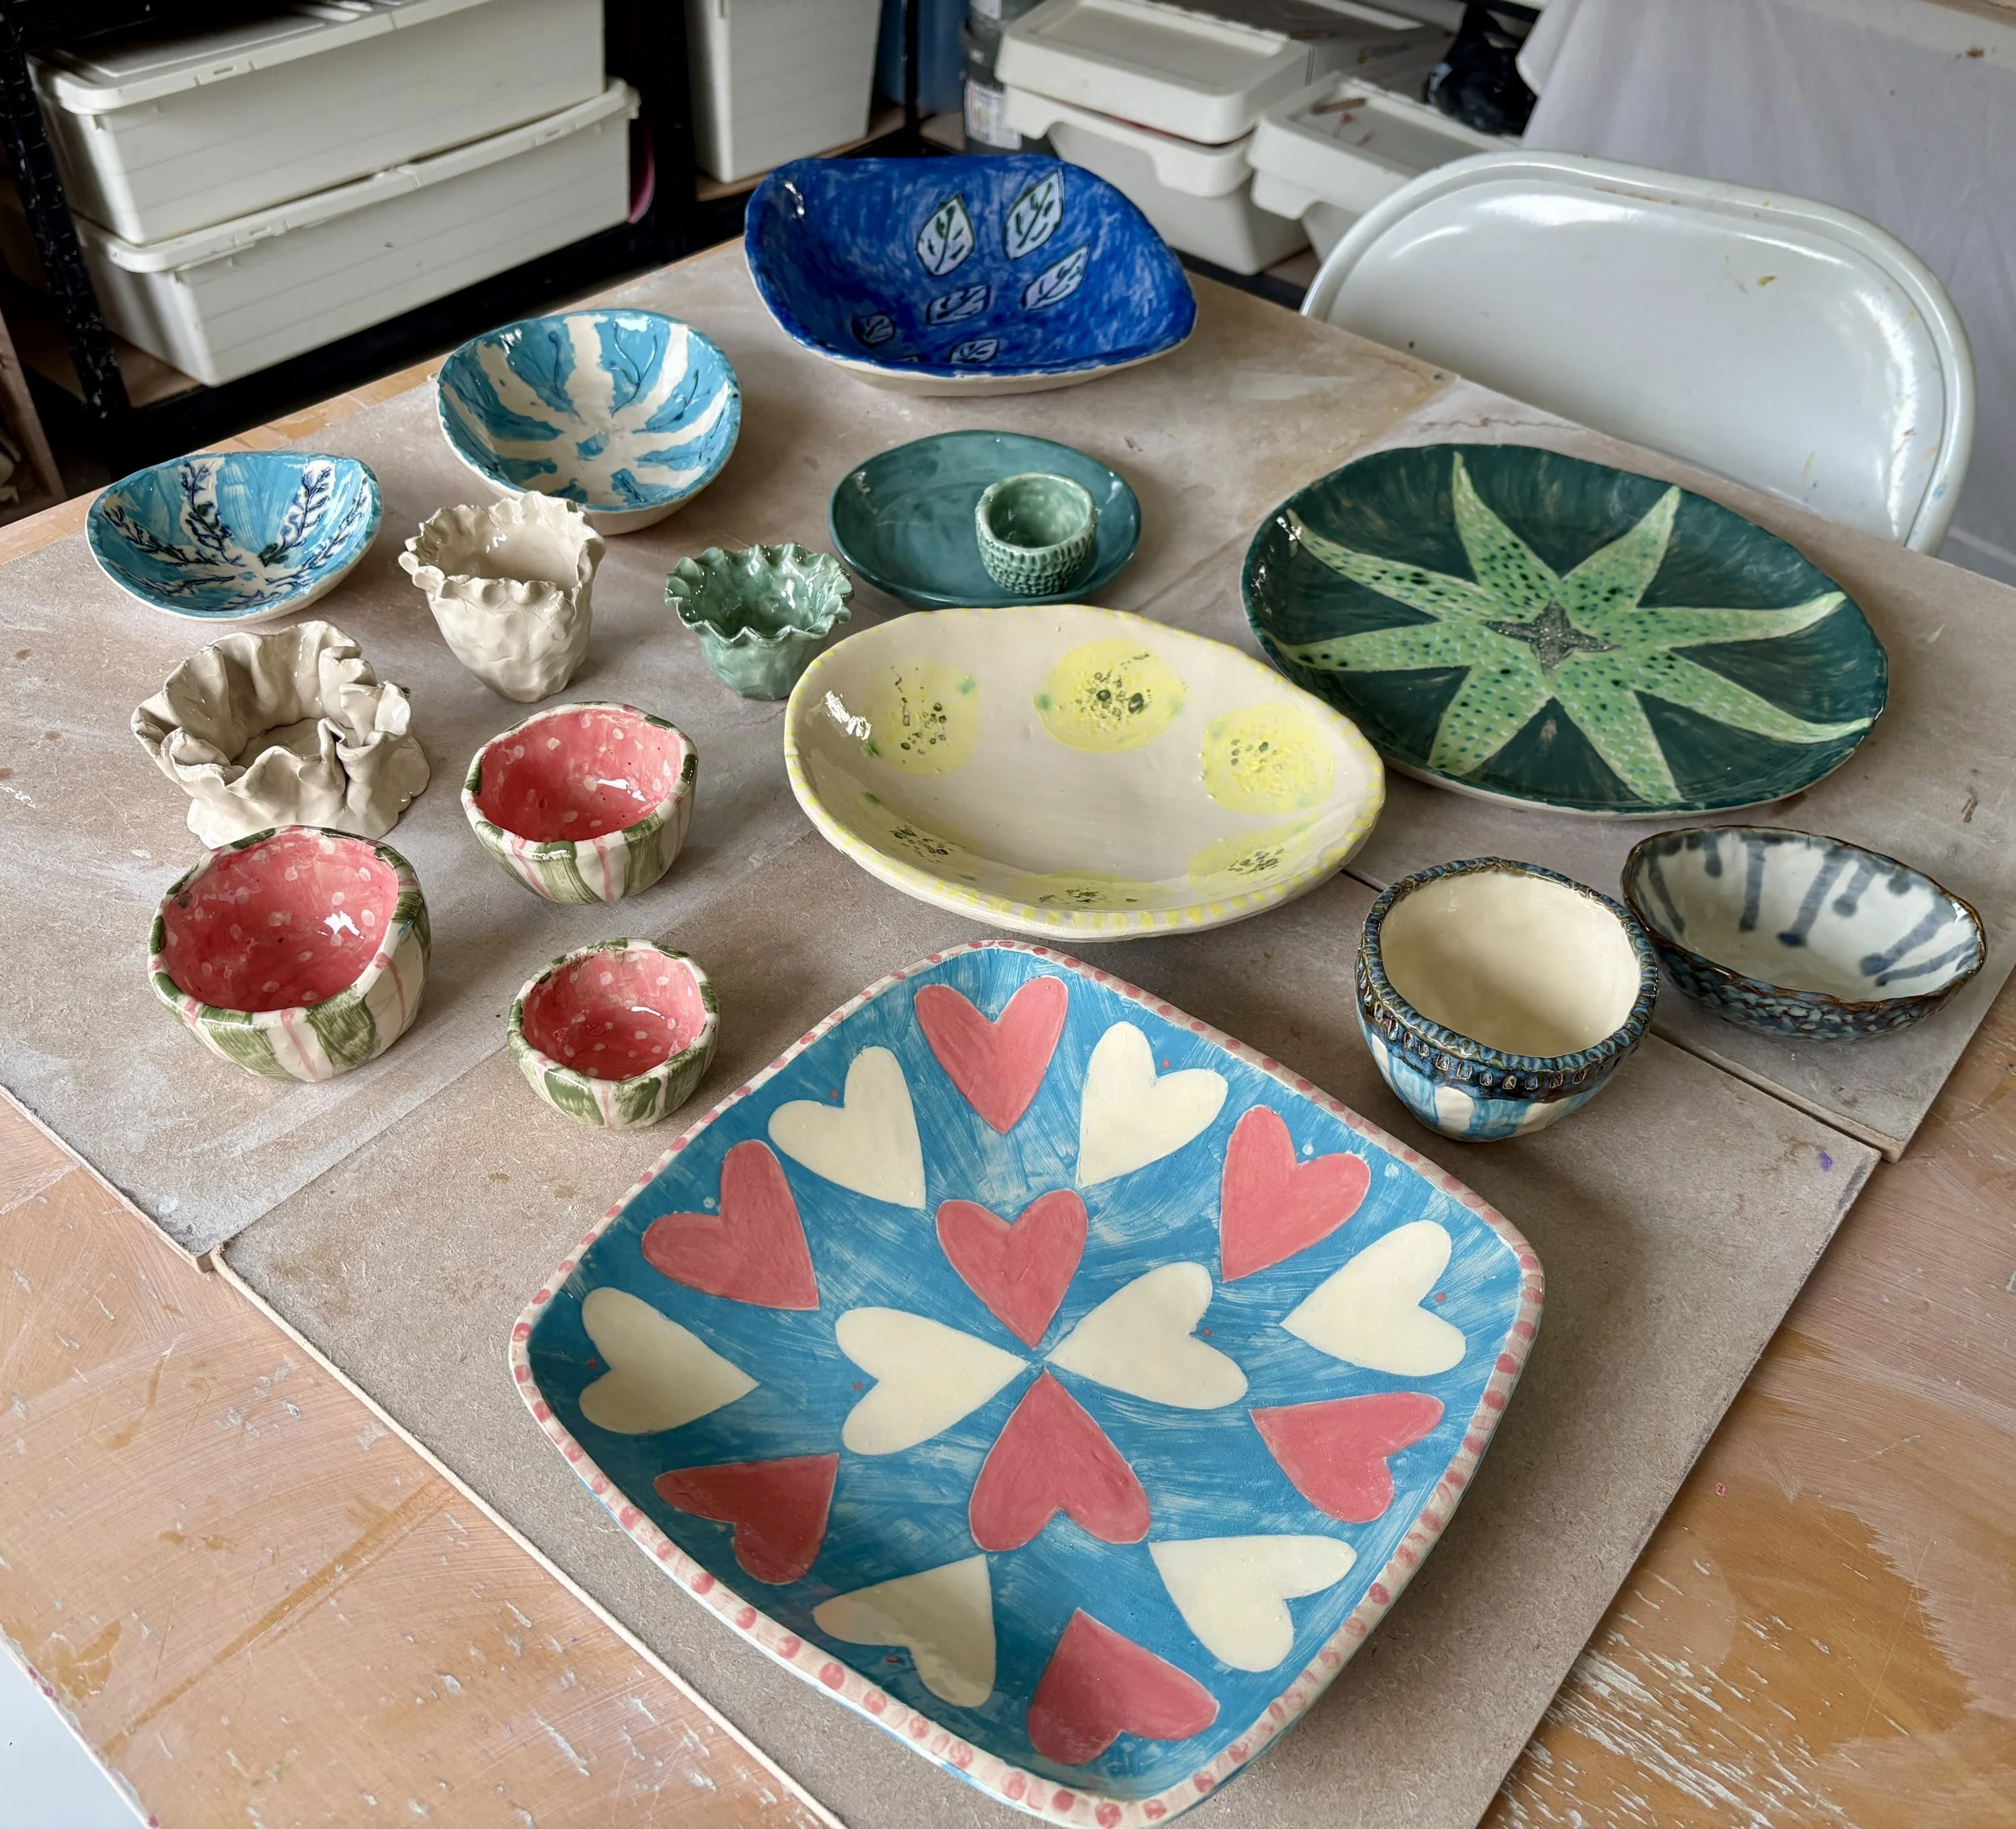
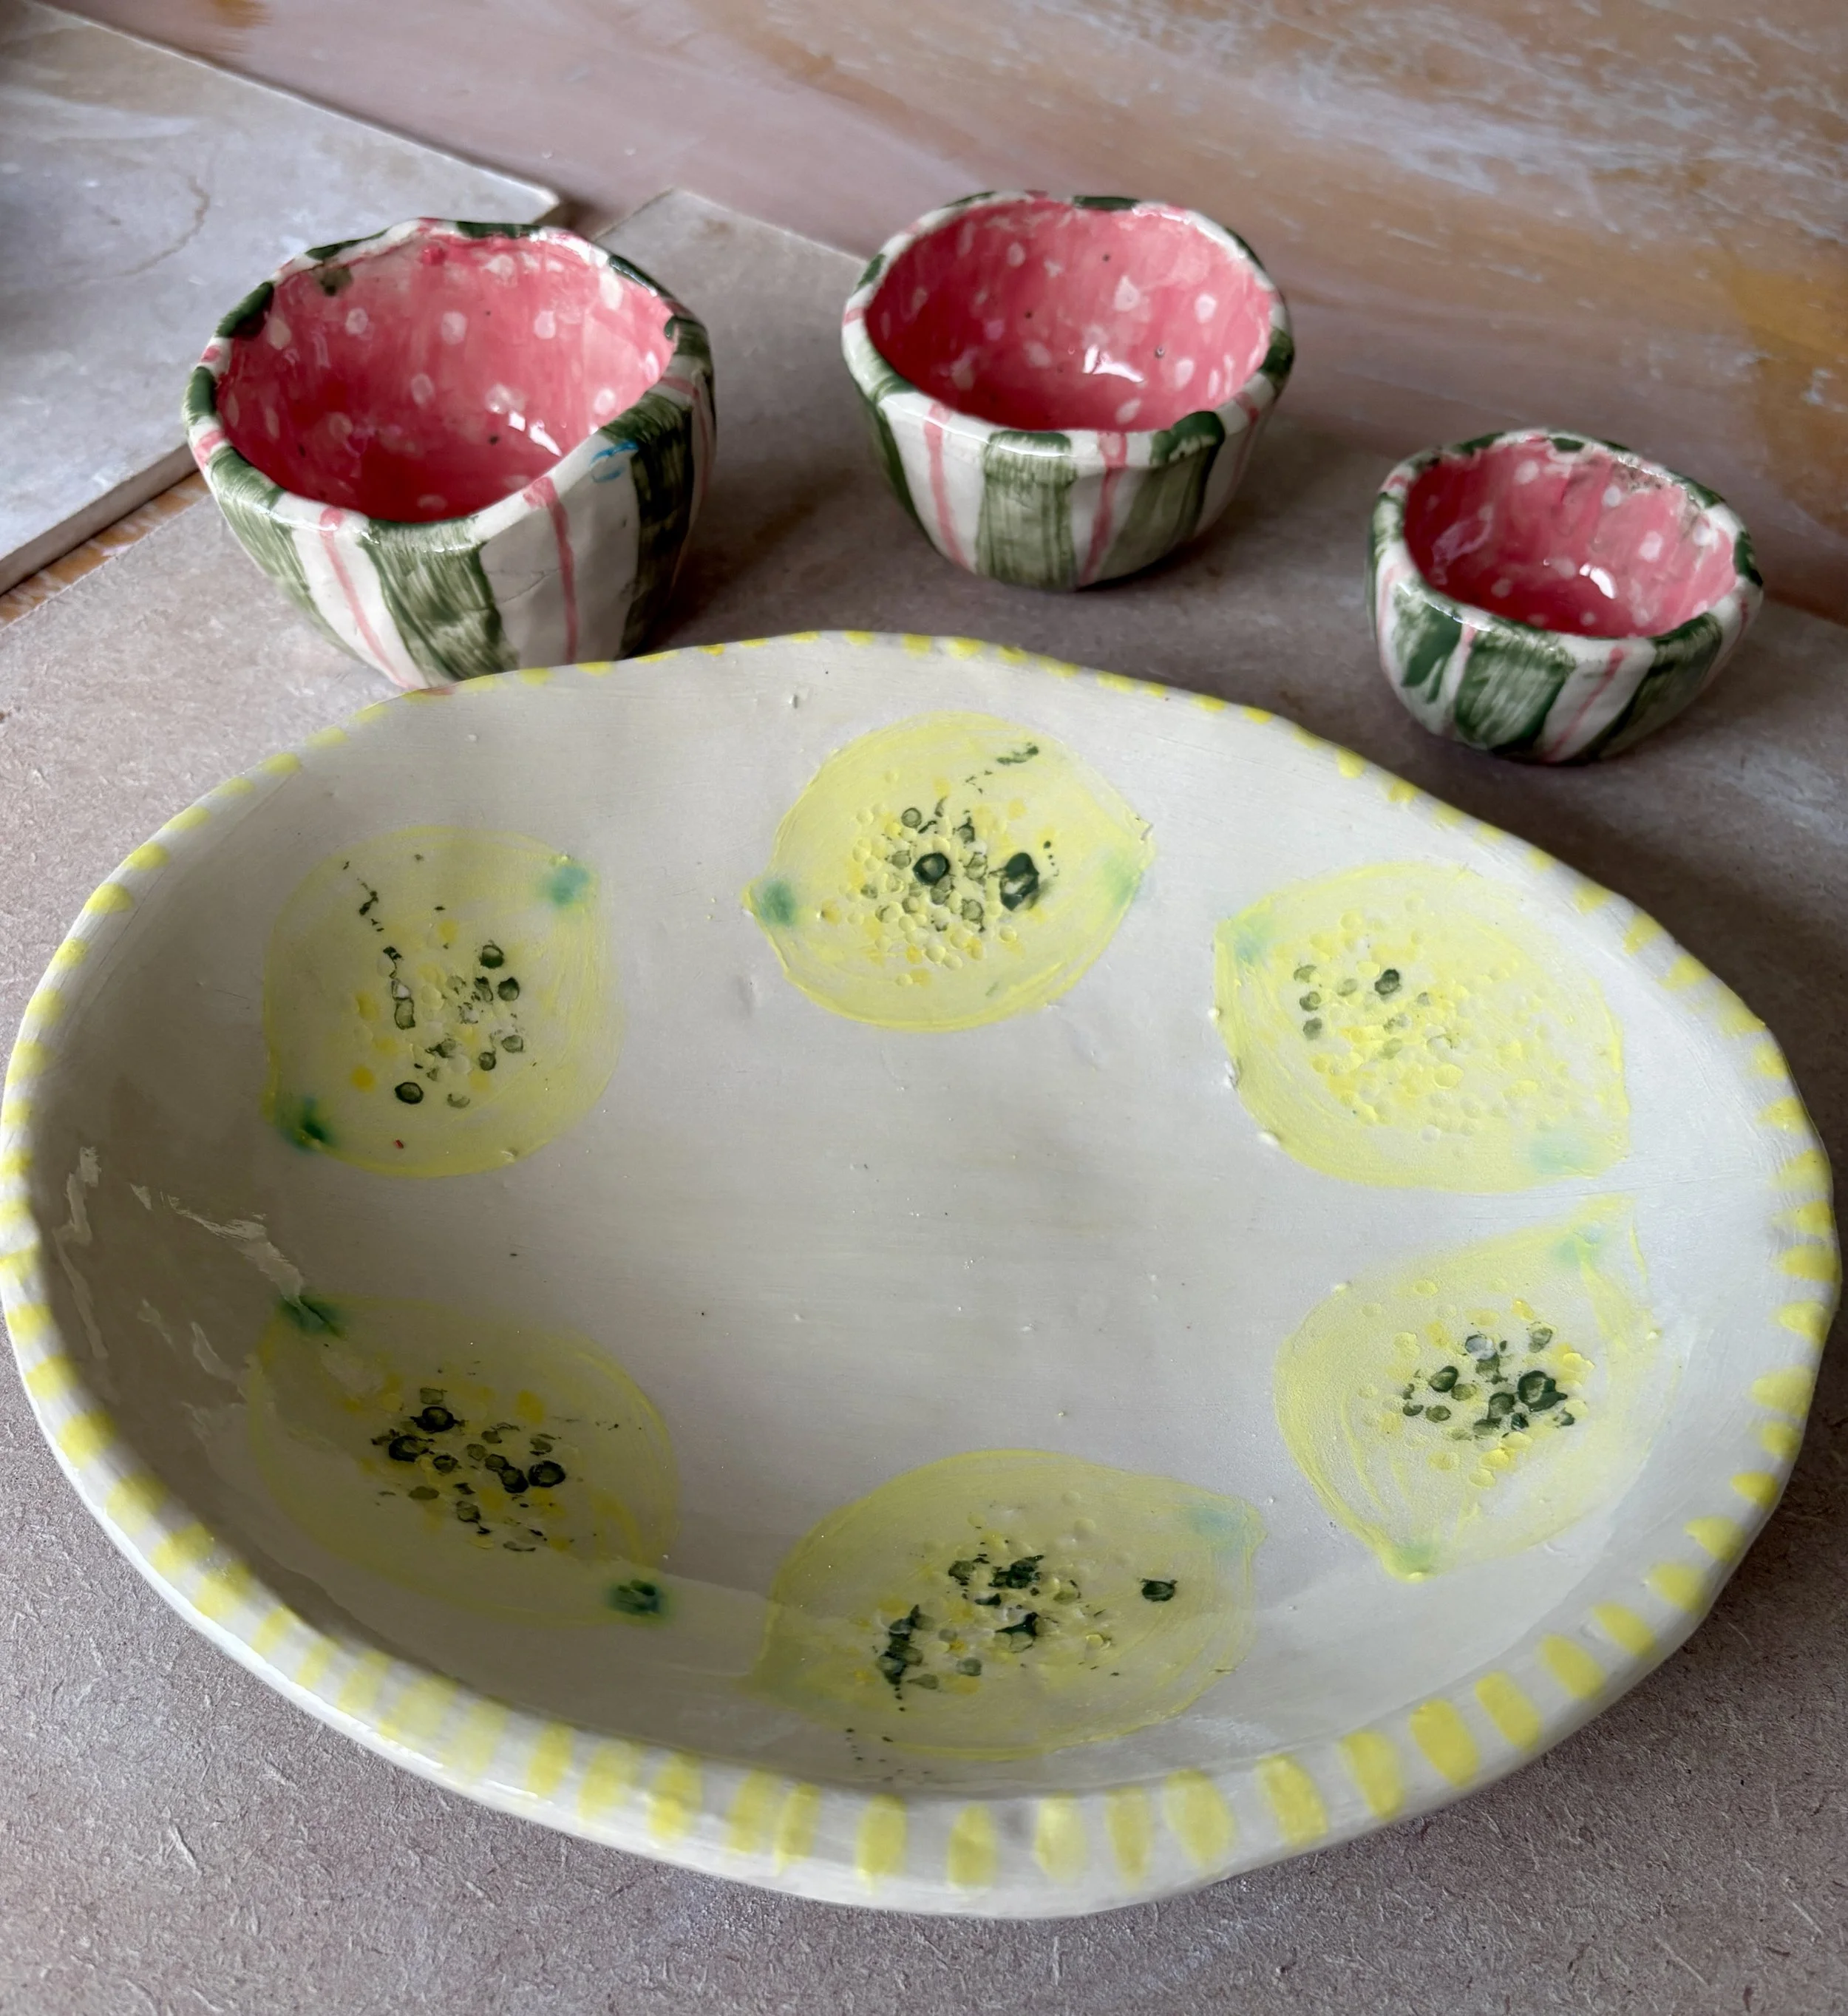
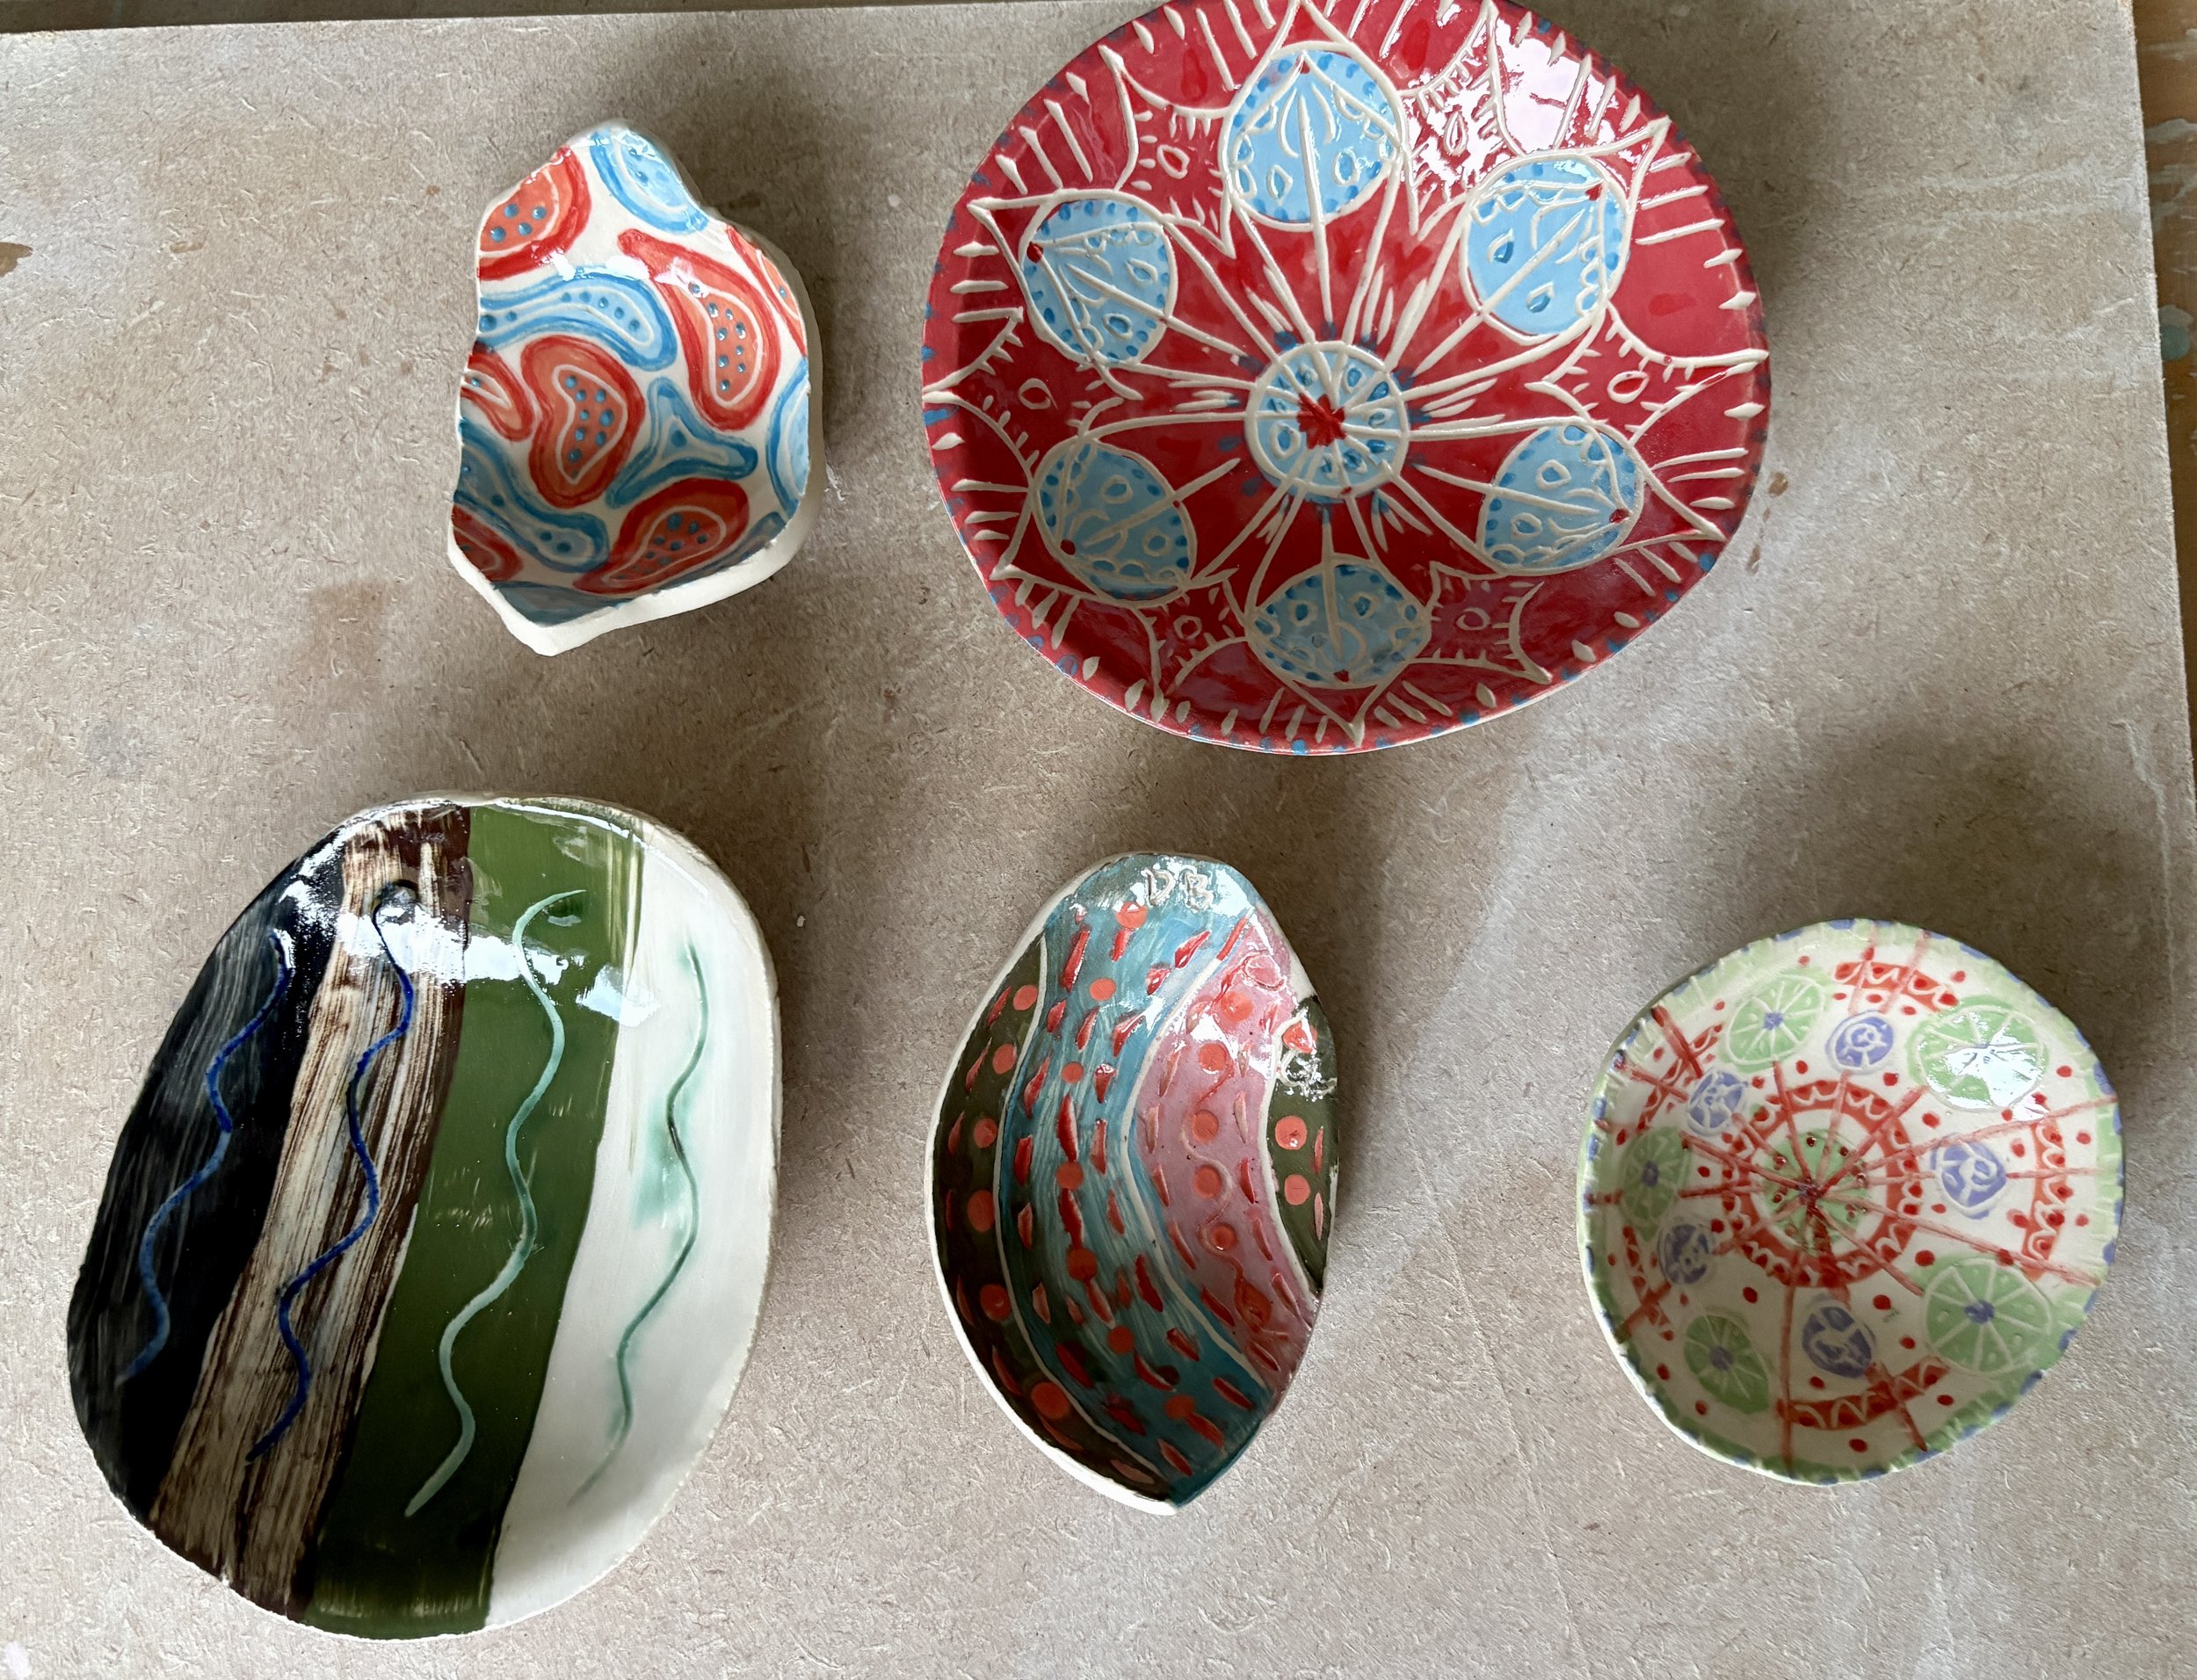
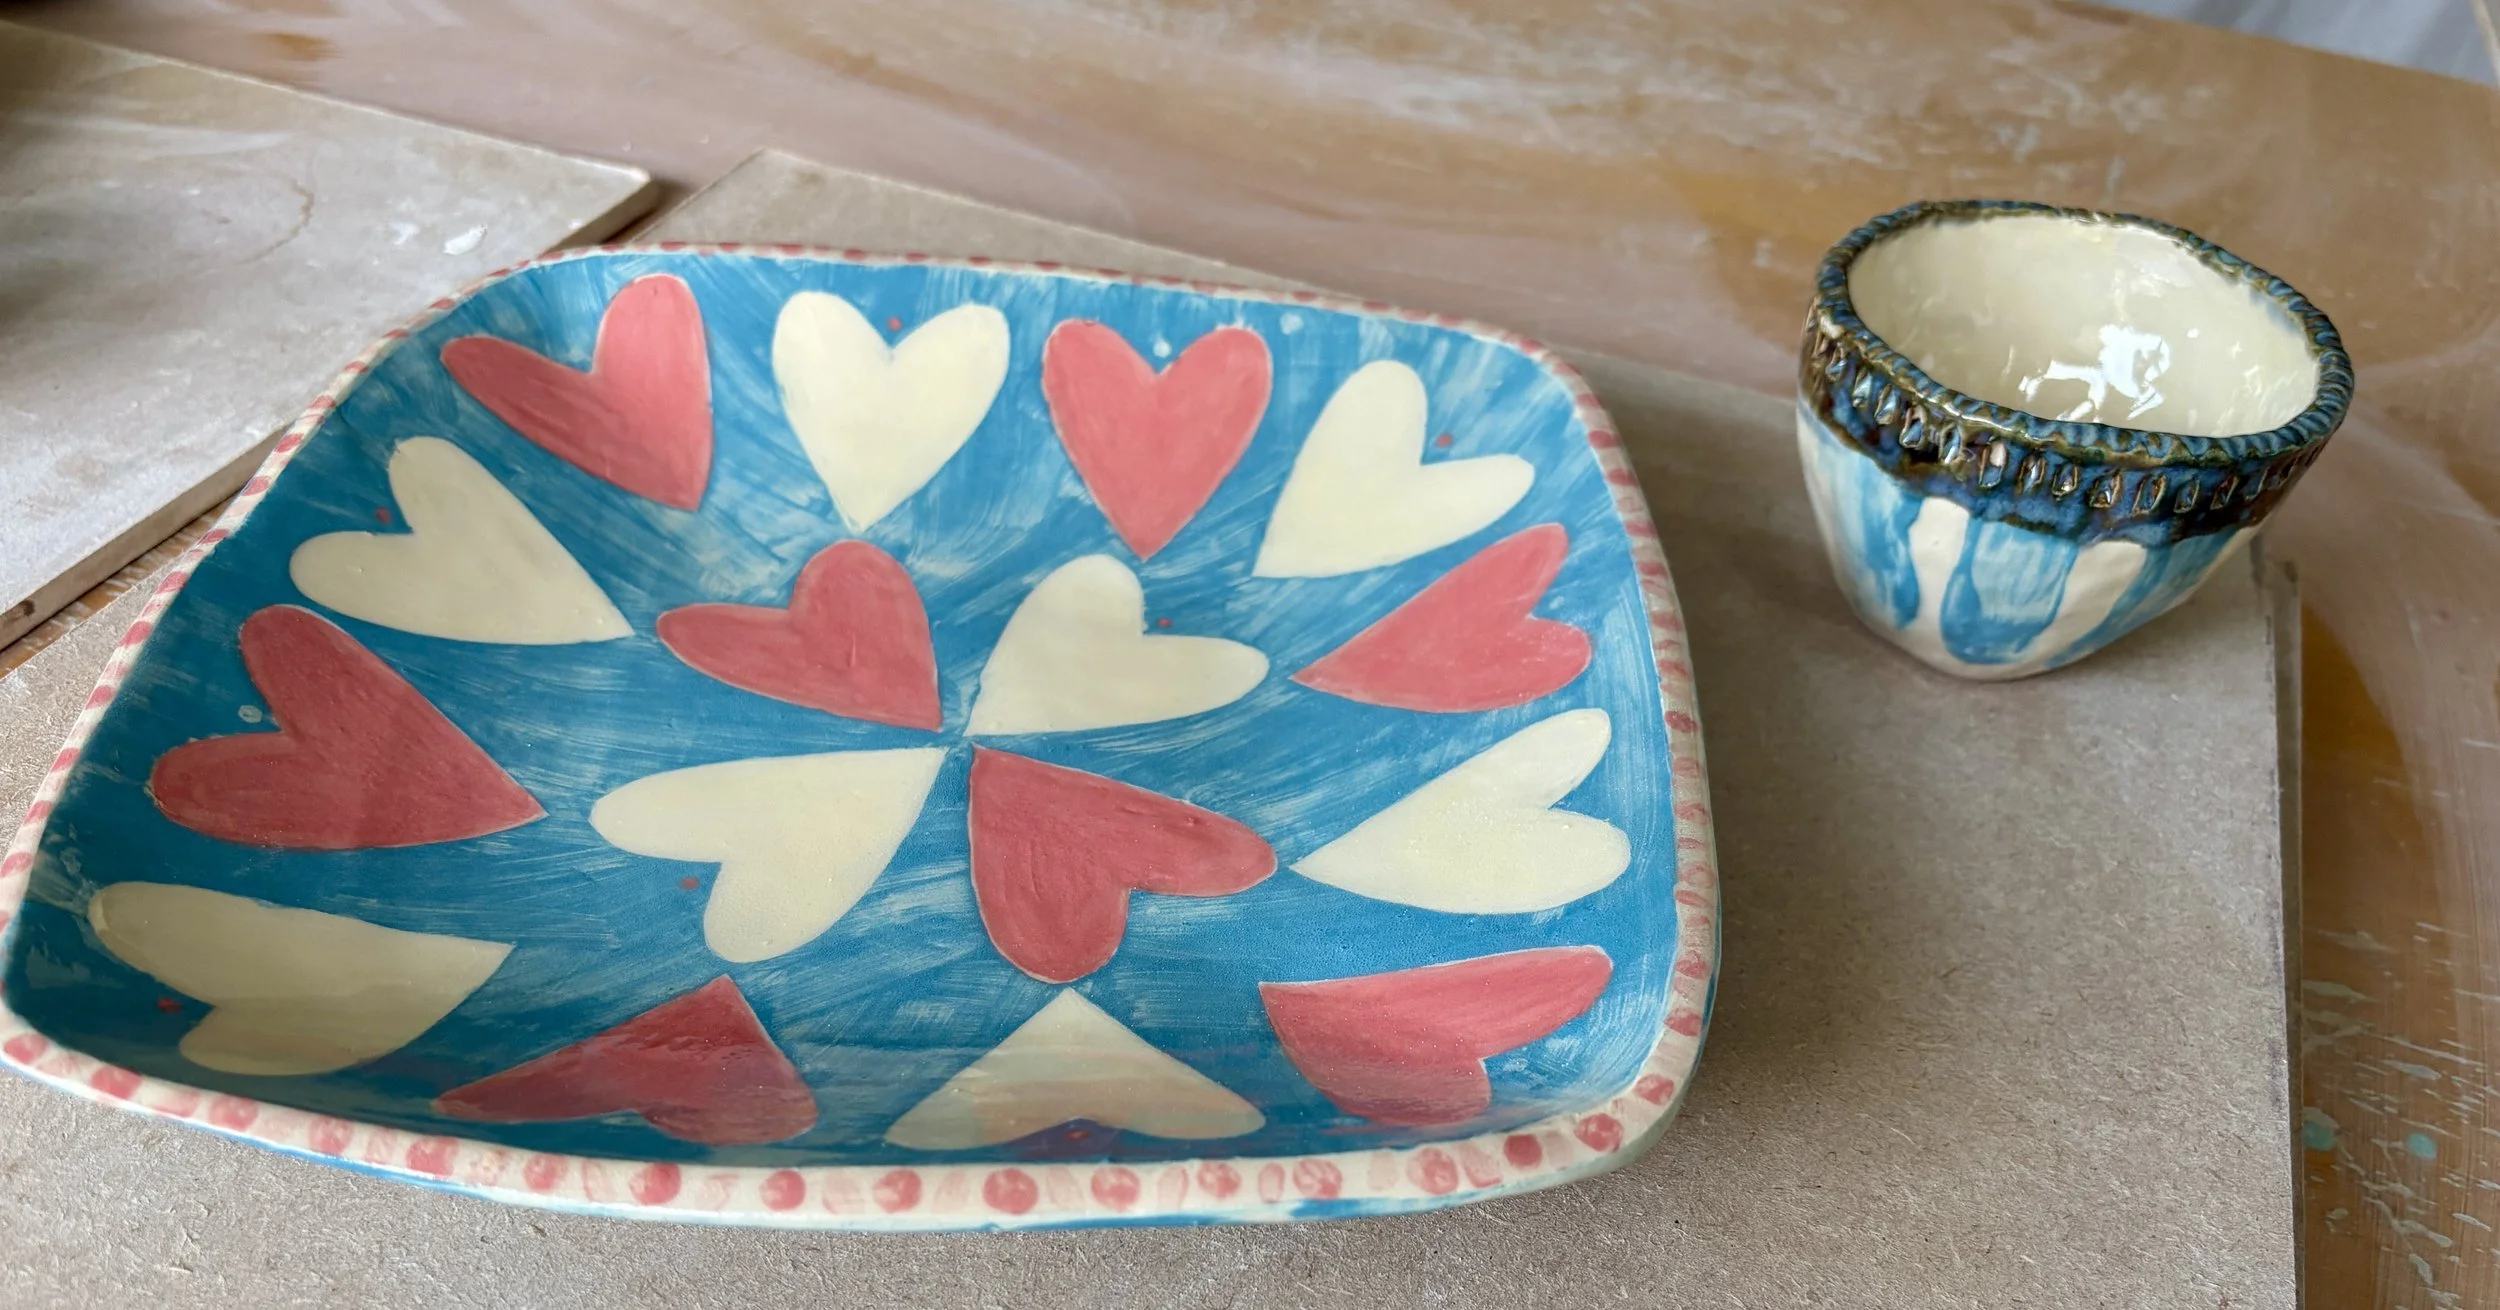
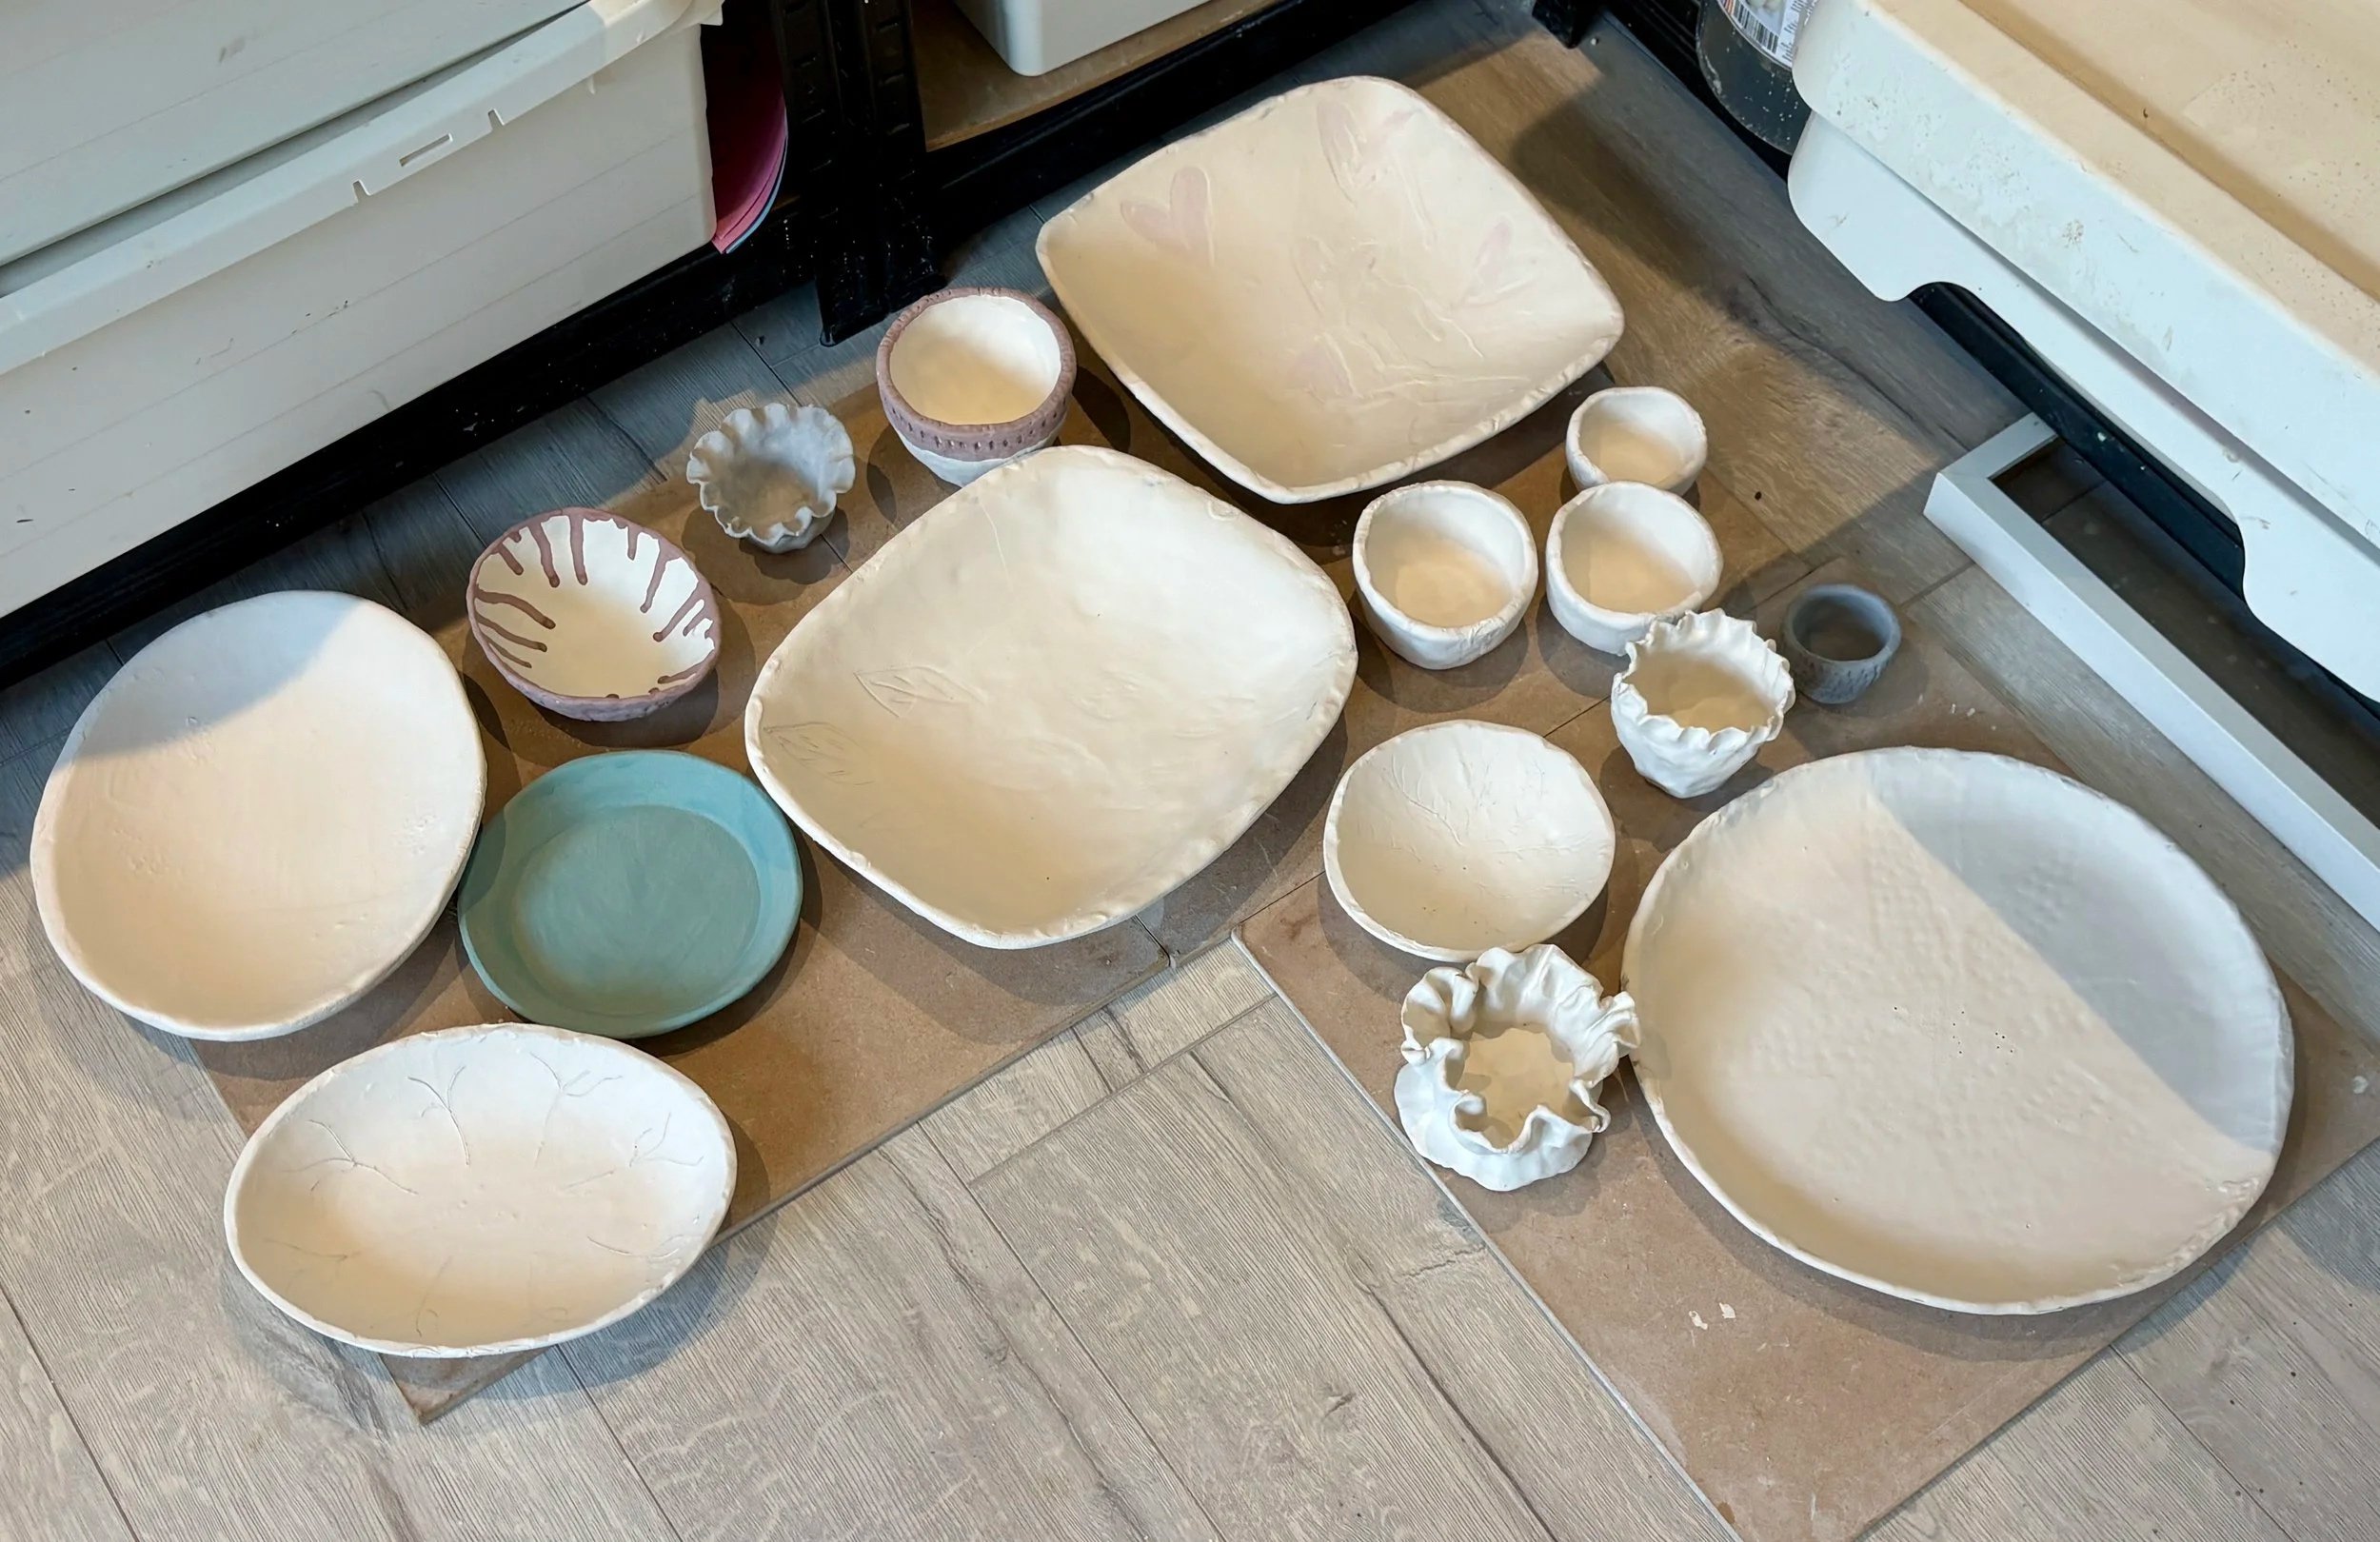
Below are examples of some plates I have made which employ different decorating techniques


The three example sessions outlined below show what can be achieved with examples from participants working with me in my studio
Session 1
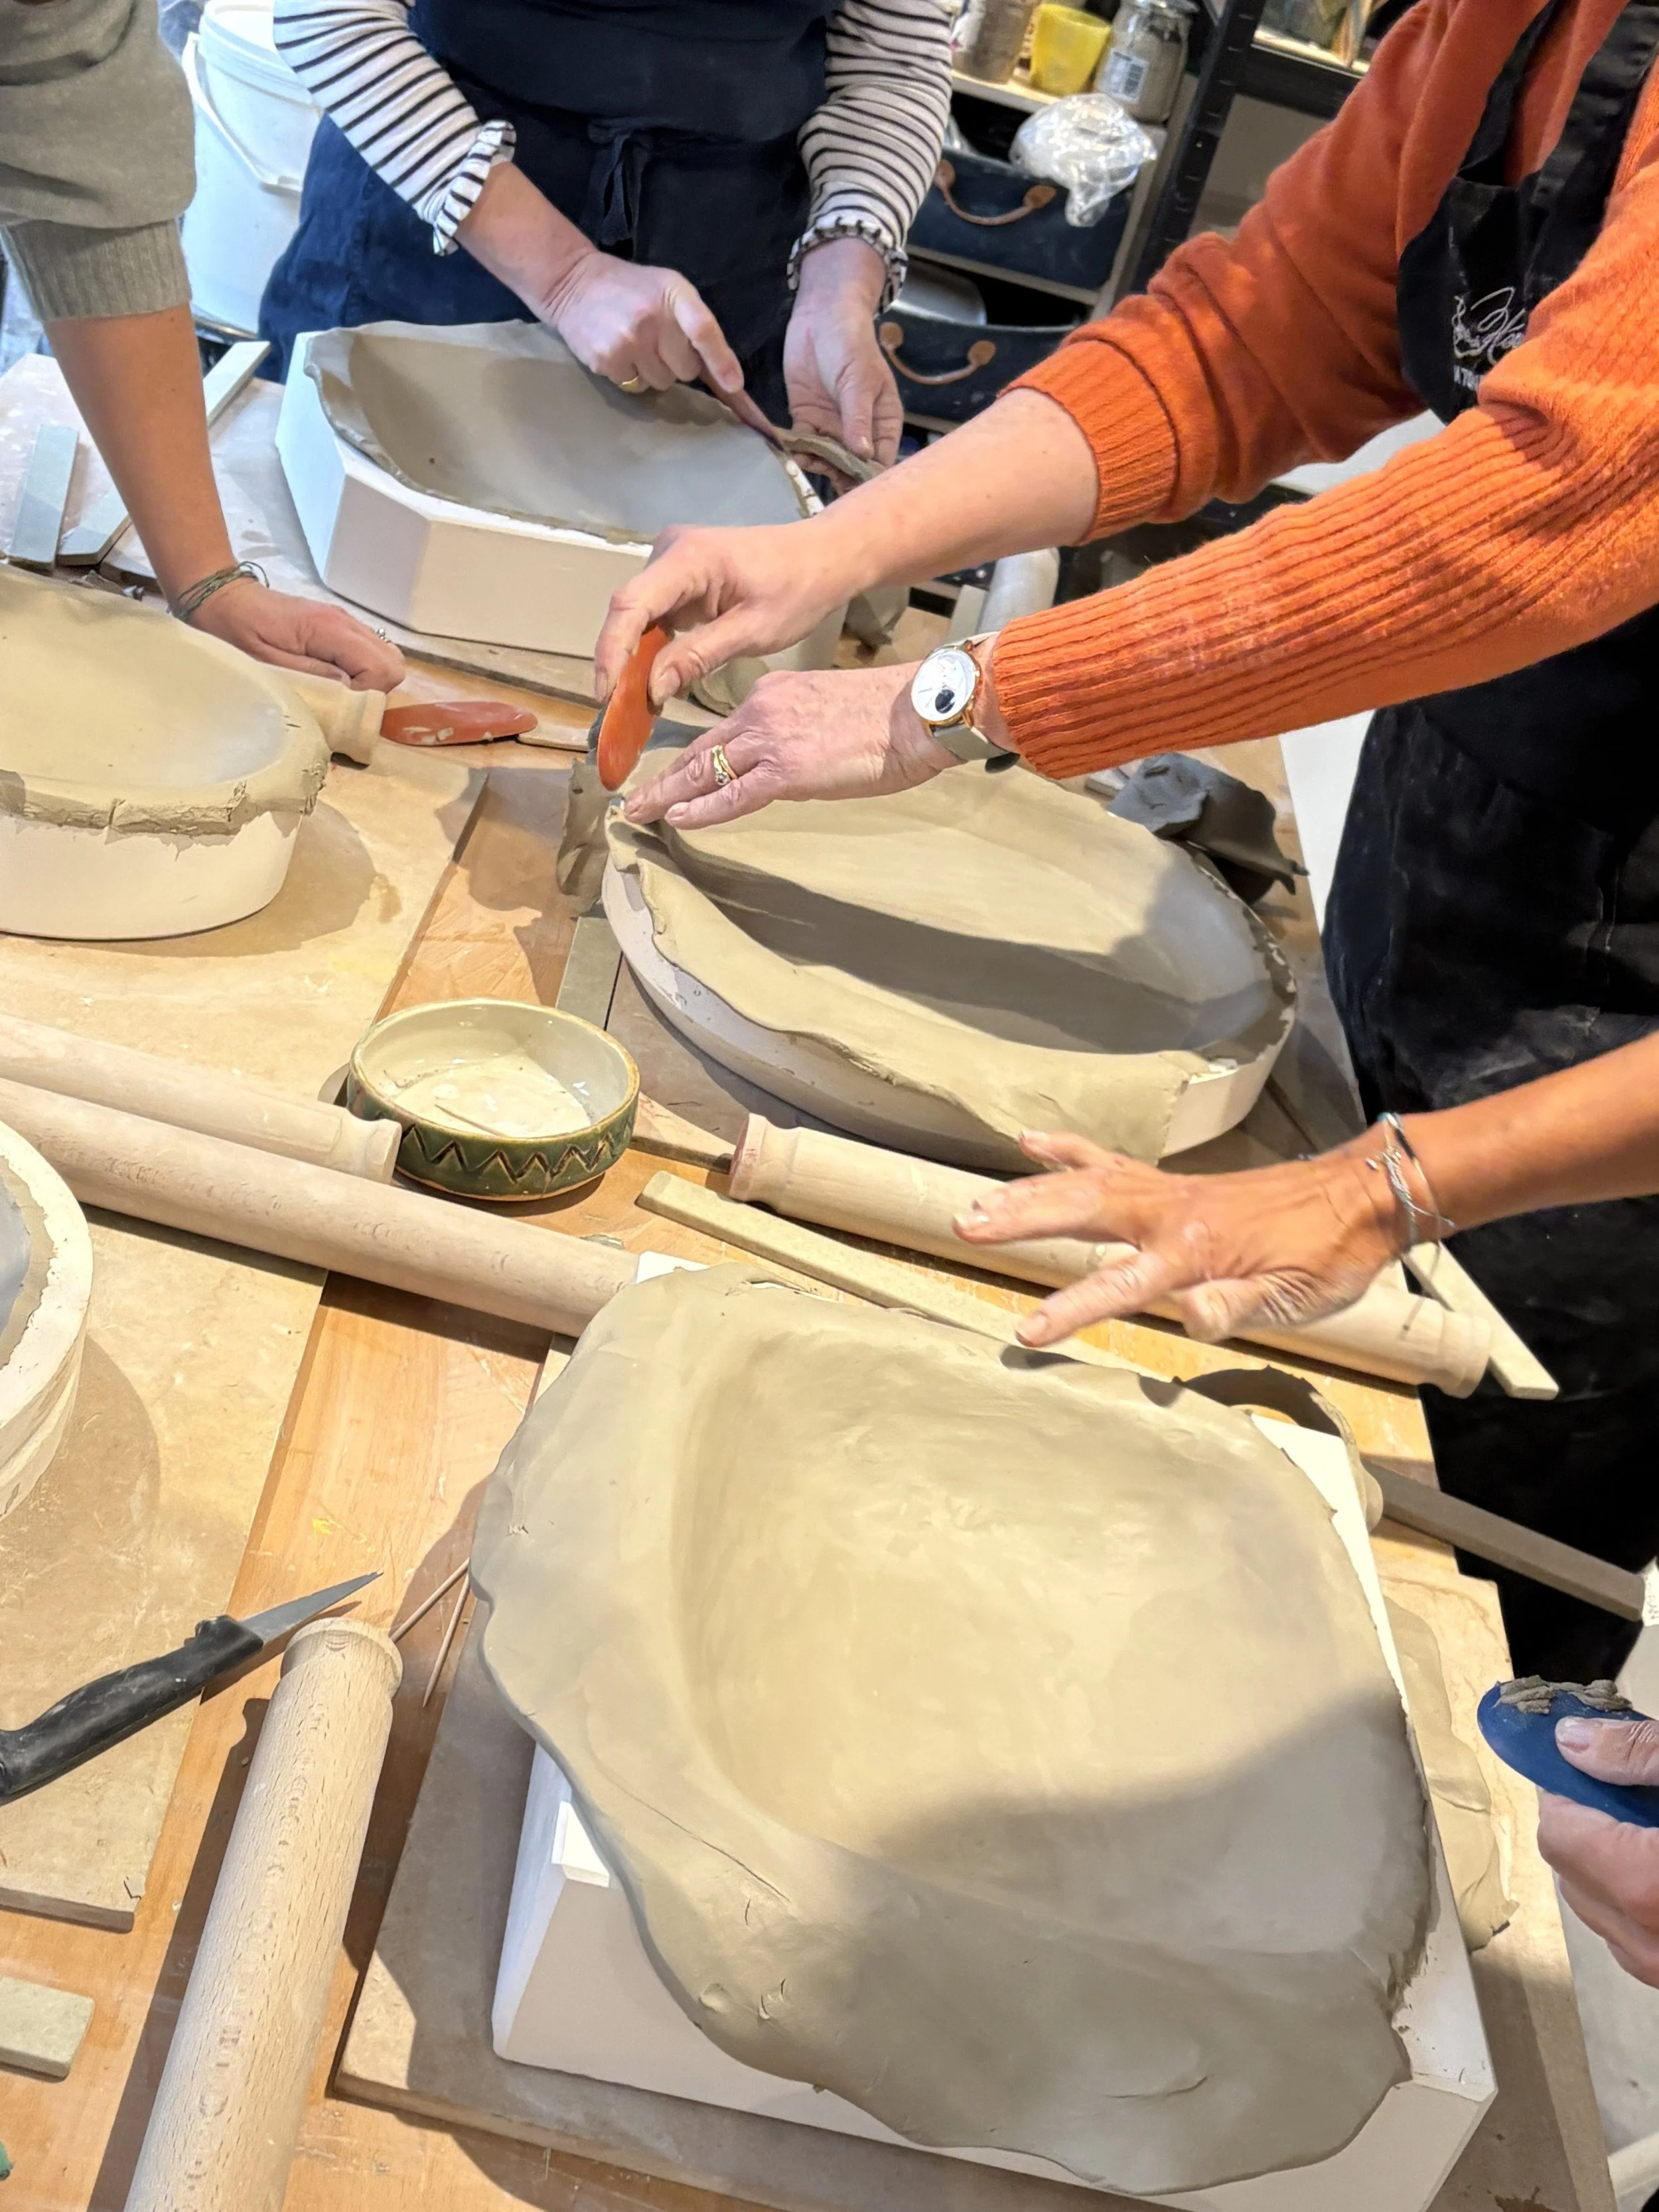
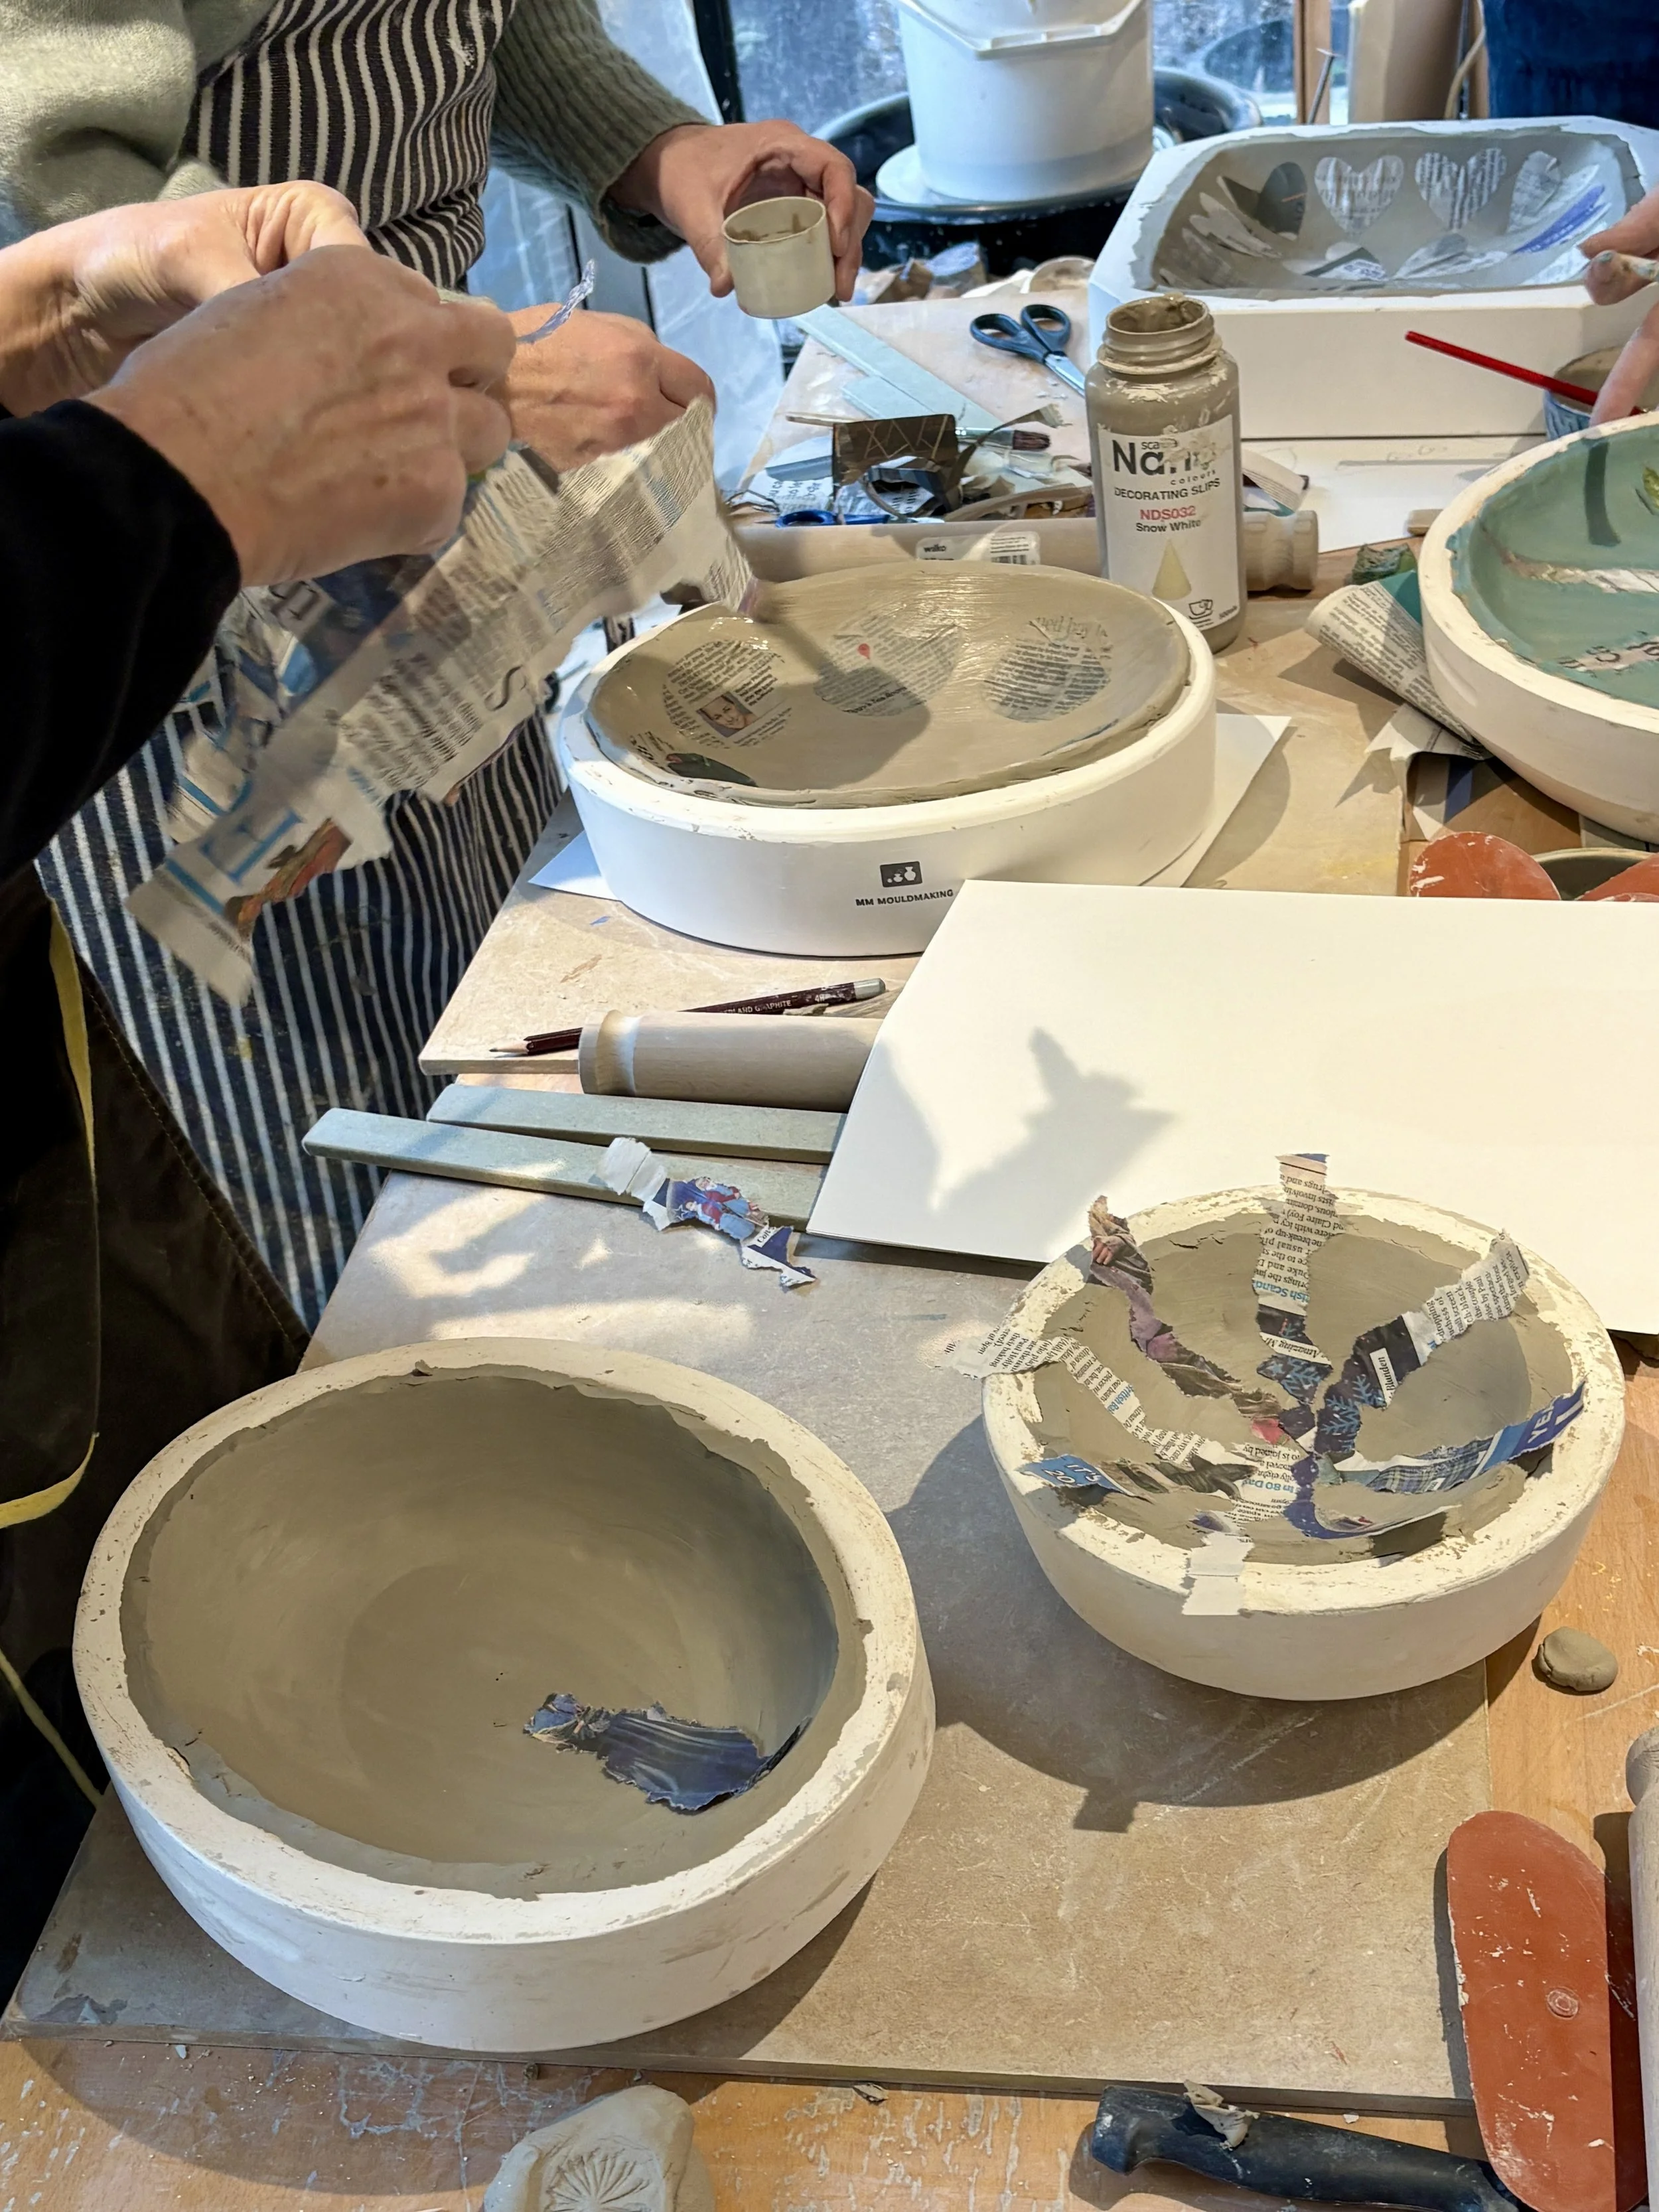
- Prepare and roll slabs for moulds
- Think about a design for a platter - colour, texture and relief - cut templates for shapes.
- Work on a small second piece for use to experiment with other glaze techniques in session 3.
- Add slip or underglaze to form a base colour - let dry, wrap and cover ready to explore other techniques in session 2.

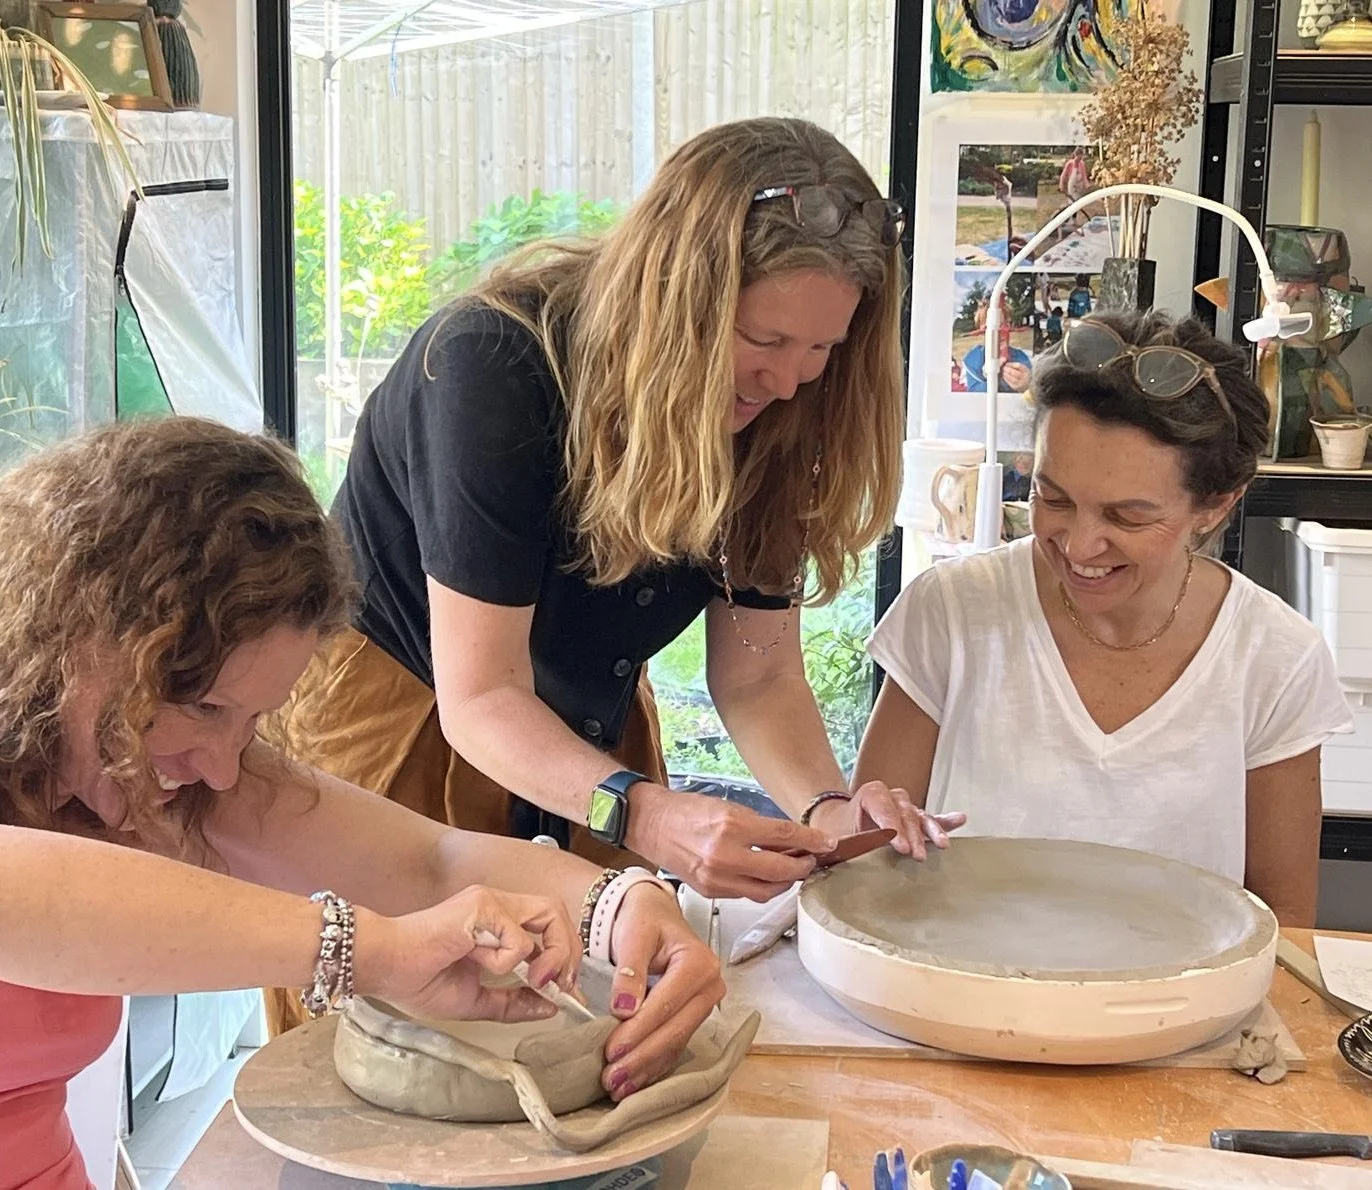
Session 2
- Refine platter - add sprigs, sgraffito or relief designs
- Complete small second piece - experiment with form and carving texture
Some techniques explored are outlined here
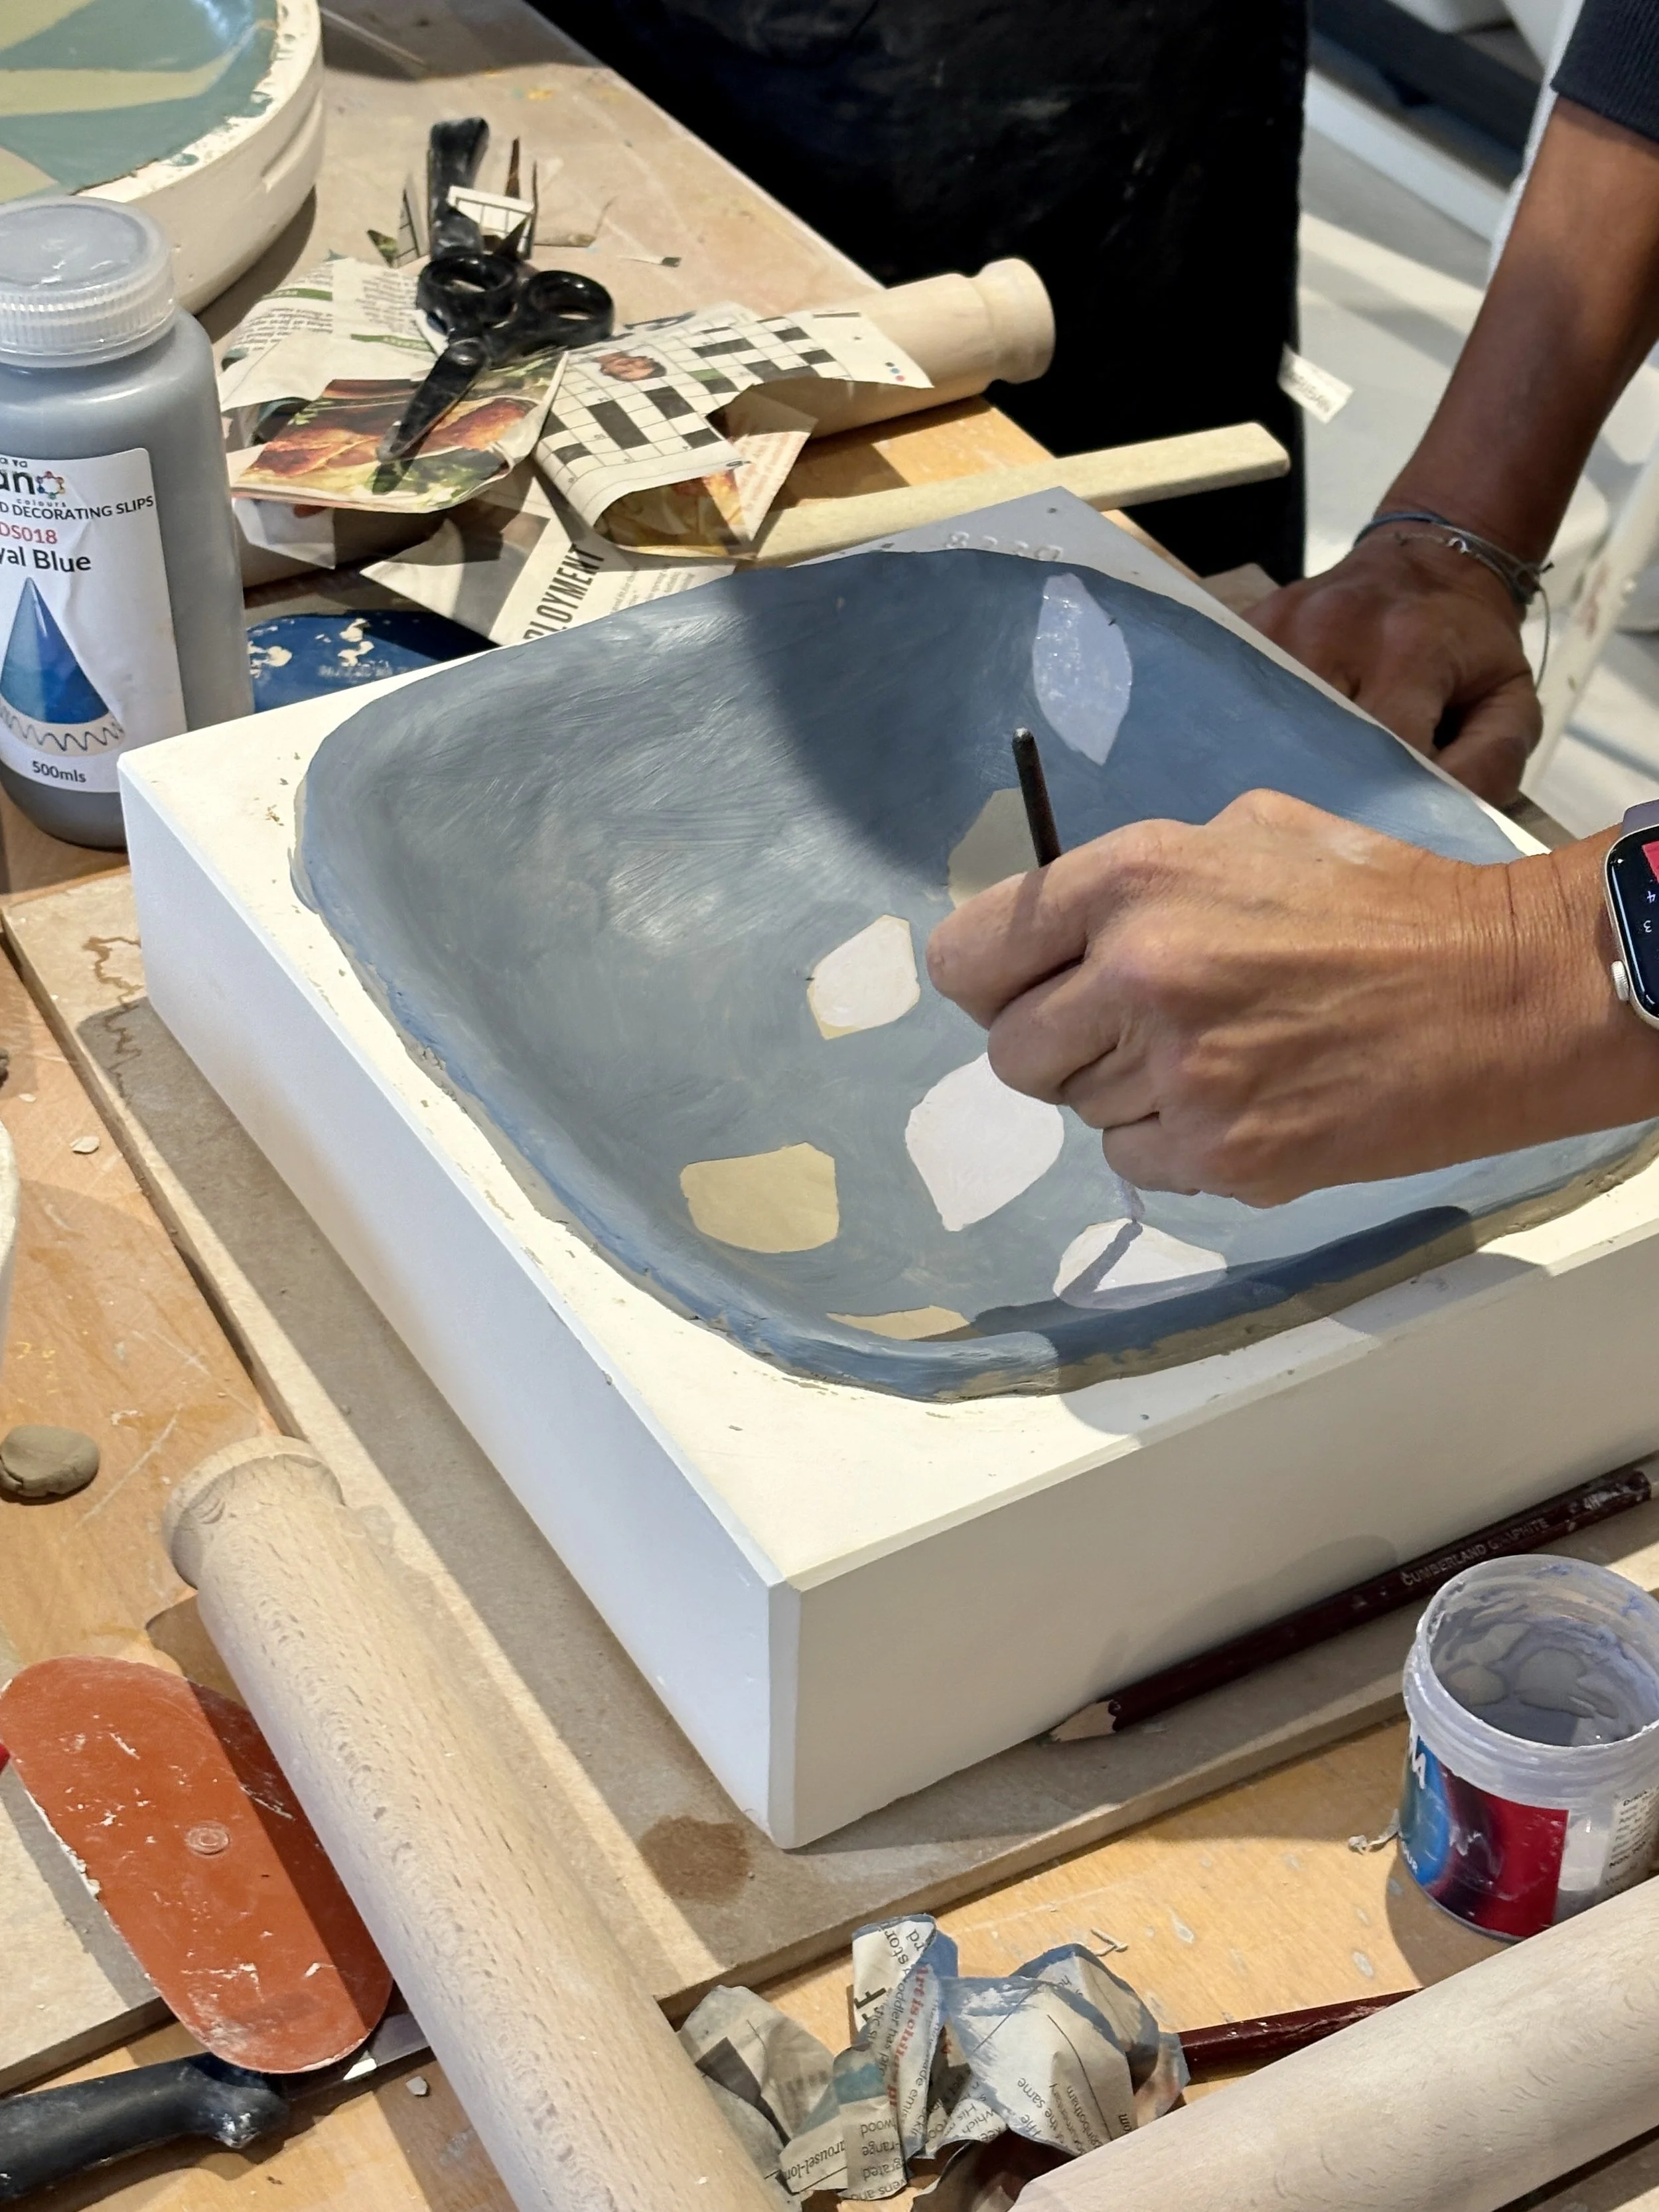
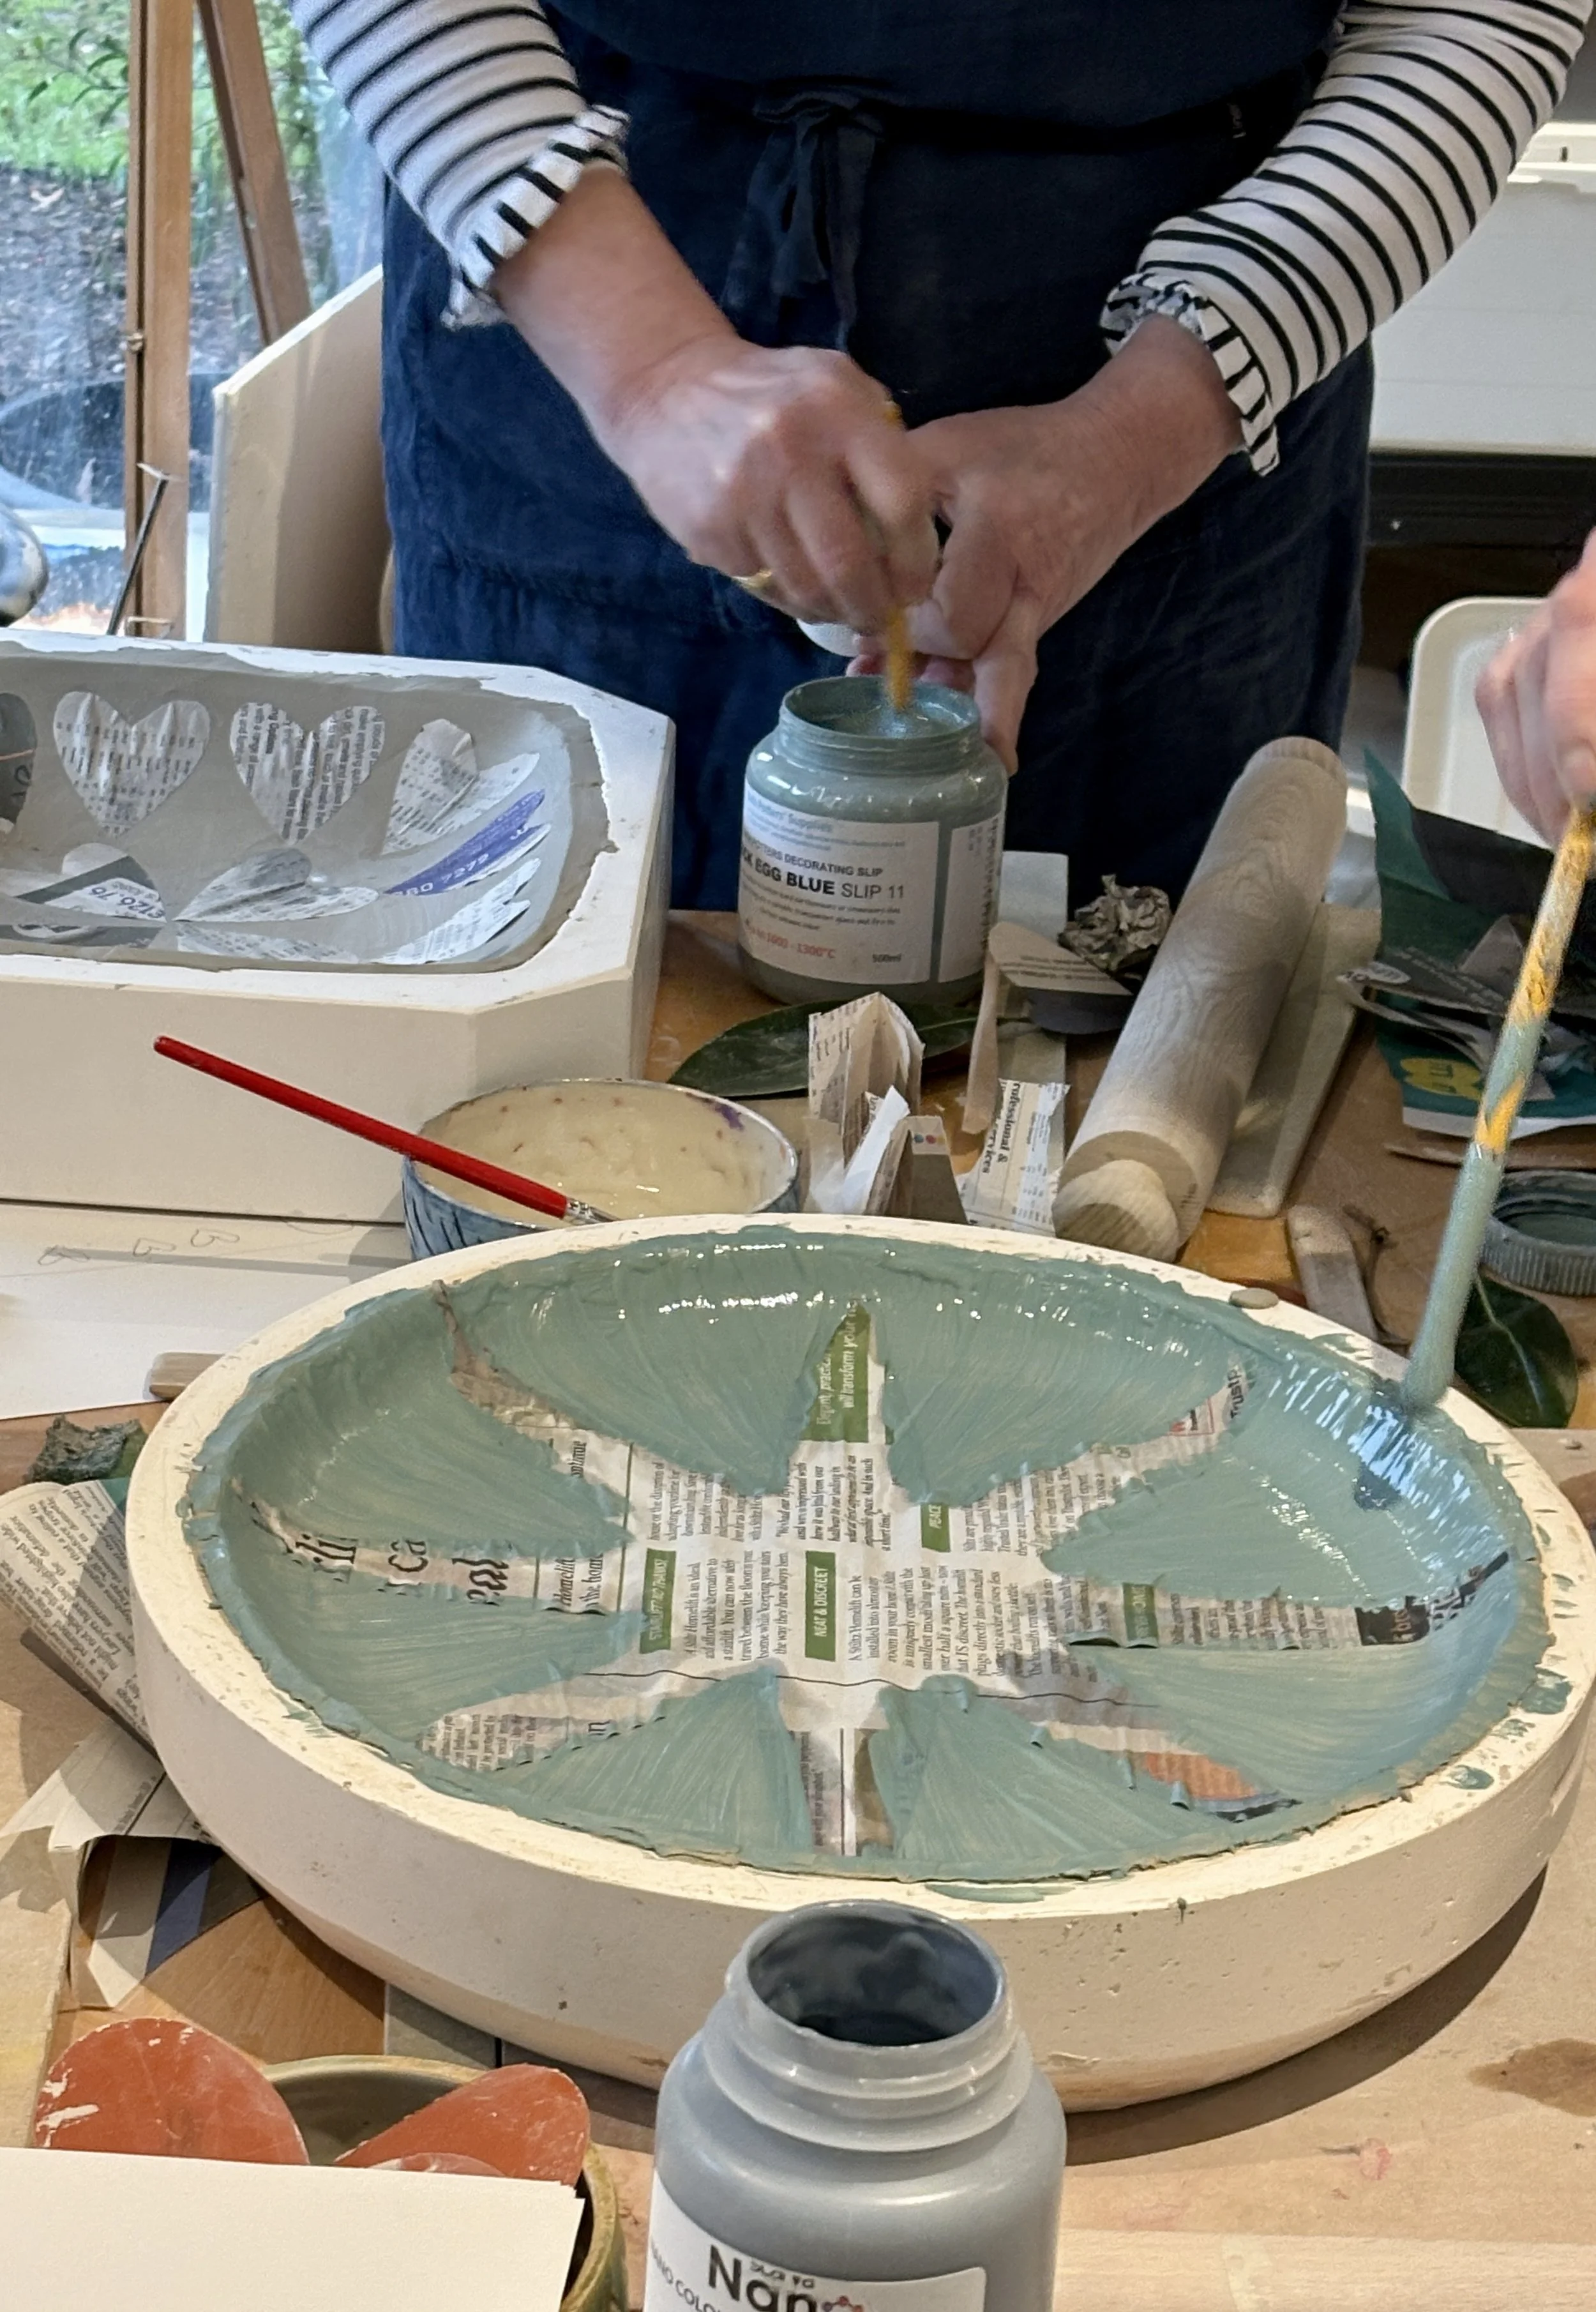
Underglaze is applied to greenware (unfired clay) alongside slip - which is very versatile.
Recommended to apply to leather-hard or bone-dry clay for better control, allowing it to dry thoroughly before bisque
How to Apply Underglaze to Greenware with Slip
Work on Leather-Hard Clay: This stage offers the best balance of firmness and softness for detailed work without the fragility of wet clay.
Apply Slip/Underglaze:
Slip Trailing: Use underglaze or slip in a squeeze bottle to create raised designs on the greenware - let it dry.
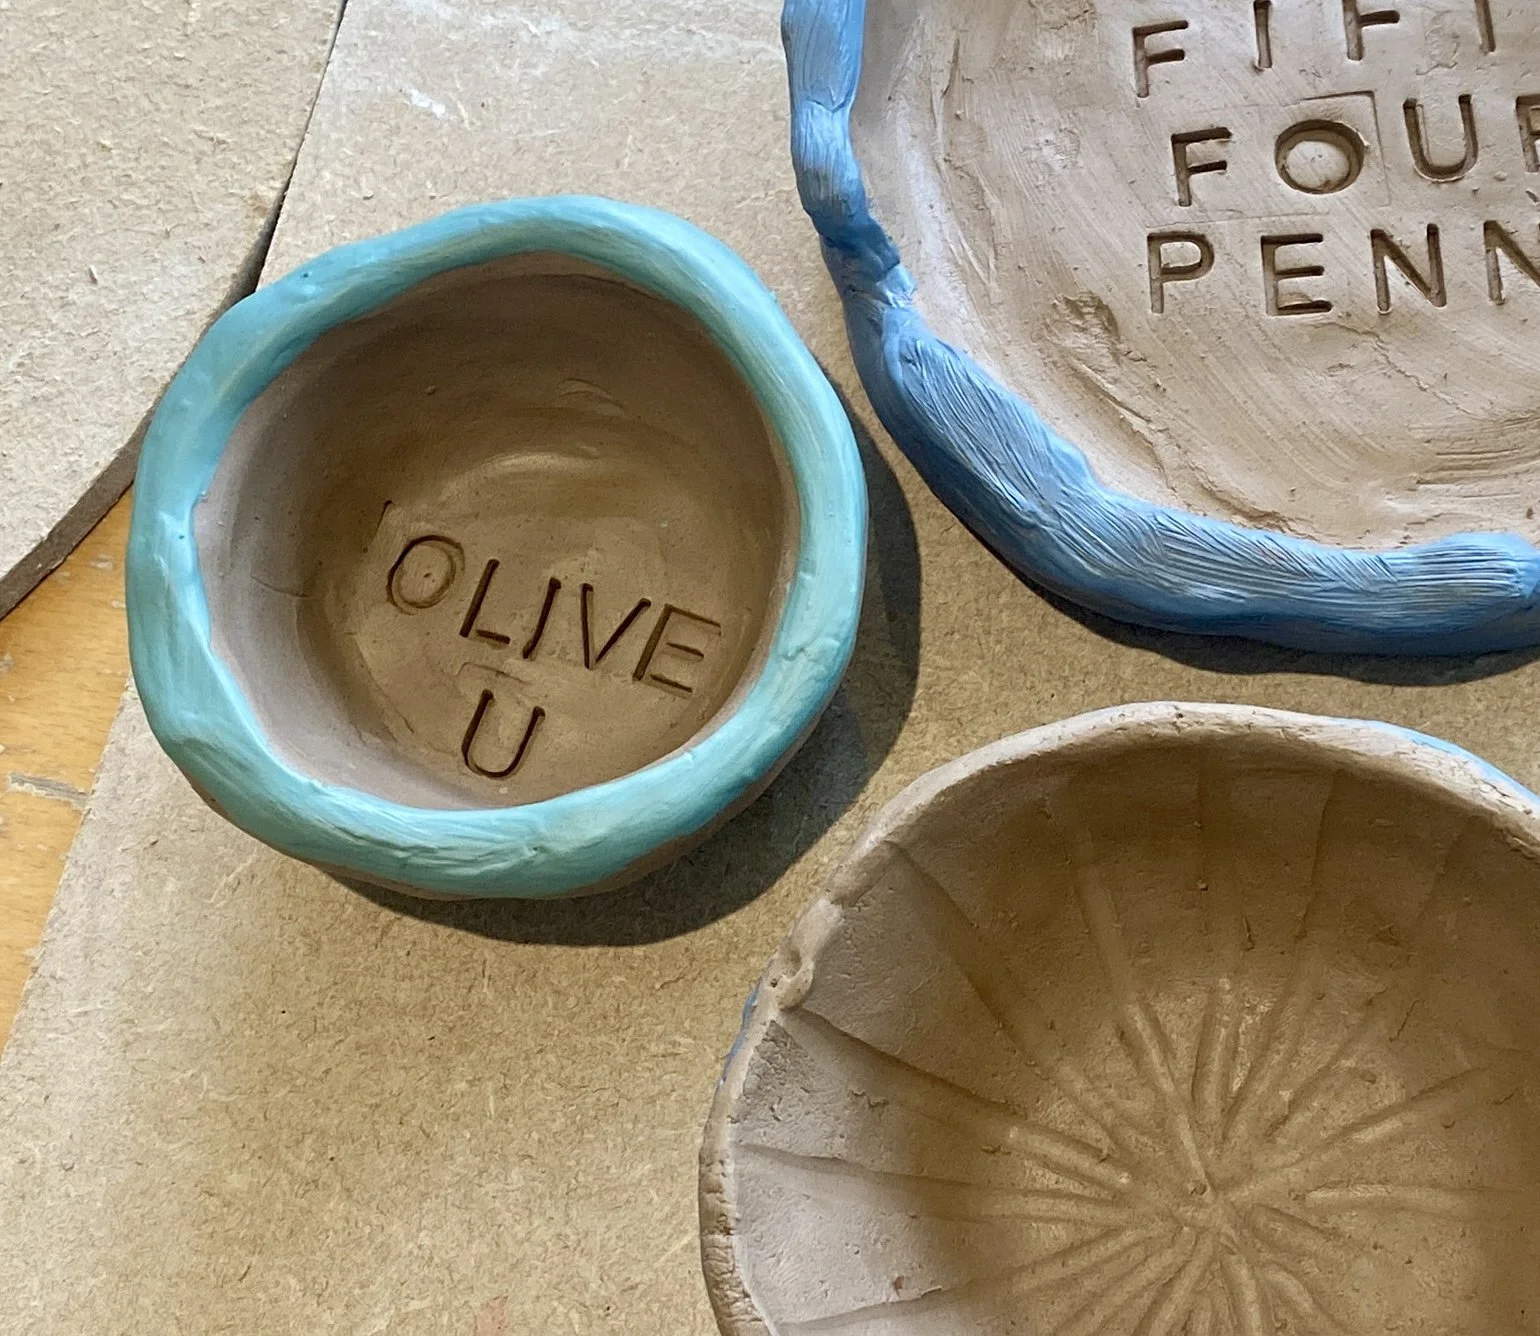
Inlay (Mishima): Carve into bone-dry clay, fill the carving with underglaze or thick slip, let it dry, then sponge excess to reveal the design.
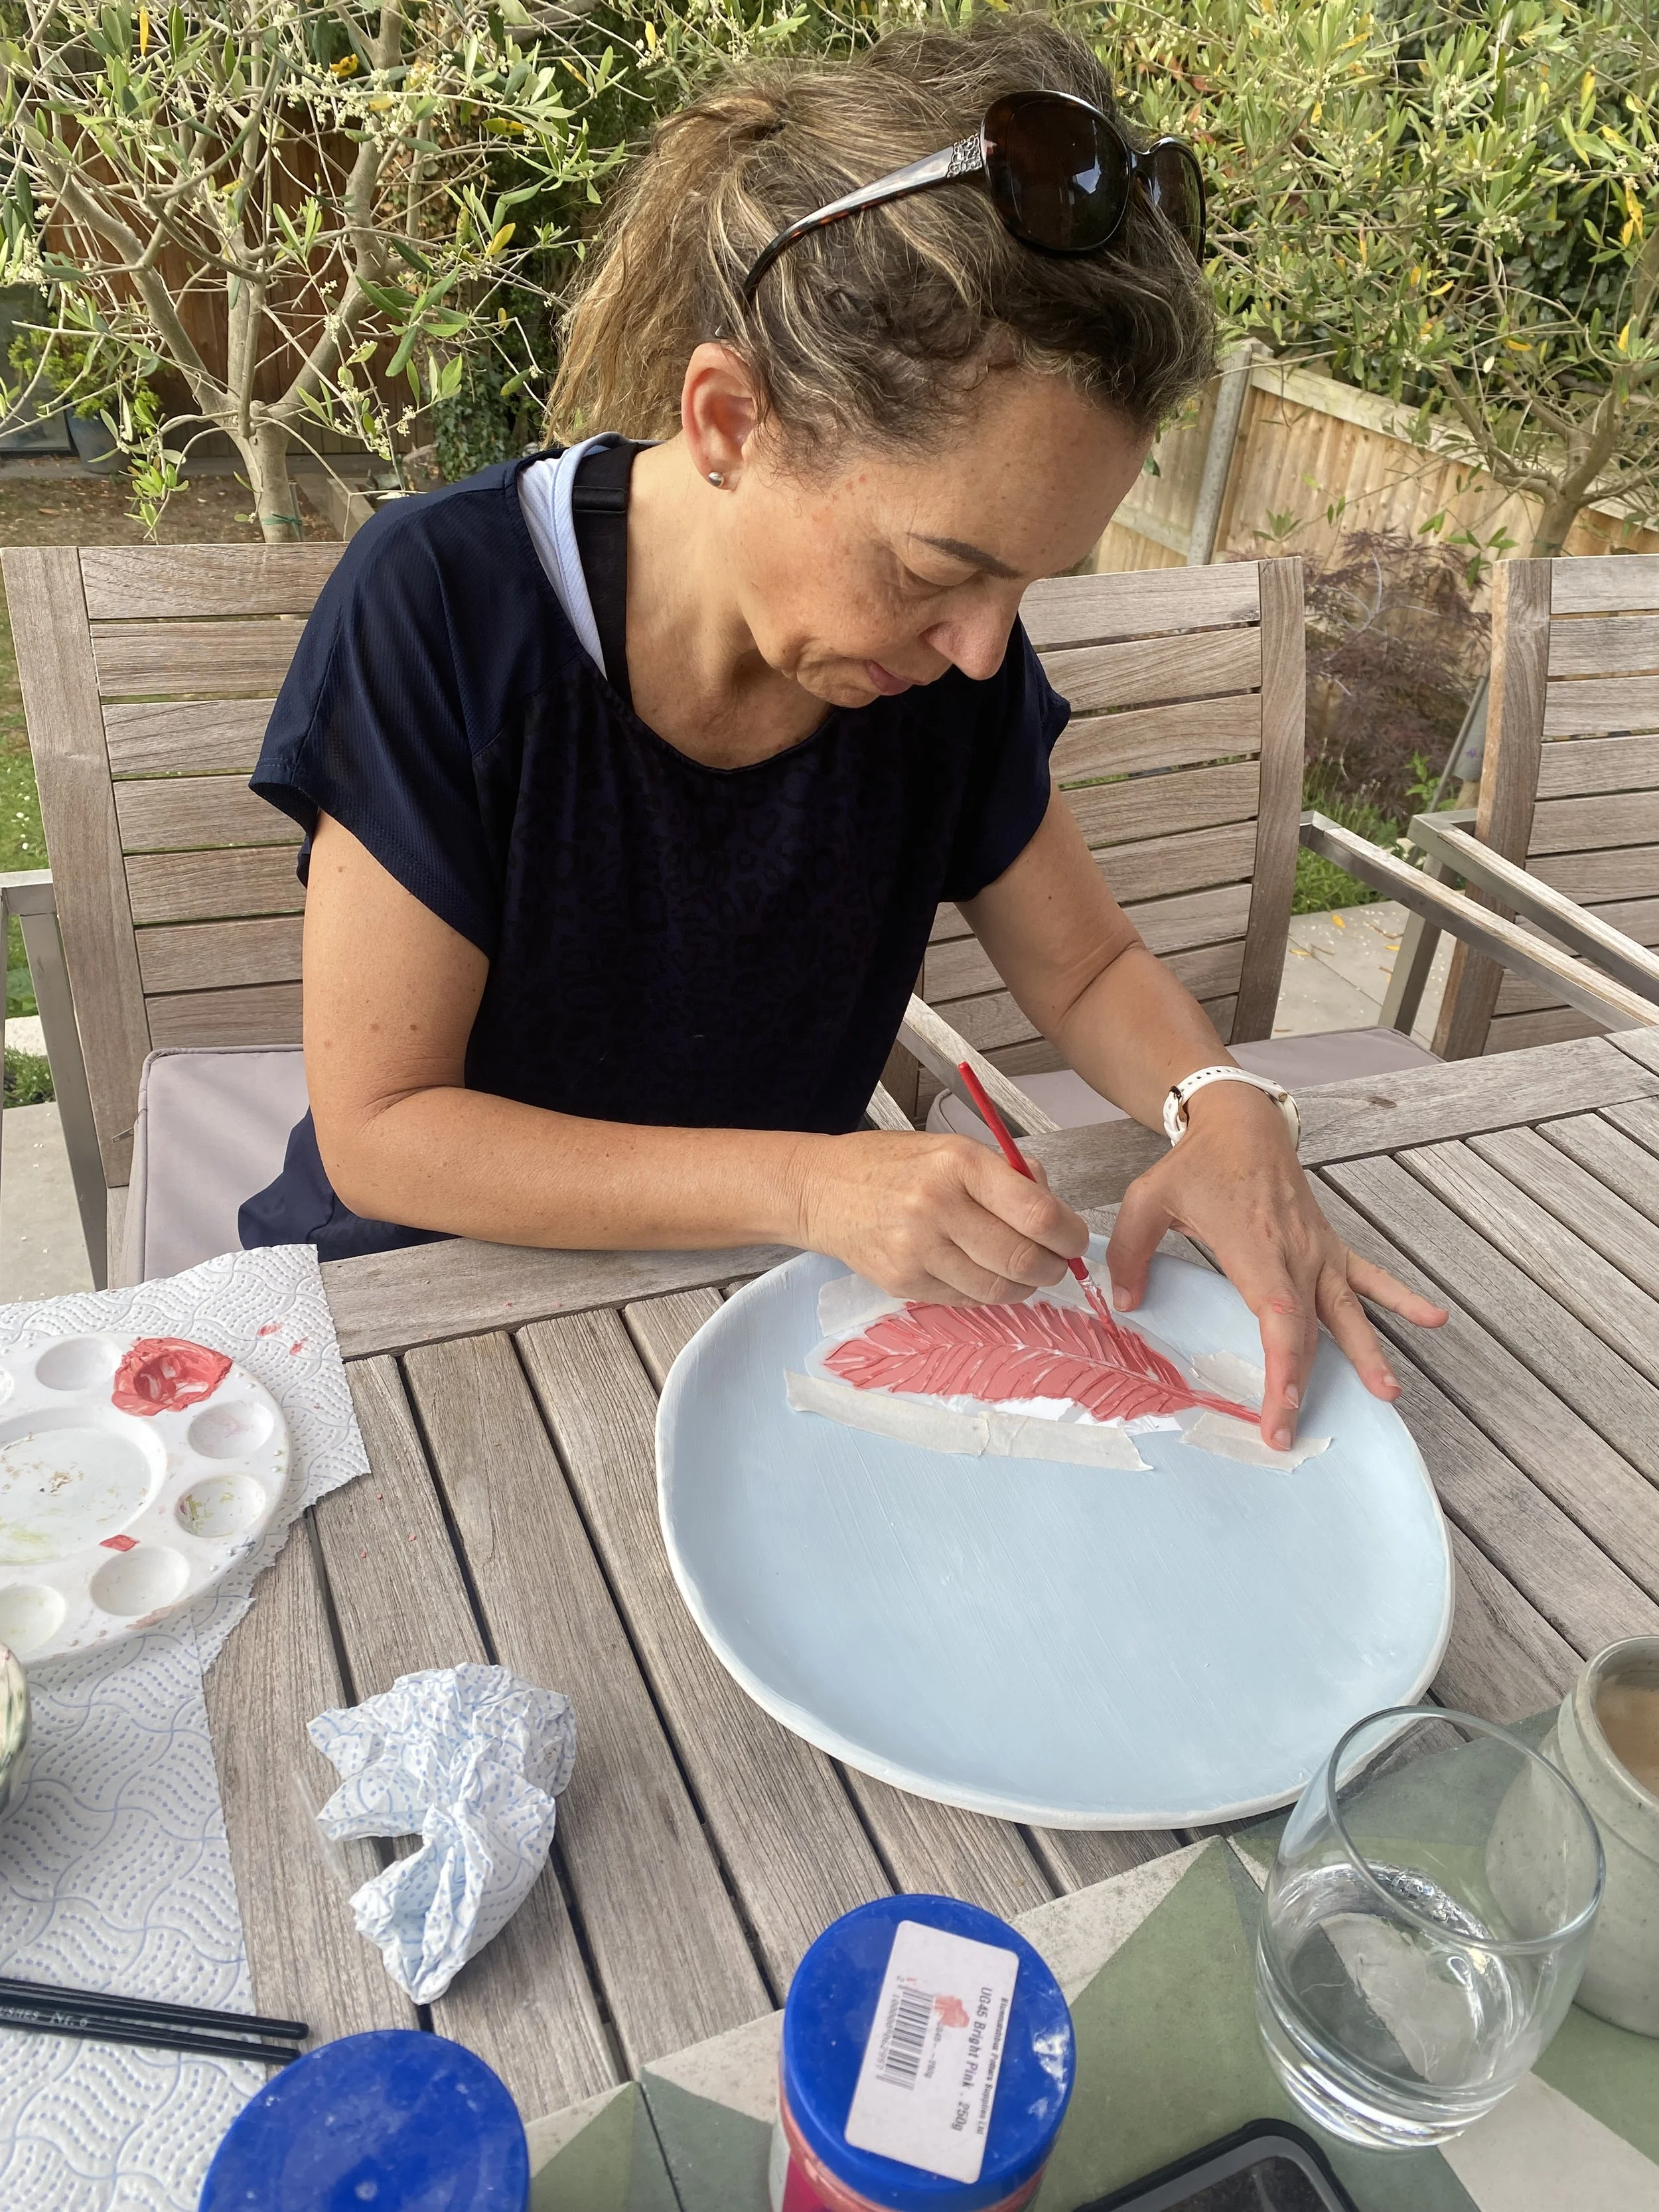
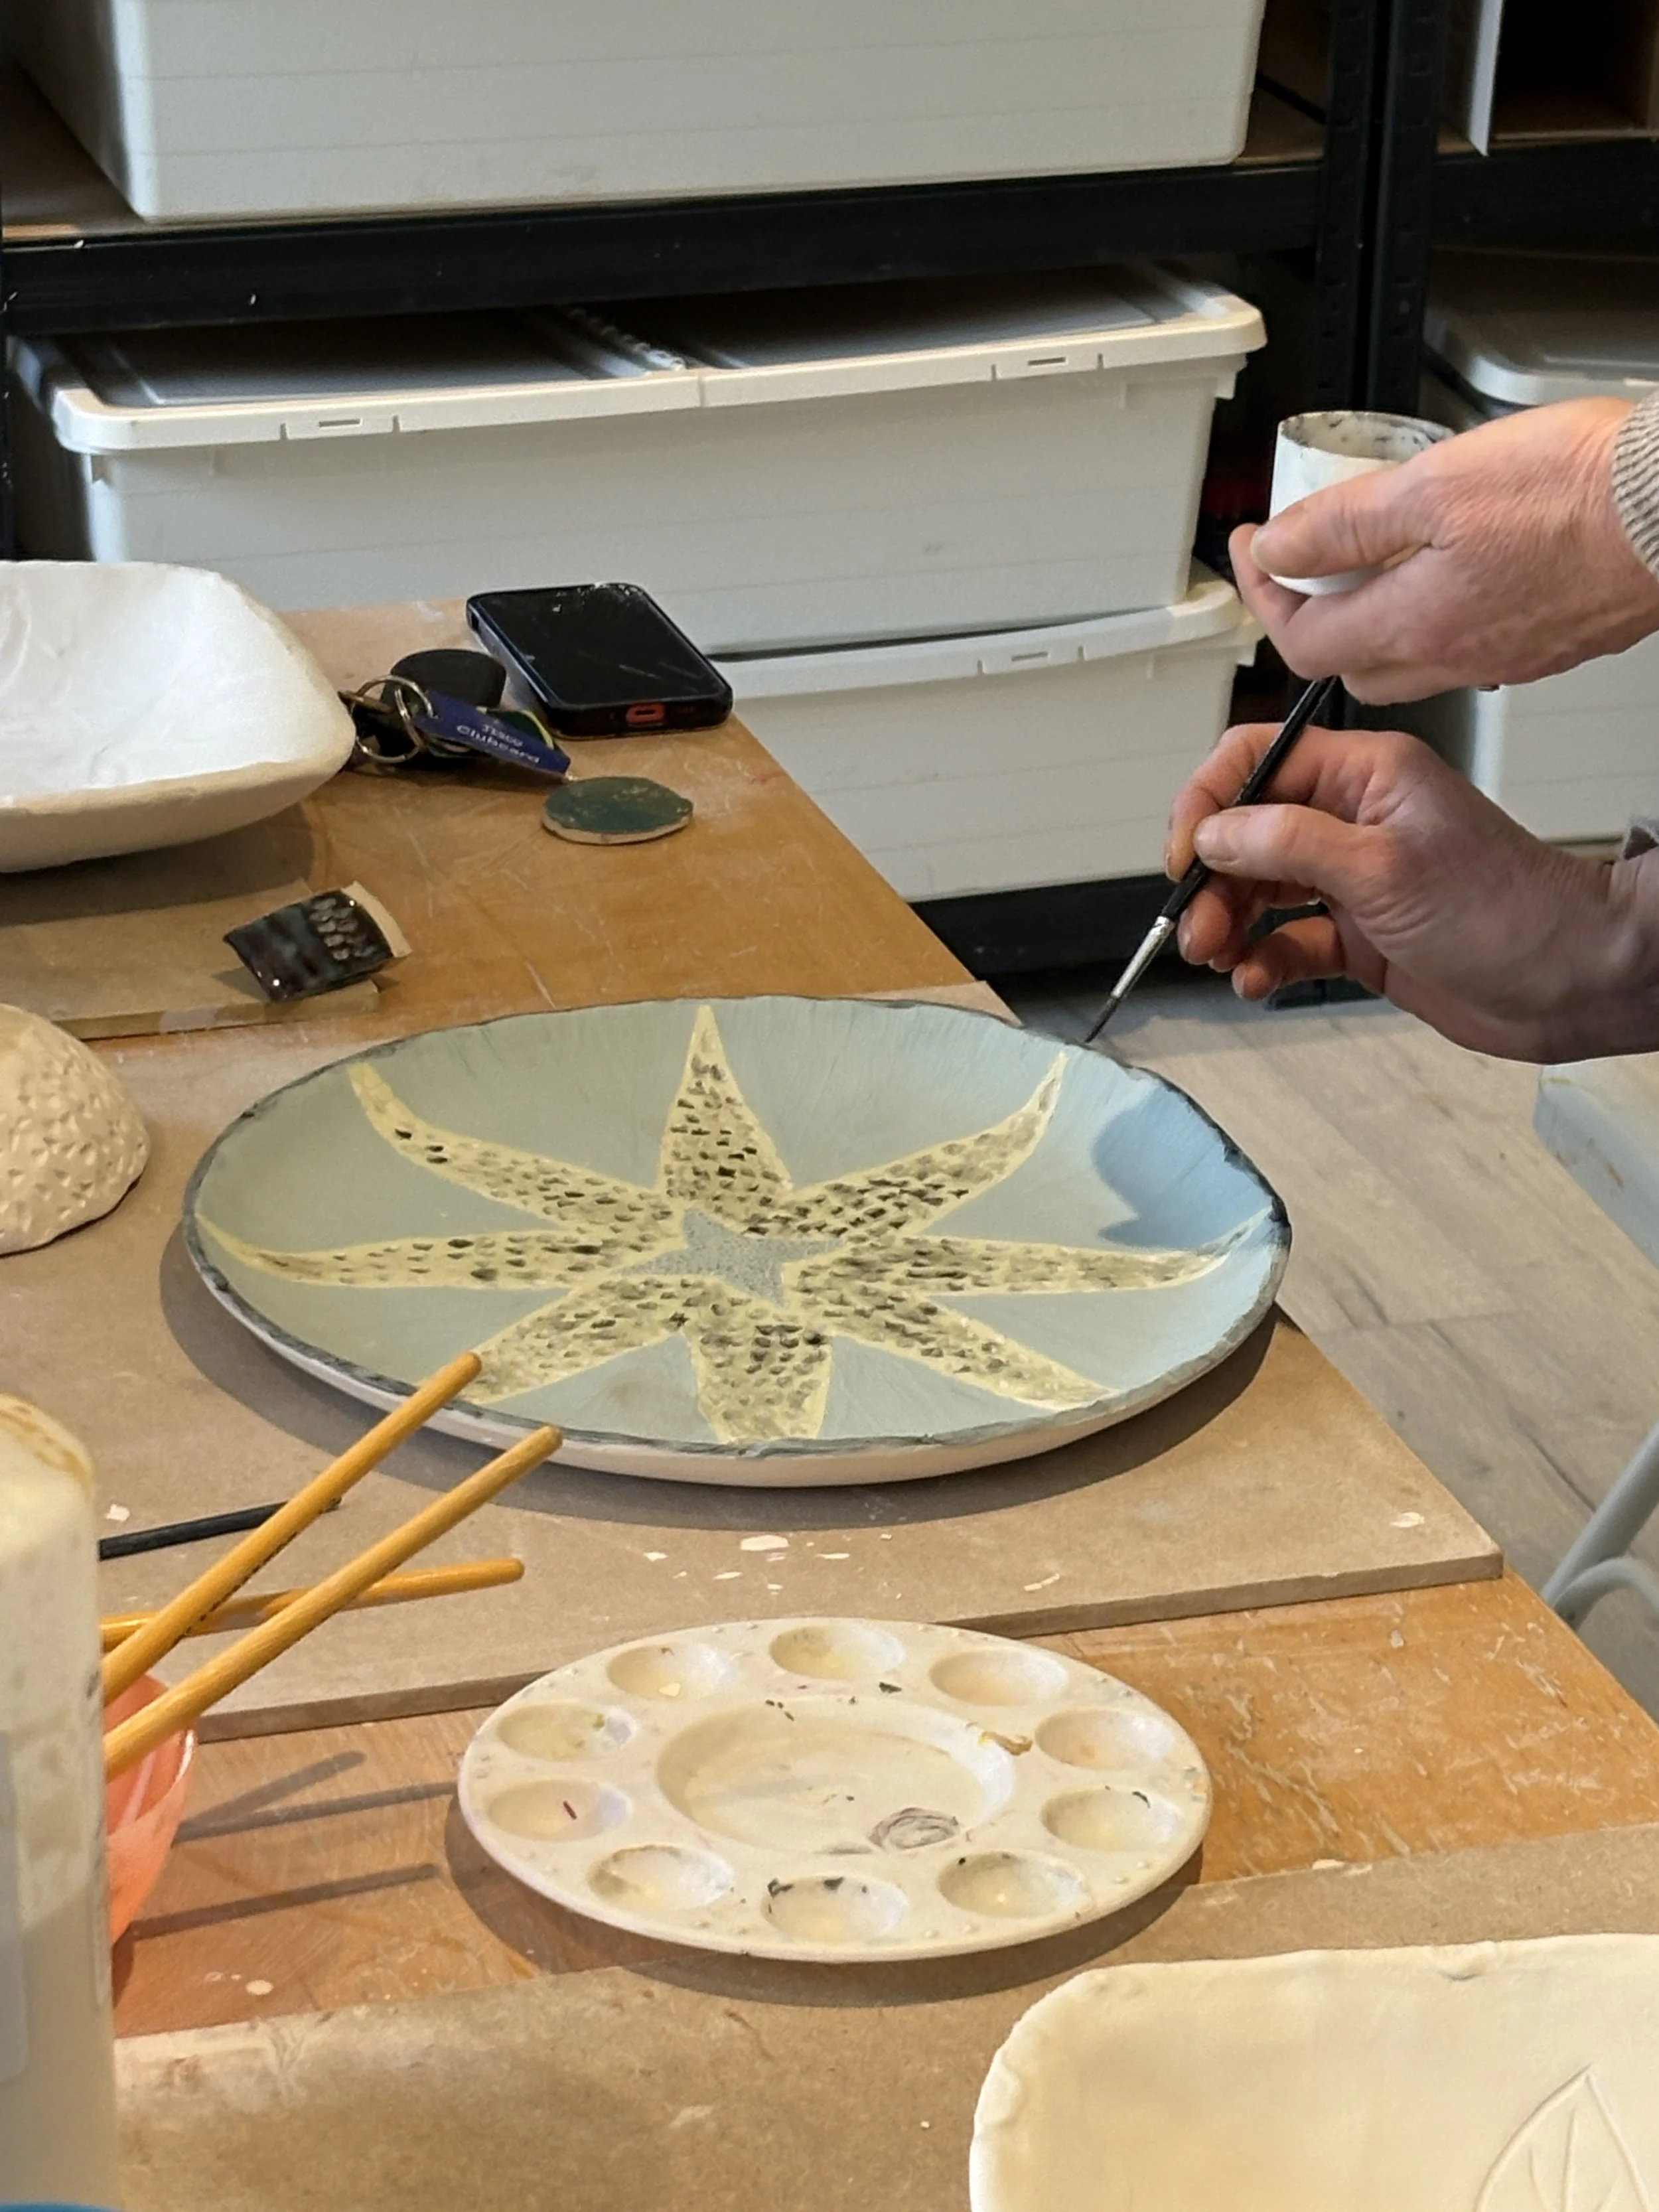
Painting: Apply underglaze directly with a brush, similar to painting.
Dry Thoroughly: Ensure all layers are completely dry, as moisture can cause bubbling or peeling in the kiln.
Bisque Fire: Fire the piece to bisque temperature. Slow firing helps expel gasses.
Key Considerations
Moisture is Key: Greenware is fragile; underglaze on very wet clay can cause it to slake or break.
Avoid Sticking: Don't let underglazed greenware touch other pieces or the kiln shelf during firing, as colors can transfer or stick.
Brand Specifics: Always check the manufacturer's instructions - some underglazes are specifically formulated for greenware, while others might prefer bisque.
It takes 1 week for your plates to dry then they can be bis fired before the final glazing session where a clear or coloured glaze is applied over the dried underglaze and fired again.


Session 3
Experiment with coloured brush on glazes and underglaze layers on plate and small second piece if made
Use spare time in this session for experimentation with making new small pieces
Transparent glaze application - dipping and pouring technques


Second, glaze firing before the collection of work – Firing fees are applied as per weight of work produced.